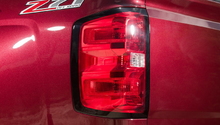
Chevrolet Silverado 2007-2013: How to Replace Tail Light Bulb
The highway patrol has a knack for stopping people with rear light problems, whether it's a bulb or the rear module. If you have a burnt light bulb, don't wait to get it replaced; otherwise, it is quite likely that the police will stop you.
This article applies to the Chevrolet Silverado 1500 (2007-2013).
It's amazing how often the police will stop a car for a burnt rear light bulb. Changing a light bulb is probably the easiest possible task; all that it requires is a Phillips screwdriver and about 15 minutes of your time. It's so easy that it is a good idea to carry spare bulbs in your glove compartment. You can tell when a bulb has failed when the turn signal indicator will turn on/off at a much faster rate.

Materials Needed
- Phillips head screwdriver
- Flat head screwdriver (optional)
- Rubber gloves (optional)
Step 1 – Preparation
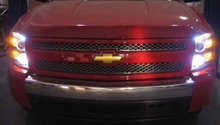
If the left turn signal turns on and off fast, then the left side bulb is bad. If the same thing occurs when you try the right side indicator, then the right side is bad . When you know which side the failed bulb is on, turn all the lights off, close the doors, and make sure the truck is on a flat ground. Lastly, open the tail gate. These simple steps ensure that you don't inadvertently short any wires or shock yourself when removing the bulbs.

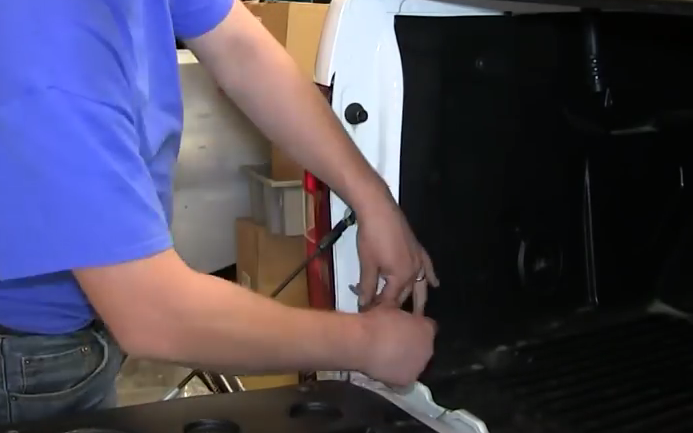
Step 2 – Remove screws
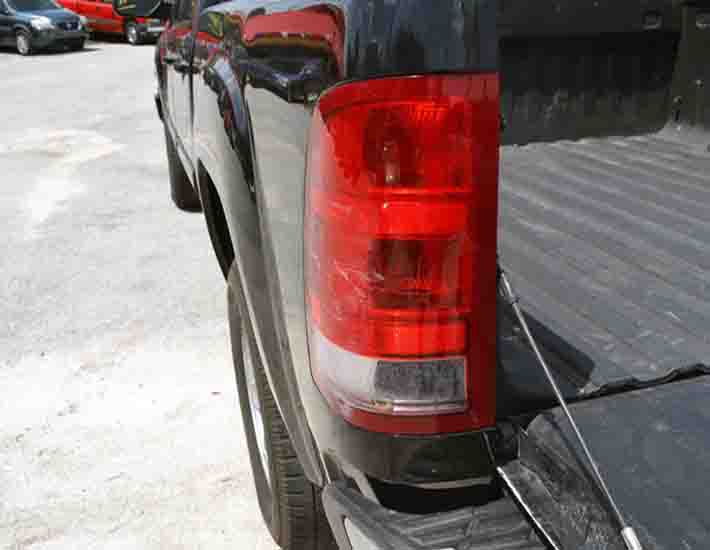
With the tail gate down, use your Phillips head screwdriver to unscrew the two screws that hold the tail light module in place. The two screws are located on the side of the exposed bed. Most pickups in the past 20 years or so use the same system to hold the tail light module in place.
Step 3 – Remove failed light bulb
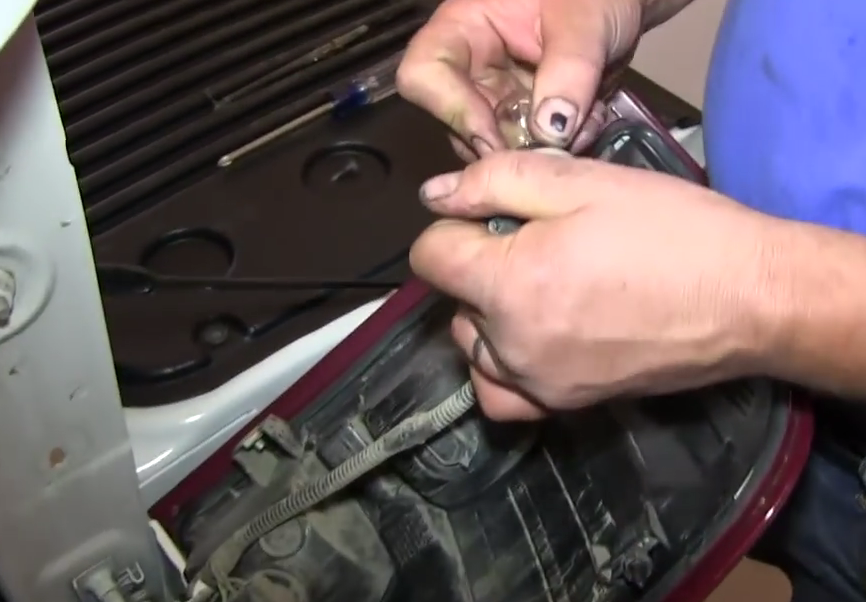
Removing the two screws releases the pressure that held the tail light module in place; you may have to wiggle it out to loosen it . Besides the two screws that held the tail light module in place, there are two rubber nubs that also located the front of the module. These are fairly easy to remove, but you may want to use a flat head screwdriver. Once the rubber nubs are removed, the only thing holding the tail light module is the wiring harness.
Now, locate the bulb that is bad. The bulb is held in place by a housing; turn the housing about a quarter turn clockwise and then pull the housing from the tail light module. Next, pull the bulb out from the housing and then push a fresh bulb into the bulb housing. It is a good idea not to touch any part of the bulb as the oils in your hand can contaminate the glass and shorten its lifespan. You can use nitrile gloves for this, or just be careful.
Finally, place the housing on the tail light module and turn it a quarter turn clockwise to lock the housing in place.
Step 4 – Reinstall the tail light module
Installation is the reverse process of removal. You may want to double-check that your new bulb works by stepping on the brake pedal and seeing that the turn-signal indicator works at normal speed.
To reinstall the module, line up the rubber nubs on the front of the tail light module, make sure that all the wiring is tucked behind the module and then reinstall the two Phillips screws.
Featured Video: How to Install/Change Tail Light Bulb 2007-'13 Chevy Silverado
Related Sites
- Tail Light Change - CarCareKiosk.com
- Tail Light Bulbs Replacement Guide - Paulstravelpictures.com