Chevrolet Silverado 2007-2013: The Ultimate Light Modification Guide
Read more to find out which aftermarket light modifications are best for your Chevrolet Silverado 1500. Also, if you are interested in installing a light bar to your Chevy Silverado, here you will find the step-by-step process.
This article applies to the Chevrolet Silverado GMT900 (2007-2013).
Aftermarket light modifications are a fun way to upgrade the exterior of your Chevrolet Silverado 1500. Best of all, most setups can be completed in less than an hour using the everyday tools that you already own and are familiar with. While not every light modification on the market will be worth your hard-earned dollars, some are. Here is a compiled list of the three most popular and durable high-performance light modifications for your truck.
Table of Contents
Aftermarket Light Modifications Overview
The good news is there are three excellent options for upgrading your truck's lights. Even though headlights and tail lights can be switched out pretty easily, and a bar light can installed in a matter of minutes, you will still want to make sure you work slowly and re-install all bolts as well as pin clips securely; otherwise, the assembly could shift while you're on the road. Read on to find out how these three modifications compare to each other.
HALO Projector Headlights |
Light Bars |
LED Tail Lights | |
|---|---|---|---|
Price |
$550 | $50+ | $100 to $600+ |
DIY Level |
Easy | Easy | Easy |
Rating |
Recommended | Recommended | Recommended |
Light Output |
High | High | Medium |
Best Quality: HALO Projector Headlights
Best Value: Light Bars
HALO Projector Headlights

Price – $550
DIY Level – Easy
Rating – Recommended
Light Output – High
HALO projector lights are the most expensive of the three modifications; however, the level of visibility that your truck will achieve while out on the road at night will make these LED lights well worth their hefty price tag. Expect to pay $550 for a set of RECON LED projector headlights, which come highly recommended by Silverado owners and reviewers. Installation is easy, so you won't need to shell out extra money at your local mechanic's shop for professional installation. Simply install the plug and play module as well as the harness as directed. You'll need to remove your old headlights using everyday tools, such as a star socket set and other non-specialty tools. HALO projector lights are recommended for Silverado 1500 enthusiasts who want maximum visibility beyond what their O.E.M. headlights can achieve, and are willing to spend top dollar for quality.
(Related Article: Headlight Bulb Review - ChevroletForum.com)
Light Bars

Price – $50+
DIY Level – Easy
Rating – Recommended
Light Output – High
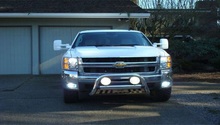
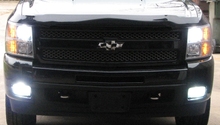
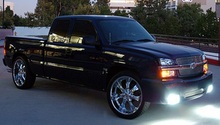
The cheapest way to achieve more visibility on the road is through the installation of a light bar, which are available online and through your local auto parts store starting at around $50. Expect to find a wide range of color combinations and innovative configurations for your Silverado 1500. Although light bars are considered decorative, they provide a high level of illumination at night. Before installing a new light bar, it's recommended that you check for any legal restrictions in your area. Installation is easy and requires less than an hour of your time. Light bars are recommended for drivers who appreciate the decorative value of the single-row lights.
LED Tail Lights

Price – $100-600+
DIY Level – Easy
Rating – Recommended
Light Output – Medium
If you're looking for a light modification that has been manufactured to outperform your O.E.M. tail lights, the best option are LED tail lights. Not only do they offer greater illumination for increased safety on the road, but they also pull less power when in use. Installation is easy and requires about an hour of your time. You'll need to remove the tail light housing from your vehicle, and then detach the plastic holders along the parameter of the housing. You'll use them to plug the mounting holes, which is as simple as pushing them in. Remove your old brake and turn signal light bulbs, so you can plug your new tail light assembly into your truck via the factory harness. LED tail lights are recommended for drivers who want to increase the safety of their vehicle.
How to Install a Light Bar
A light bar is an excellent modification for your Chevrolet Silverado 1500. Not only is a light bar easy to install, but there are a number of varieties available for purchase at a price of $50 and above. The installation is easy since the light bar mounts to your front bumper using only simple tools that you most likely already own.

Materials Needed
- 10mm socket
- Light bar
Step 1 – Remove your bolts
Grab your 10mm socket, and use it to slowly remove the three bolts located just on the other side of the bumper. You'll need to reach through the opening of the bumper to access these bolts.
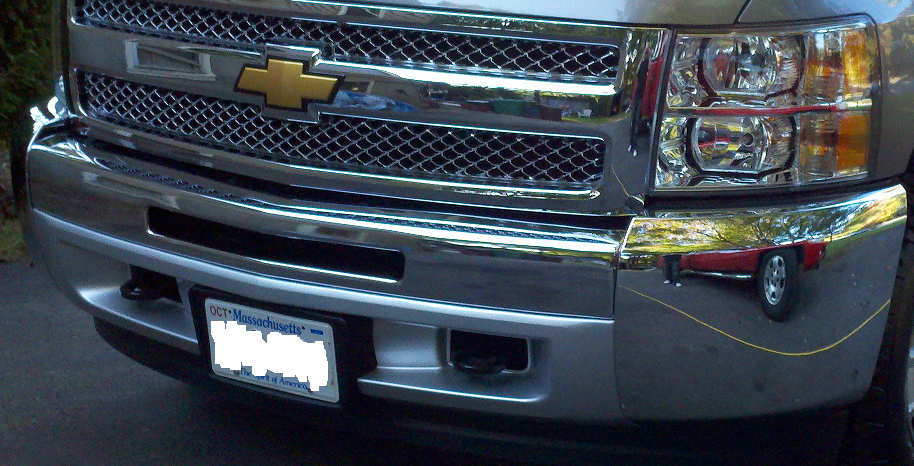
Step 2 – Grab hold of those push pins
Now that the bolts have been carefully removed from your vehicle, reach your hand through the opening of the bumper once more to grab those push pins that hold the rubber flap and adjoining crossbar in place.

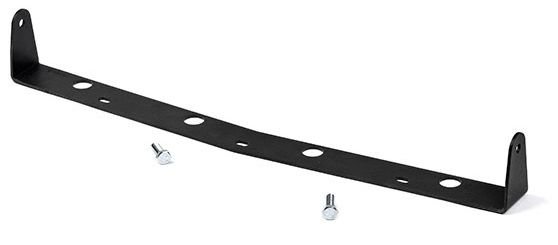
Step 3 – Fasten the light bar to the brackets
Attach the light bar to the bracket using the appropriate bolts and spaces.
Step 4 – Fit the light bar to your vehicle
Reach through your opening bumper to complete the installation process. This time you'll need to enter through the rear of your bumper opening with the light bar already attached to the bracket. Re-install the bolts so that they are attached, but not snug. Center the light bar as needed, and then grab your socket wrench to once more tighten those bolts for a strong hold. Pin the rubber flap back into place and you are done!

Featured Video: Single Row LED Light Bar Bumper Mount
Related Discussion
- Light Bar Installed - ChevroletForum.com
- Installing a Light Bar - ChevroletForum.com
- Troubleshooting LED Taillights - ChevroletForum.com
- HALO Projector Light Question - ChevroletForum.com