Chevrolet Silverado 1999-2006: How to Replace Tail Light Bulb and Assembly
Whether your brake light is out or your tail light assembly is broken, this helpful guide will show you how to remove and replace both on a Chevrolet Silverado 1500.
This article applies to the Chevrolet Silverado 1500 (1999-2006).
A broken tail light is one of those minor annoyances that can get you pulled over. It's in your best interest to fix it as soon as possible. Don't worry, because a tail light bulb or a tail light assembly are both cheap and easy to replace on the Chevy Silverado 1500. Follow the simple instructions below, and you'll have it fixed in no time.

Materials Needed
- Replacement tail light assembly and/or bulb(s)
- Phillips head screwdriver
Disconnecting the battery is not necessary but still recommended when changing bulbs.
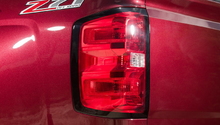
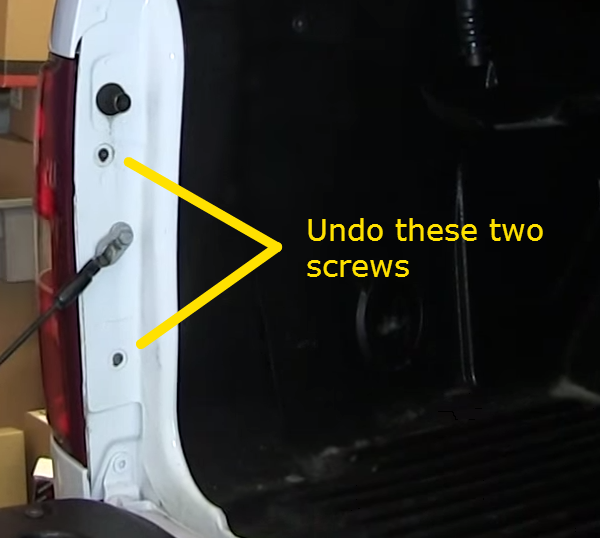
Step 1 – Remove the tail light assembly
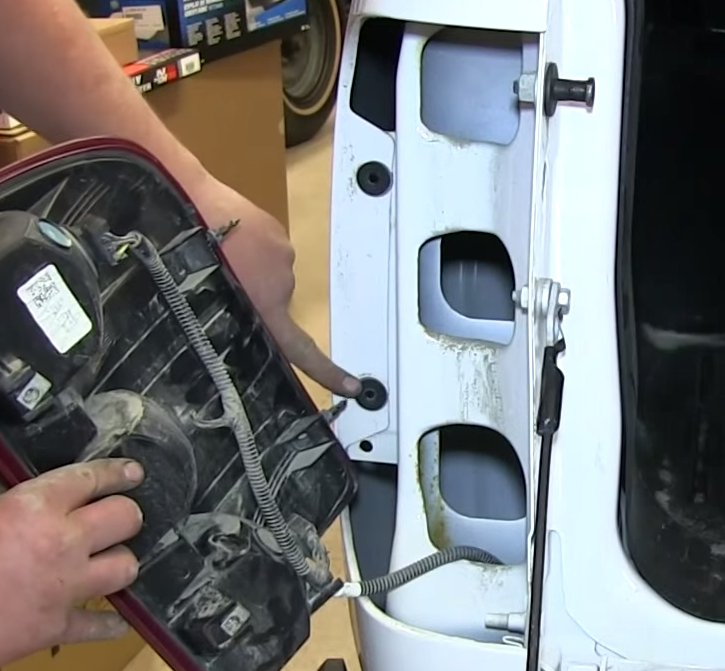
Start by opening the tail gate and removing the two screws holding the tail light assembly to the vehicle. When you have them removed, you should be able to pull the tail light assembly out from the vehicle.
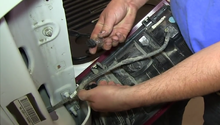
Step 2 – Remove bulbs from the assembly
The light bulbs are attached to the assembly by the twist tabs on the sockets. Simply twist the tabs counter-clockwise and pull the sockets out of the assembly. To replace a bulb, just pull it straight out of the socket and insert a new bulb.

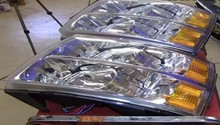
Step 3 – Replace bulbs and assembly
To replace the assembly, reinsert the bulb sockets into the assembly and twist them to lock them in place. Line up the two pegs on the edge of the assembly to the holes in the vehicle, then press it into the housing. It may take some force to get it in all the way.
Pro Tip
If you're replacing a broken tail light assembly, be sure to clear any debris before you insert the new assembly.
Step 4 – Test the tail light bulbs
To finish, return the two screws to the side of the assembly. Start the vehicle and test the tail lights. If you still have issues with your tail lights not working, then you likely have a problem with the wiring or the tail light switch.

Featured Video: How to Replace Tail Light Bulb and Assembly
Related Discussions
- 2000 Chevy Silverado Tail Light Out - ChevroletForum.com
- 2004 Silverado Left Brake Light Not Working - ChevroletForum.com
- Right Tail Light Out '05 Chevy Silverado - ChevroletForum.com