Chevrolet Silverado 1999-2006: How to Replace Brake Fluid
If you know your truck's brake fluid needs to be replaced, continue reading for this comprehensive guide for you to do the job yourself.
This article applies to the Chevrolet Silverado GMT800 (1999-2006).
As with other cars and trucks, your Silverado needs hydraulic brake fluid to slow down. When you depress the brake pedal, the brake fluid flows to and applies pressure to the caliper piston, which then pushes the brake pad onto the rotors. Because all of this occurs in a vacuum, any air introduced into the braking system can cause improper brake functionality or even a complete brake system failure. So if the ABS light on your dash comes on, you feel excessive vibrations when coming to a stop, or the brake pedal feels spongy, air pockets may have entered the brake system and the brakes fluid needs to be replaced. If you've just replaced the brake lines, calipers, master cylinder, ABS module, or brake booster, then flushing and replacing the brake fluid is also necessary. Read the steps below for a complete DIY guide on how to replace your Silverado's brake fluid.

Materials Needed
- Pressure bleeder
- Brake fluid syringe
- Brake fluid bleed hose
- 10mm wrench
- Drain bottle
- DOT 3 brake fluid
- Tire iron
- Hydraulic jack and jack stand
You must bleed the brakes for each wheel separately. Repeat the bleeding process (Steps 2 through 4) in the following order:
- Right rear wheel
- Left rear wheel
- Right front wheel
- Left front wheel
Step 1 – Prep the bleeding process
- Park your truck on level ground.
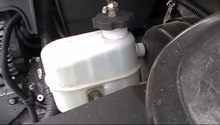
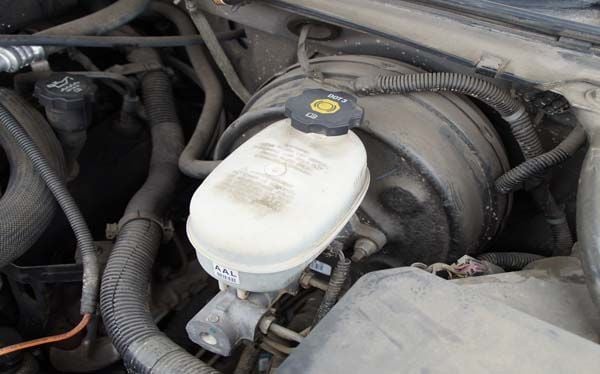
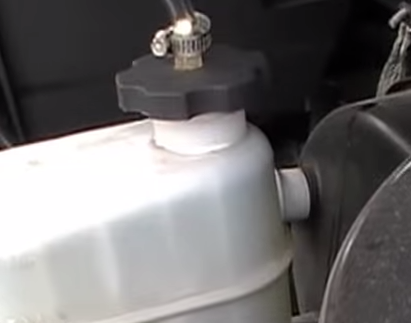
- Remove the brake fluid reservoir cap.
- Using a brake fluid syringe, remove as much old fluid from the reservoir as you can.
- Refill the reservoir with new brake fluid.
- Fill the pressure bleeder with three to four quarts of new brake fluid.
- Attach the pressure bleeder hose cap to the brake fluid reservoir.
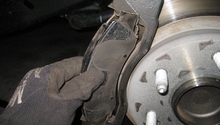
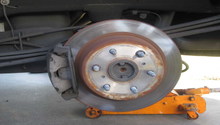
Step 2 – Remove the wheel
- Place a floor jack underneath the jacking point closest to the wheel you are about to remove.
- Loosen the lug nuts on the wheel with a tire iron.
- Jack up the truck until the wheel is off the ground.
- Position the jack stand underneath the correct jacking point (lower control arms for the front; axle tubes for the rear).
- Lower the truck onto the jack stand.
- Remove the lug nuts and the wheel.
(Related Article: How to Jack Up Your Truck - ChevroletForum.com)
Step 3 – Pressurize the brake system
- Check the amount of fluid in the pressure bleeder and top off if necessary.
- Pump the handle on the pressure bleeder until fluid begins to flow through the line and into the reservoir.
- Continue pumping slowly until the pressure gauge on the bleeder reads around 15 to 20 psi.

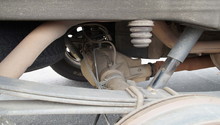
Step 4 – Bleed the brakes
- Remove the dust cap from the bleed valve.
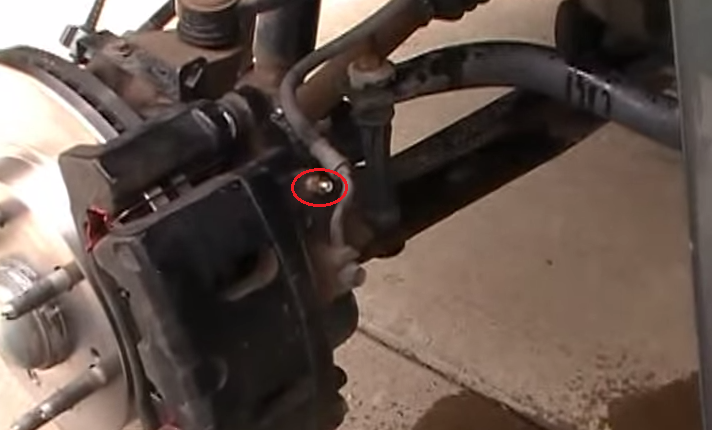
- Attach the bleed hose onto the bleed valve.
- Route the other end of the bleed hose into the drain bottle. Make sure the end of the hose is submerged in brake fluid (use new brake fluid if you have to).
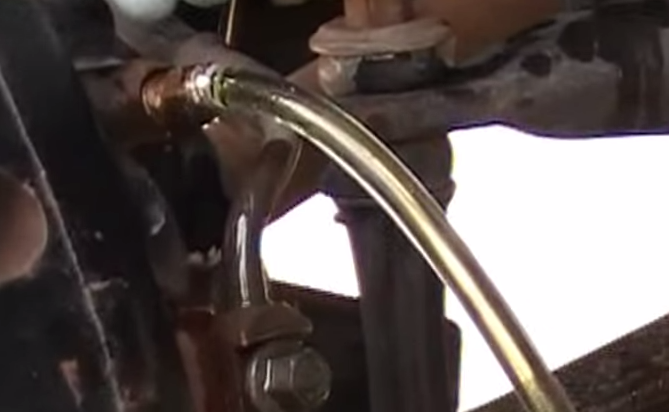
Figure 5. Bleed hose attached. 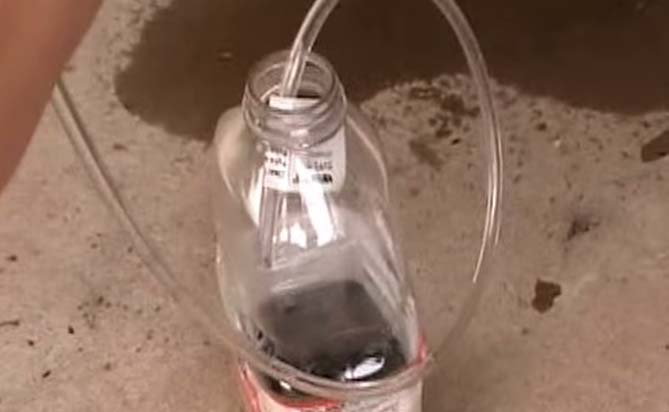
Figure 6. Bleed hose routed to the drain bottle.
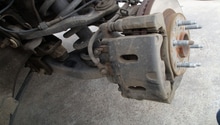
- Using a 10mm wrench, turn the bleed valve about a half-turn counterclockwise until brake fluid starts to flow out.
- Allow the fluid to drain until you see only new fluid flowing out with no air bubbles. Make sure to keep an eye on the amount of fluid left in the pressure bleeder, and make sure it stays pressurized. If the brake fluid runs dry, you will need to repeat the process.
- Once you see that there are no air bubbles, tighten the bleed valve to stop the fluid flow.
- Re-install the dust cap on the bleed valve, and then re-install the wheel.
Step 5 – Complete the bleeding process
After you've bled all the brakes, start the truck and depress the brake pedal. If the pedal still feels spongy, there's most likely air left in the brake lines.
Pro Tip
If bleeding the brakes does not solve your problem and there is no air in the brake lines, other causes of brake failure may be internal damage to the master cylinder or booster, or there's a worn rubber brake line that is bulging.
Featured Video: How to Bleed Brakes
Related Discussions and Video
- Dot 3 vs. Dot 5 - ChevroletForum.com
- Soft Pedal, Low Fluid, and SVC Brake System - ChevroletForum.com
- How to Make a Brake Fluid Pressure Bleeder DIY - YouTube.com