Chevrolet Silverado 1999-2006: How to Replace Brake Line
Heat does a number on rubber, and eventually, the flexible rubber brake lines on all vehicles will fail. Whether you're replacing a blown line or preemptively upgrading, here is the step-by-step guide to get you through it.
This article applies to the Chevrolet Silverado GMT800 (1999-2006).
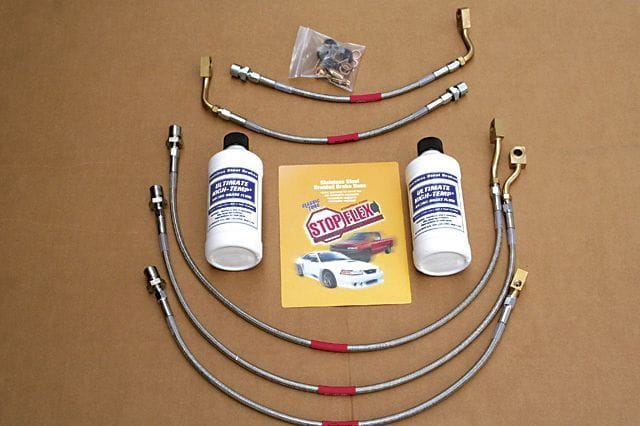
Brake lines tend to get overlooked as one of the major safety features on your truck. Without them, your brakes are just about useless. So it's always important to make sure they're in good shape and replace any faulty ones. In addition, your truck uses rubber brake lines for certain portions of the braking system. While rubber isn't bad, over time it can begin to loose its shape and cause bubbles in the line with the brakes pressed. When this bubbling occurs, not nearly enough fluid is making it to the calipers to properly apply the brakes. So even if your lines haven't failed yet, switching to a set of braided stainless steel lines can give you better piece of mind, as well as a firmer pedal feel if your rubber lines are starting to get bubbling issues.

Materials Needed
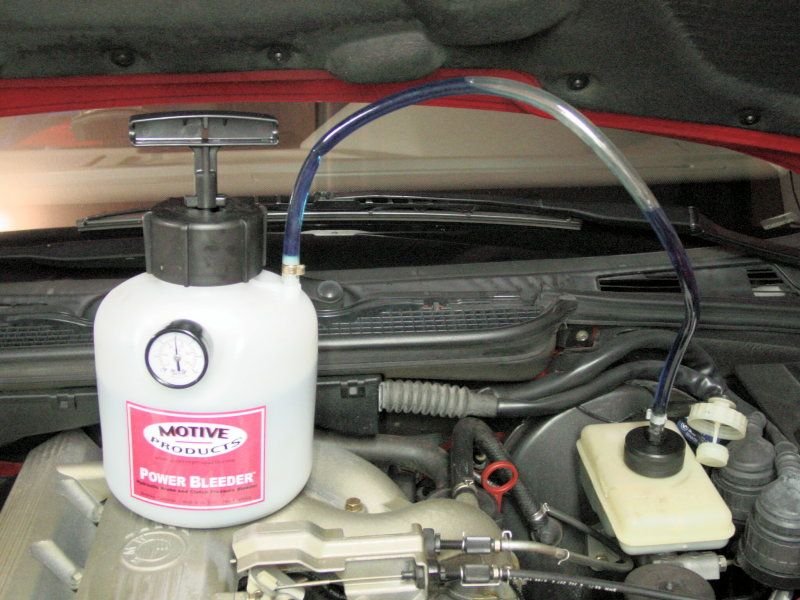
- Power/pressure bleeder
- Drain pan
- Shop towels
- Flare wrench set
- Floor jack
- Jack stands
- Tire iron
- Flat head screwdriver
- WD-40
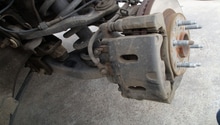
Step 1 – Locate the brakes lines you're replacing
Before getting too far into things, it's best to locate the brake lines you're replacing to get a plan of action. If you're replacing an entire section, you need to follow the line from start to finish to decide how to get it out and how to get the new one in. If you are cutting out an old section and splicing a new piece in, you should try to make sure you have enough room to get your tools up there. If you are replacing an entire section starting from the master cylinder, be advised that you'll need to be able to lift the truck body off the frame to allow clearance for both feeding the new line through as well as using tools. For those who aren't mechanically inclined, it is suggested leaving that process to a professional.

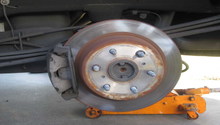
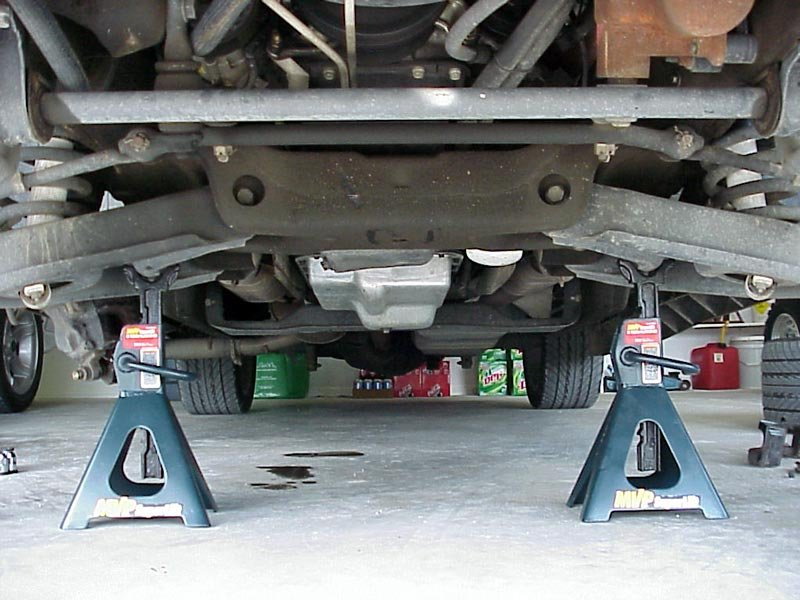
Step 2 – Raise the truck
Depending on which lines you are replacing, you'll need to decide where to raise the truck from. If you are only patching a center section, wheel removal may not be necessary. Regardless, because you are dealing with the brakes, you need to chock the wheels on all sides.
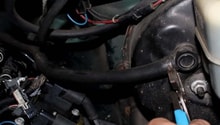
Step 3 – Remove old brake line
Before undoing a brake line, it is suggested lining underneath the truck with shop towels where both connections will be undone. Brake fluid is highly corrosive and will eat through paint or anything similar very quickly.
- If you are splicing a section, using the cut off tool of your choice, make your two cuts around the section that needs to be removed. If your are replacing a piece that has rusted through, make sure your cuts are at a place where there it is a strong enough section to make a new connection; otherwise, all you will do is create the next point it'll fail.

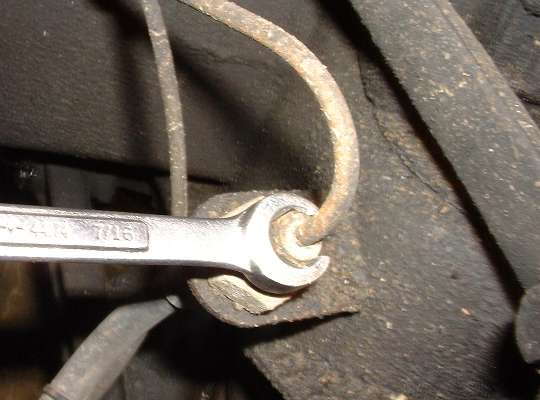
- If you are removing an entire section, you'll need to trace the line from start to finish and remove it from any clamps holding it in place using your flat head screwdriver. This may include raising the cab or bed to allow proper access. Once the line has been undone from any clamps, you'll need to use the proper sized flare wrench to undo the flare nut holding the line in place at each end. If there is severe rust on the nut, it is suggested using a lubricant such as WD-40 prior to prevent breaking the nut or the joint. Once it's unbolted, you may find it easier to cut it into sections to help with removal. Be prepared though, as the line still contains fluid, so every section you cut is another potential drip point.
Step 4 – Install new brake line
- If you are installing an entire section, you'll need to route the line the same way the old line was routed. Once the line is in position, reattach it to any clamps that were holding the old line. Then you can tighten the nuts using your flare wrench. Be careful not to over-tighten because the nuts are made of a softer metal, which means you can round them off or strip the threading easier.
-
If you are splicing a new section in, your process will be a bit more involved. You will need to chamfer the end of the brake line at both cut points to clean it up first. Position the new nut onto the tube, because once you flare it, it will be much harder to get it on. You will then need to flare both ends of the line at the cut points using a flaring tool. Once the lines are flared, you can attach your new section into place.
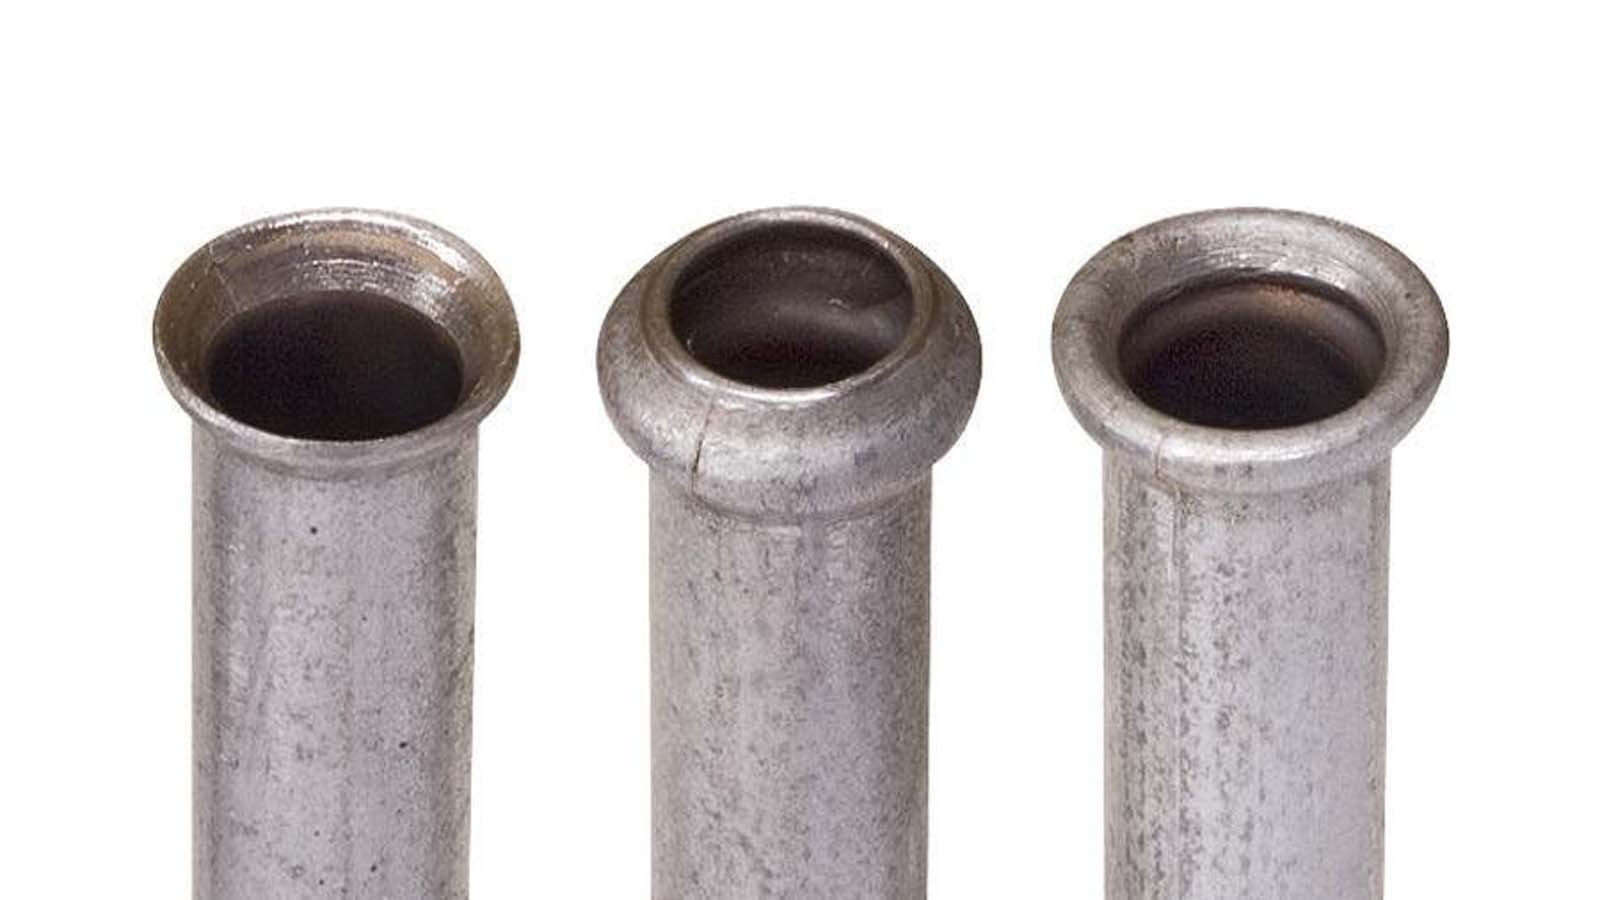
Figure 6. Brake line flares. 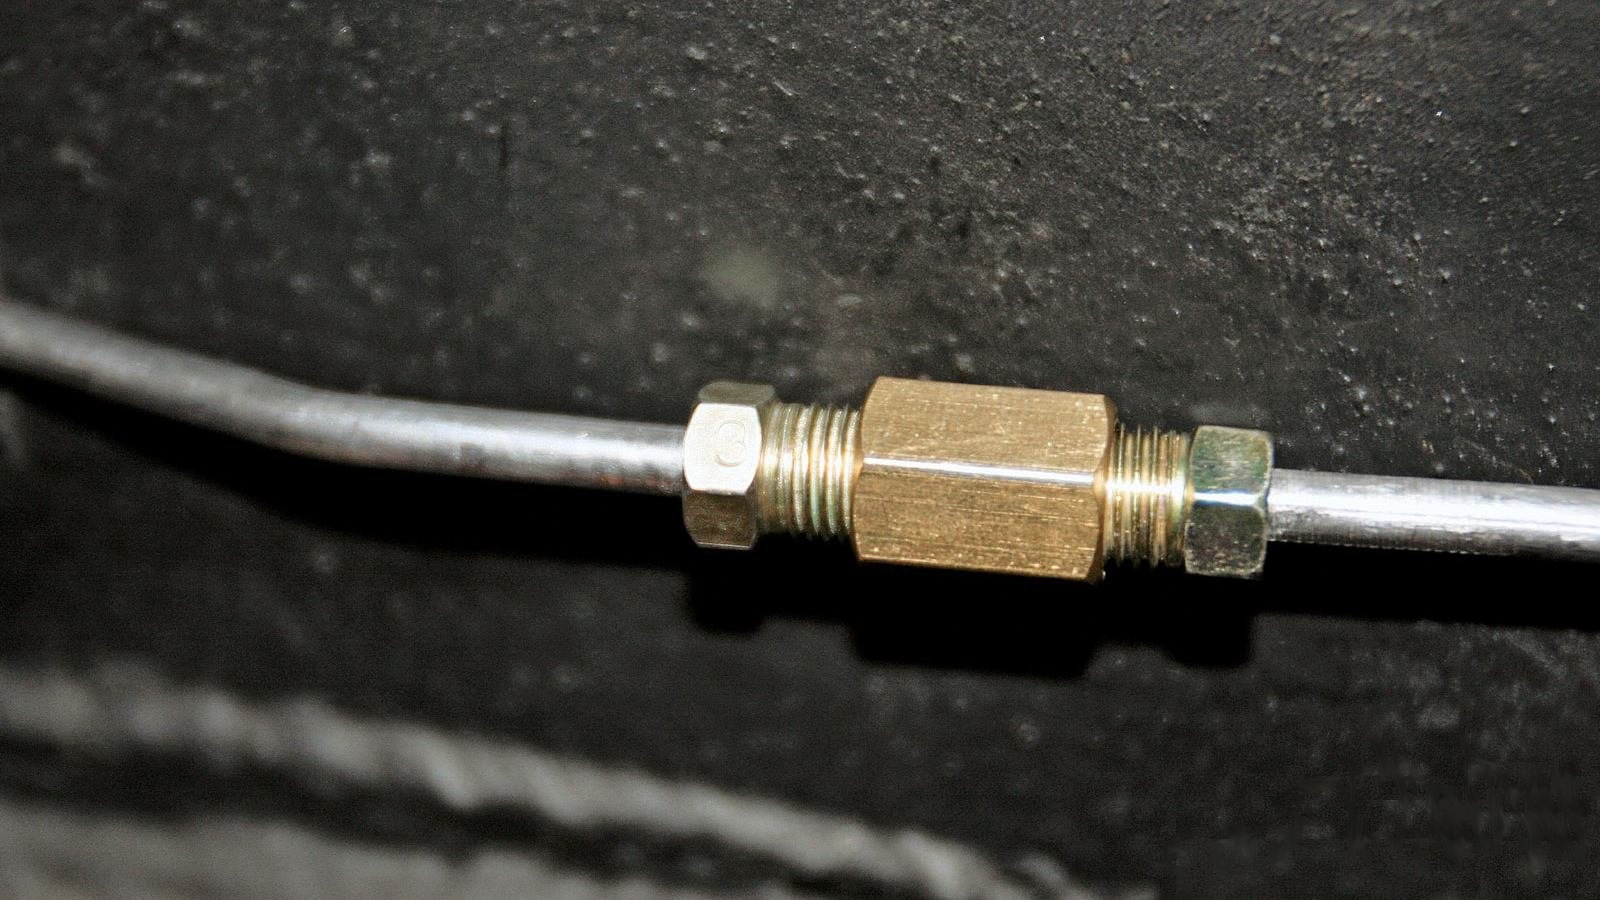
Figure 7. Brake line splice section.
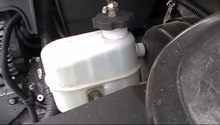
Step 5 – Top off brake fluid and inspect for leaks
At this point, if all went well, you are pretty close to finishing. It is suggested topping off the brake fluid reservoir, pumping the brakes one or two times, and then topping off the fluid level again. Once the reservoir has a sufficient amount of fluid, it is suggested pumping the brakes a couple times more and then inspecting your brake line connections. Any fluid coming out is a sign of a bad connection that will need to be fixed.
Step 6 – Bleed the brakes
If there are no leaks, you'll now need to bleed the brakes. Since you removed a section of brake line, you introduced air into the system. The braking system needs to operate in a vacuum to ensure proper functionality, so you'll need to bleed the brakes to remove any air from the lines.
(Related Article: How to Bleed Your Brakes - ChevroletForum.com)
Step 7 – Finish up
With a firm brake pedal established and no leaks present, all that remains is to button up the truck.
- Refit the wheels and snug the lug nuts.
- Lower the truck off the stands.
- Torque the lug nuts to spec (90 ft./lb. for aluminum wheels; 100 ft./lb. for steel wheels).
Featured Video: How to Replace Brake Line in Silverado
Related Discussions and Video
- Replacing Brake Lines, Tips? - ChevroletForum.com
- Silverado Brake Lines - ChevroletForum.com
- Stainless Steel Lines - ChevroletForum.com
- Soft Brake Pedal - ChevroletForum.com
- 2003 Chevrolet Silverado 1500 Brake Line Routing - YouTube.com