Chevrolet Silverado 1999-2006: How to Replace Engine Fan Clutch
If your truck's engine is running hotter than normal, the A/C fails to pump out cold air on idle, and there is leaking silicone fluid around the engine, chances are the clutch fan is busted. Fortunately, this is a component you can replace yourself.
This article applies to the Chevrolet Silverado GMT800 (1999-2006).
The radiator in your truck not only picks up heat from the engine to cool it down, but (as the car is moving) ambient air is also flowing through the radiator, which allows air to directly dissipate heat produced by the engine. To do so, however, the fan clutch engages the radiator fan to provide additional airflow to the engine. Fan clutches work at different speeds under different conditions in order for the component to consume less power from the engine and save fuel. When the engine is running hot, the fan clutch engages and allows the fan to run as fast as the engine; when the engine is running cold, the fan clutch disengages and runs much more slowly.
Signs that your clutch fan is in need of replacing are pretty straightforward: if you can hear excessive fan noise, the engine is running excessively hot, the A/C is no longer pumping out cold air on a regular basis, and you can feel a slight vibration coming from the front end. Failing to resolve the issue and replace the fan clutch can lead to water pump failure, which can then lead to a failing cooling system. To check if your fan clutch is functioning properly, start the engine and place a rag in front of the grill. If the rag sticks to the grill, the clutch fan is engaged and working.

Materials Needed
- 10 and 13mm sockets
- Ratchet
- Flat head screwdriver
- Large adjustable wrench
- Hammer
Step 1 – Remove the radiator fan shroud
Always disconnect the negative battery terminal (black cover) before working with components under the hood.
Directly above the radiator is the radiator fan shroud. Use a ratchet with a 10mm socket to remove two bolts on top of the shroud. Disconnect the radiator hose on the passenger's side of the shroud, and un-clip the hose from the center of the shroud. Then, use a flat head screwdriver to pop out the retainer pins. There are four pins along the edge of the shroud facing the engine. Remove the shroud and set it aside.

Figure 2. Remove two 10mm bolts from the fan shroud. 
Figure 3. Pop out retainer pins on the fan shroud.
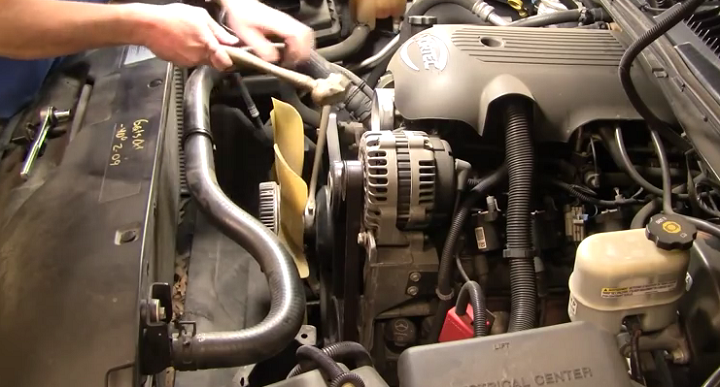
Step 2 – Remove the air intake hose
With a flat head screwdriver, loosen the hose clamps connecting the air intake hose to the MAF and the throttle body. Then, slide the intake hose out and set it aside.

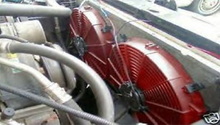
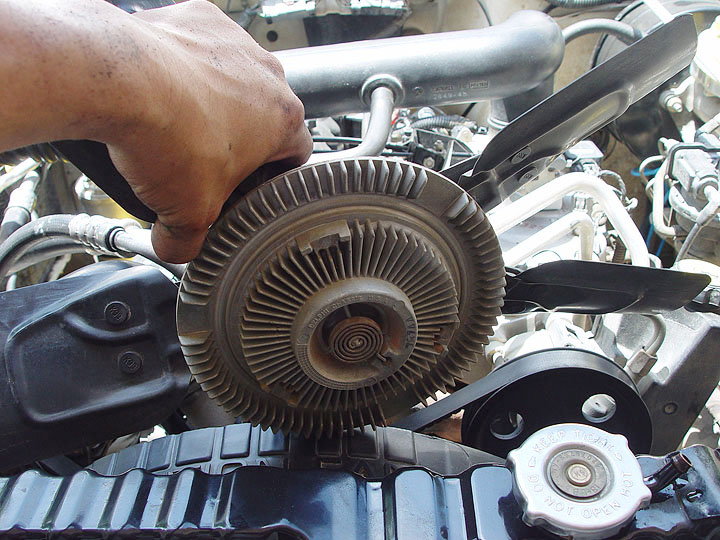
Step 3 – Remove the radiator fan
Attach a large adjustable wrench to the nut holding the fan to the water pump pulley. Rotate the nut counterclockwise to loosen and remove the fan. If the fan is on too tight, you can use a hammer to knock the wrench and force the nut loose. Remove the fan by rotating the blades counterclockwise until the fan can be pulled off of the pulley.
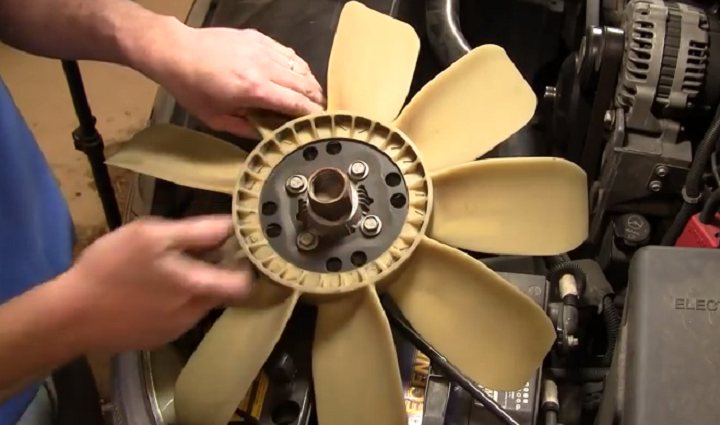
Step 4 – Replace the fan clutch
Lay the radiator fan down so that the seal is facing up; doing so ensures that none of the silicone fluid in the clutch leaks out. Using your ratchet with a 13mm socket, remove four bolts securing the fan clutch to the fan blades and separate the two parts. Attach the new fan clutch to the fan blades, and use the four bolts to secure them together. Reconnect the new fan clutch to the water pump pulley, and then tighten the nut to a snug fit using the adjustable wrench.
Step 5 – Complete the installation
Re-install all of the removed components in reverse order to the steps above. First reattach the radiator hose to the MAF and throttle body, then secure it by tightening the hose clamps. Place the shroud over the radiator fan and re-install the four retainer pins, two 10mm bolts, as well as the radiator hose. Reconnect the car battery and start the car. Visually check if the fan is running properly, and do the rag test again to make sure the fan is bringing in a sufficient amount of air into the engine bay.
Featured Video: How To Install/Replace Engine Fan Clutch
Related Discussions
- How Remove Fan Clutch Without Fan Clutch Tool - ChevroletForum.com
- Fan Blade Causing Fan Clutch Over Engage - ChevroletForum.com