Chevrolet Silverado 1999-2006: How to Replace Upper Radiator Hose
Do you have to keep adding coolant? Do you see moisture on the ends of the upper radiator hose? Do you want to avoid having to pull over onto the side of the highway by easily replacing the hose? Continue reading to learn how.
This article applies to the Chevrolet Silverado GMT800 (1999-2006).
If you're loosing coolant but don't know where it's going, or you've noticed occasional wisps of steam coming out of the engine compartment, chances are that the coolant is leaking onto the hot engine and evaporating. Because the radiator hoses endure a lot of stress and heat during those long drives, they won't last forever. Particularly, the life of your truck's upper radiator hose is dependent on how well you maintain the engine and how much you drive.
As the coolant flowing through the engine is a vital for it to run without overheating, make sure the cooling system remains healthy and intact. If the upper radiator hose in your Silverado has cracks, bulges, or shows any sign of leaking, here's a guide to properly replace the hose yourself.

Materials Needed
- Flat head screwdriver
- Pliers
- Drip pan
- Razor (if necessary)
- Funnel
- Coolant
- Shop rags
Pro Tip
If your truck is running hot, take this time to inspect the cooling system's thermostat. A faulty thermostat is one cause of the engine overheating. The simplest way for you to check is to carefully touch the upper and lower radiator hoses. If both are not hot, your thermostat might need to be replaced.
(Related Article: How to Replace the Thermostat - ChevroletForum.com)
Step 1 – Drain the coolant
- Allow the engine to cool down before working on components under the hood.
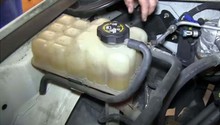
- Pop the hood of your truck, and remove the cap on the coolant overflow tank.
- Underneath the driver's side, bottom corner of the radiator is its drain plug (thumb screw). Position an oil drip pan directly underneath the drain port.
- Twist the thumb screw counterclockwise to remove it, and then allow the coolant to drain.
- Re-install the thumb screw once the coolant flow has stopped.

Figure 1. Uncap the coolant overflow tank. 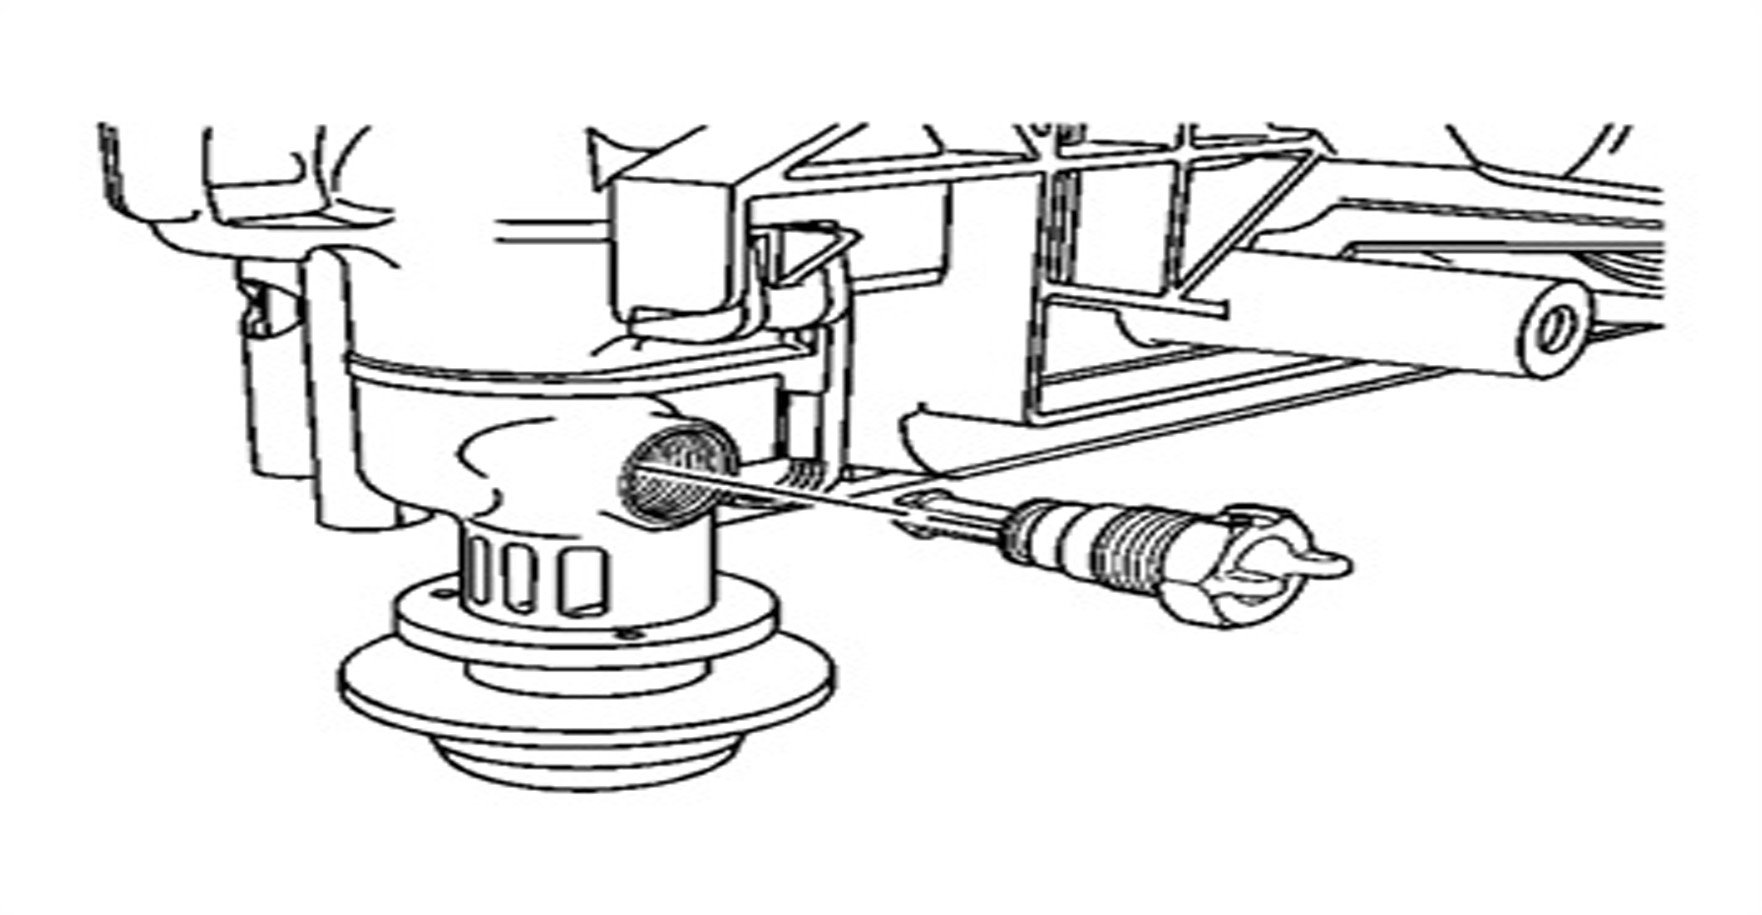
Figure 2. Radiator drain plug diagram. 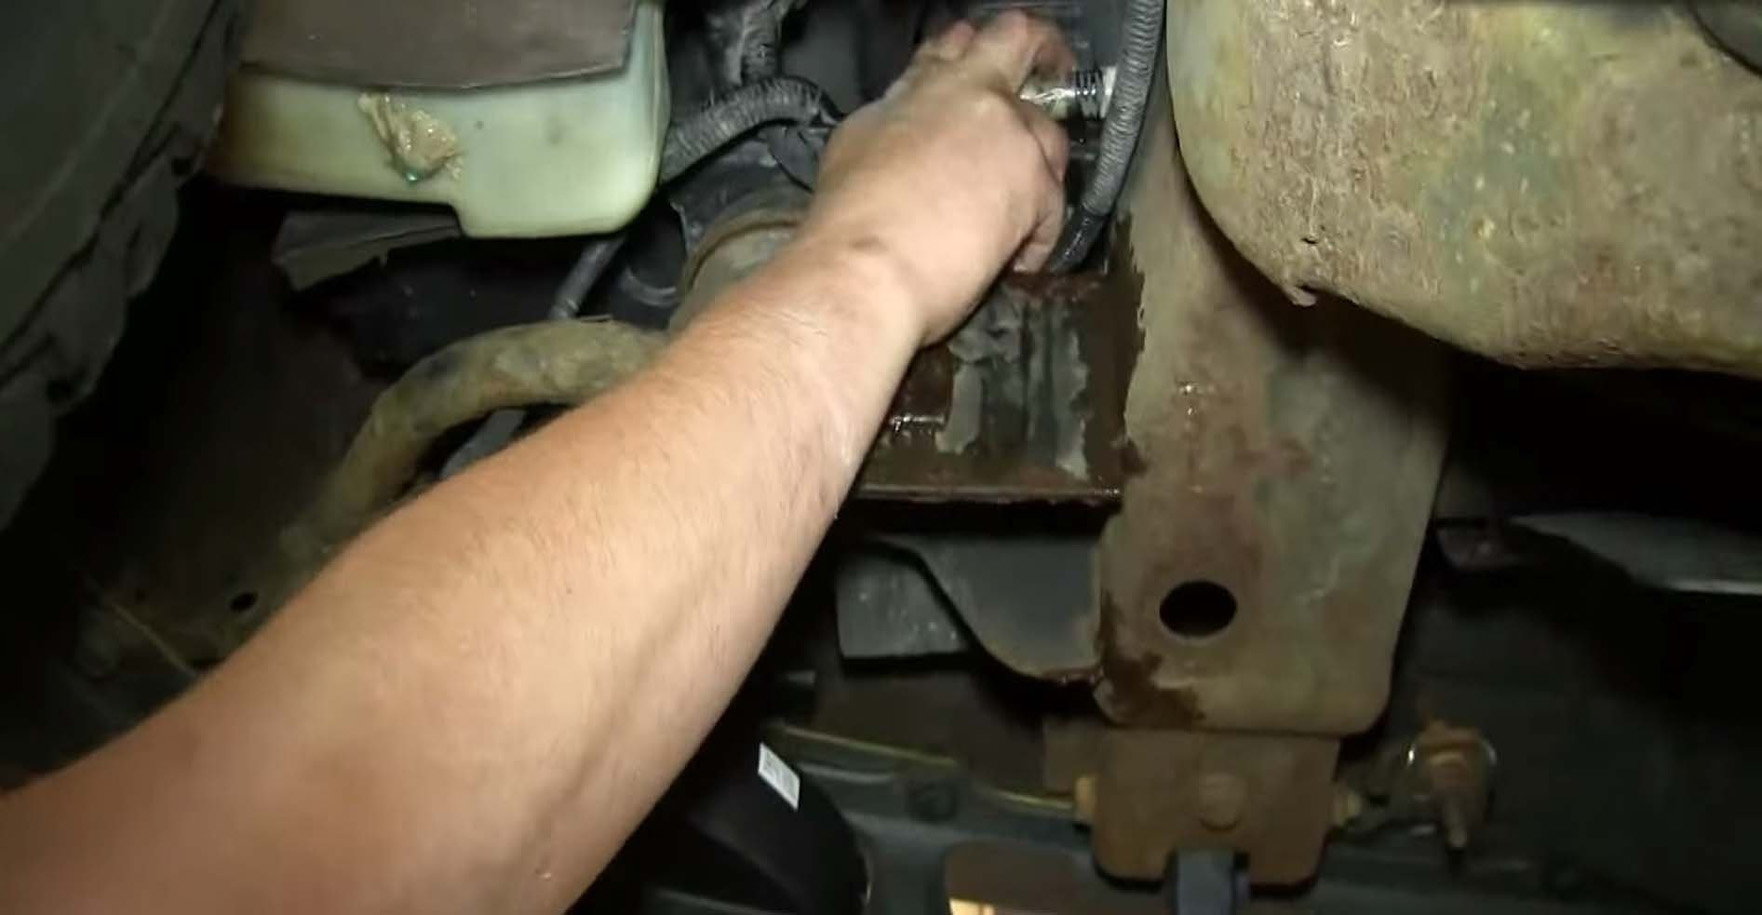
Figure 3. Location of drain plug on driver's side, bottom corner of the radiator. 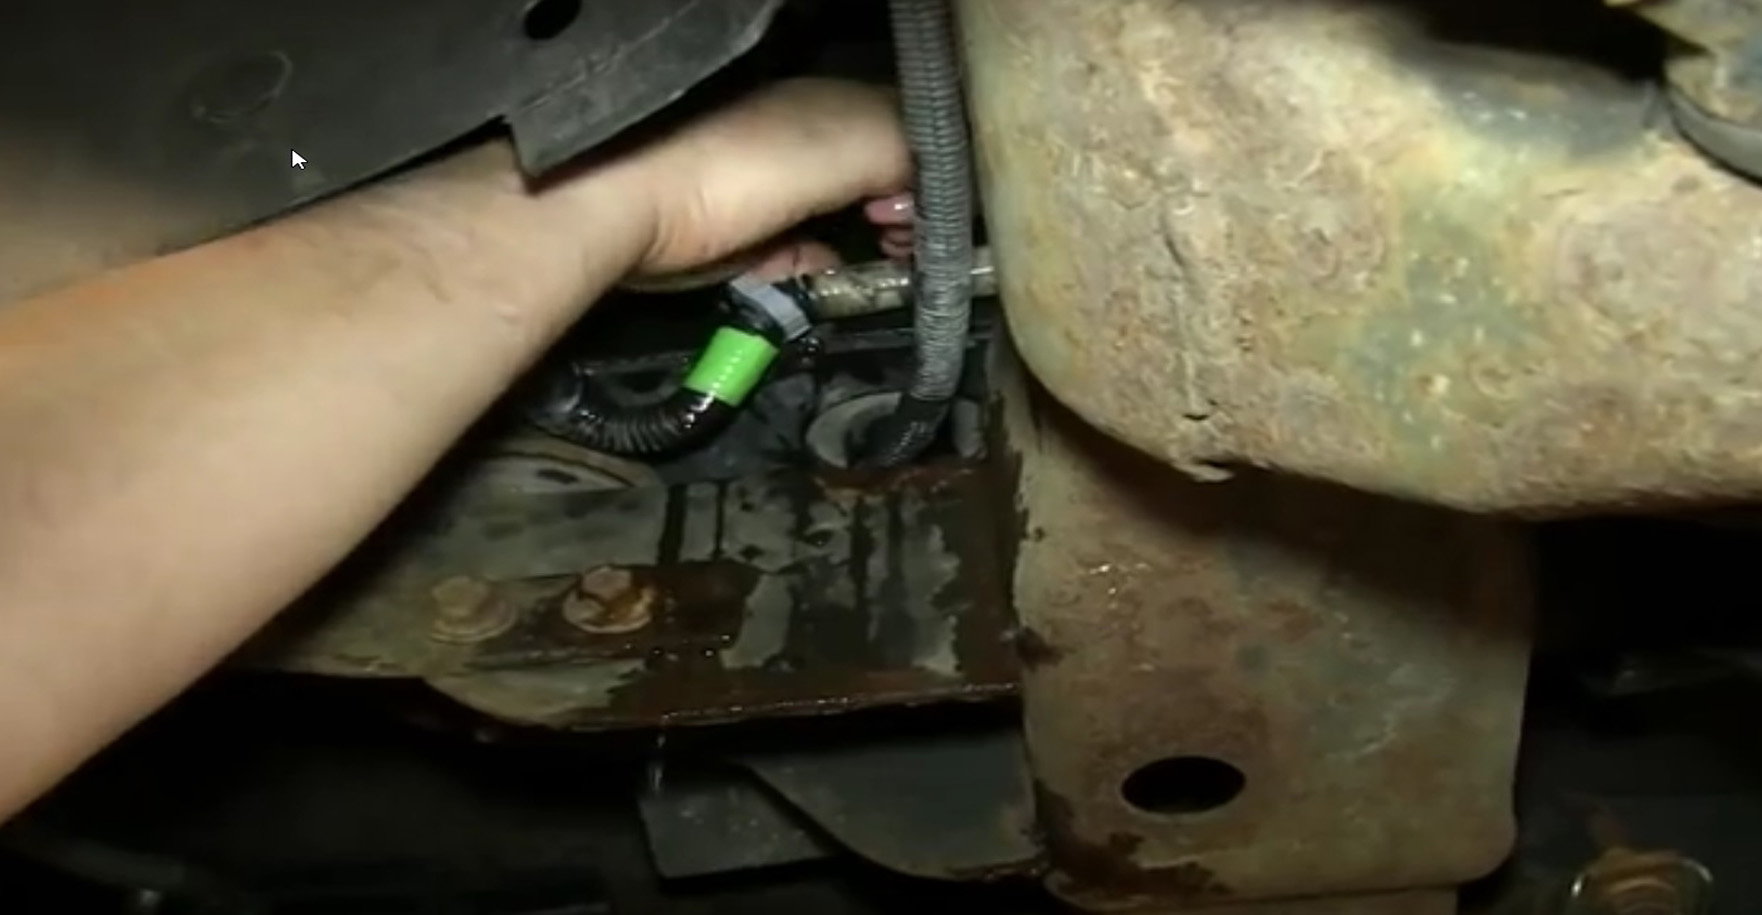
Figure 4. Unscrewing the radiator drain thumb screw.
Step 2 – Remove the air intake hose
Two hose clamps hold the air intake hose in place. One clamps the hose to the MAF sensor, and the other clamps the hose to the throttle body.
- Use a flat head screwdriver to loosen both intake hose clamps.
- Wiggle and pull each end of the intake hose free.
- Lift the intake hose out of the engine bay and set it aside.

Figure 5. Loosen the MAF sensor hose clamp. 
Figure 6. Loosen the throttle body hose clamp. 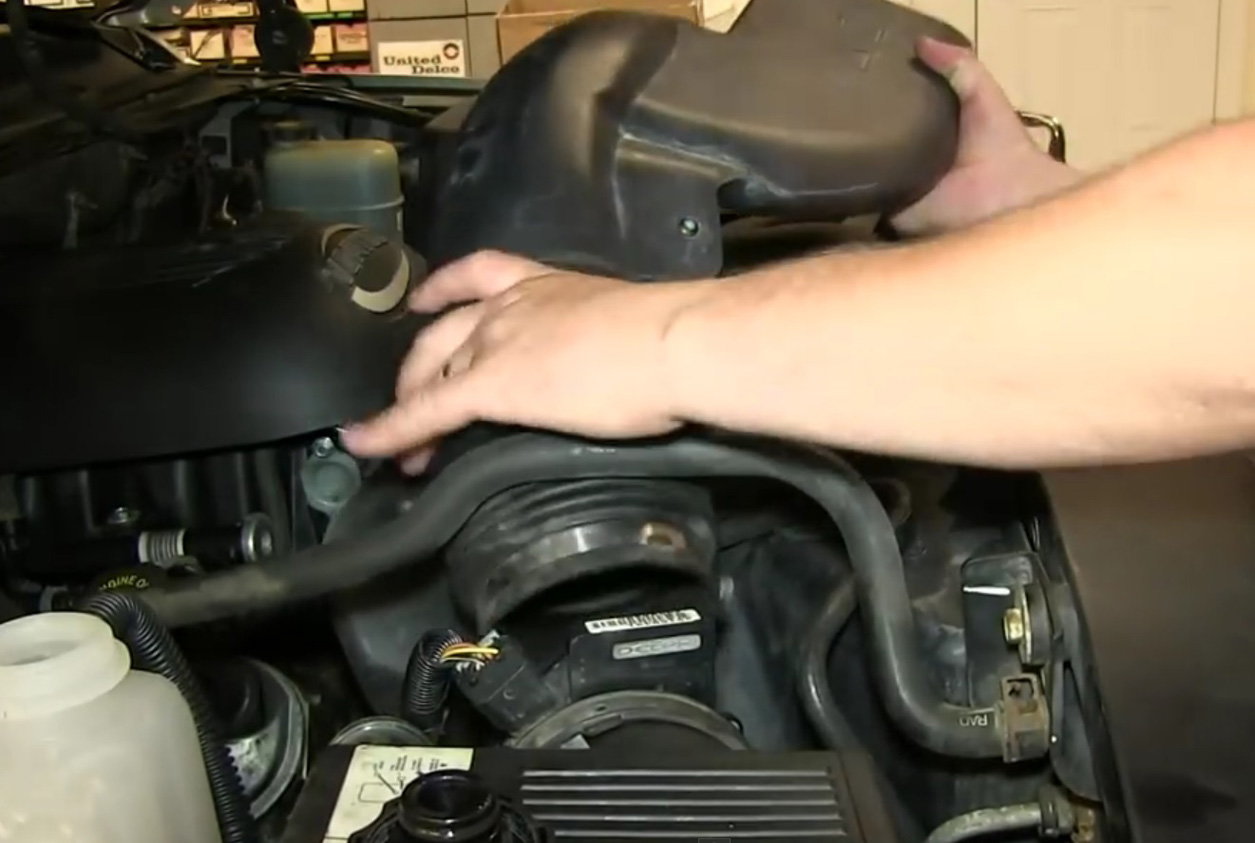
Figure 7. Lift out the intake hose.
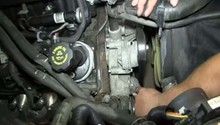
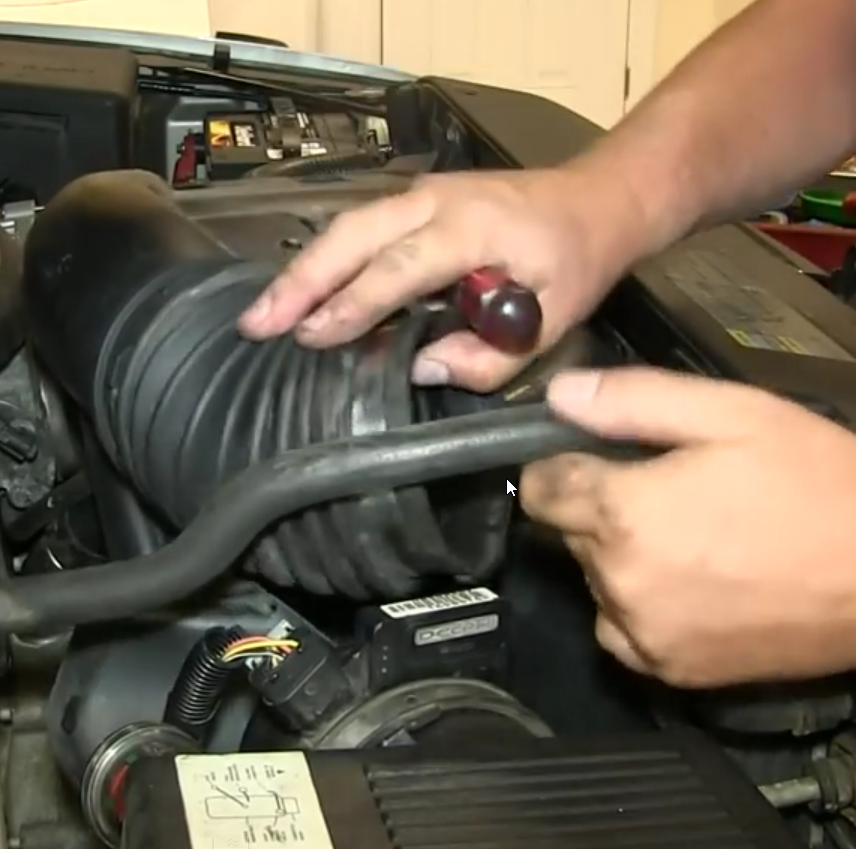
Step 3 – Remove the upper radiator hose
The upper radiator hose runs along the top of the radiator fan shroud, connecting to the radiator and water pump.
- Use pliers to lock open the spring clamp located on the radiator end of the hose. Then, slide the clamp down the hose and pull the hose off.
- Pull up on the middle of the hose to detach it from the fan shroud.
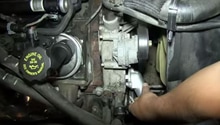
- Detach the small hose that is clipped to the upper radiator hose (on the end connected to the water pump).
- Use pliers to lock open the spring clamp located on the water pump end of the hose. Then, slide the clamp down the hose and pull the hose off.
Pro Tip
If it is difficult to pull off, use a razor to make a cut on the end of the hose.
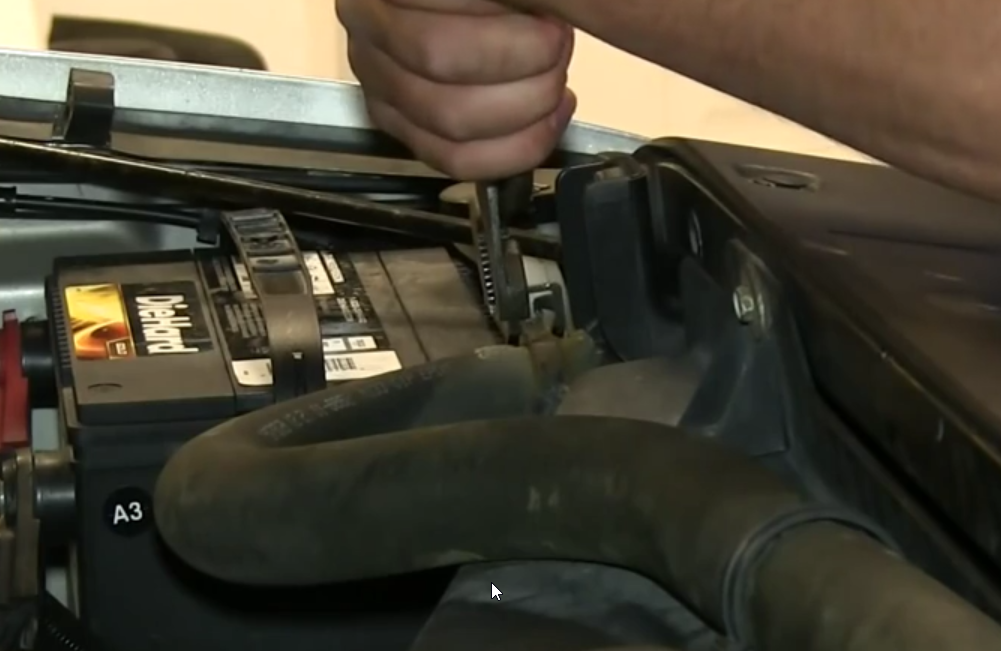
Figure 8. Lock the hose spring clamp. 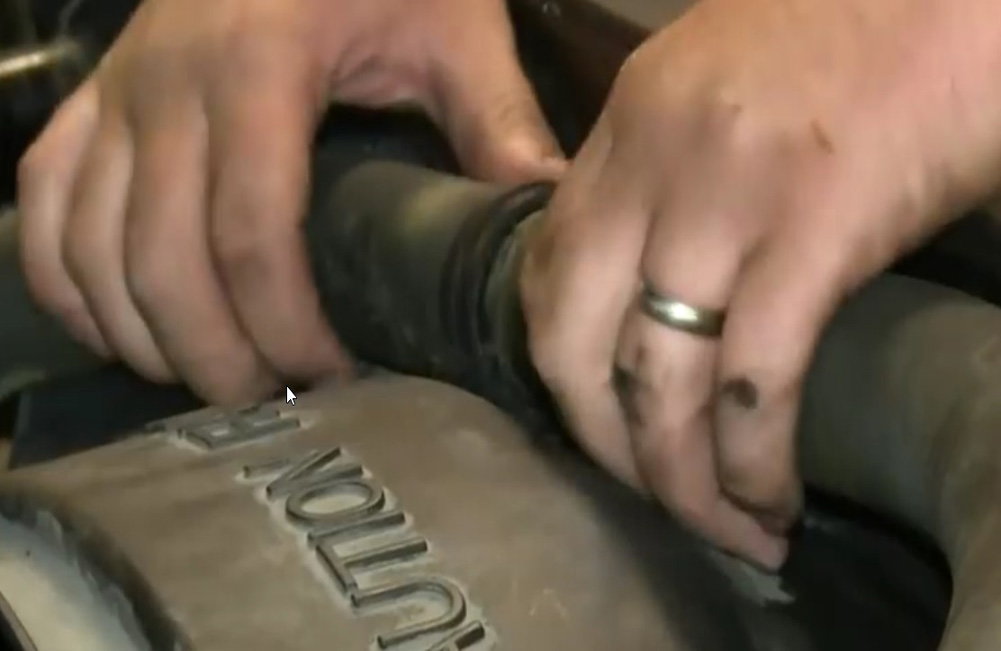
Figure 9. Lift up the center hose clip. 
Figure 10. Cut and widen end of the radiator hose. 
Figure 11. Upper hose removed from water pump.
Step 4 – Install the new upper radiator hose
- Transfer the spring clamps, clips, and heat shield from the old radiator hose to the new hose. Make sure the location of each component is positioned correctly.
- Lock the spring clamp on the water pump end of the hose and connect it to the inlet. Then unlock the clamp to secure the hose in place.
- Re-clip the small hose to the radiator hose.
- Re-clip the middle of the radiator hose to the center of the radiator fan shroud.
- Lock the spring clamp on the radiator end of the hose, and connect it to the radiator. Then unlock the clamp to secure the hose in place.

Figure 12. Transfer the heat shield sleeve. 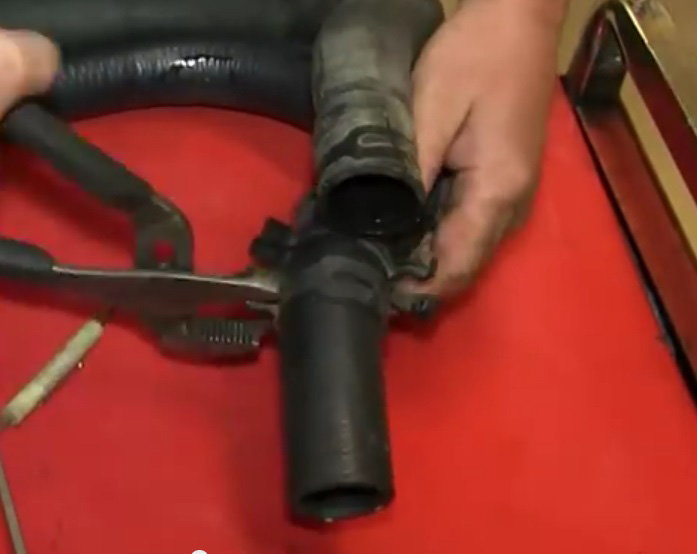
Figure 13. Transfer the hose spring clamp.
Step 5 – Re-install the air intake hose
- Connect the intake hose to the throttle body, and tighten the hose clamp using the flat head screwdriver.
- Connect the other end of the intake hose to the MAF sensor, and tighten the hose clamp.
Step 6 – Add the coolant
- Make sure the thumb screw on the radiator is tightly closed.
- Use a funnel to pour coolant into the radiator overflow tank. Pour until the coolant level reaches the max fill line.
- Start the engine and let it run to operating temperatures.
- Check the fluid level in the coolant overflow tank and top off if necessary. Then re-install the tank's cap.
Featured Video: How to Replace Upper Radiator Hose
Related Discussion
- Coolant Mystery- ChevroletForum.com