Chevrolet Silverado 2007-2013: How to Install Front and Rear Shocks
Shocks compress fluid, and sometimes gas to absorb the bumps you encounter on the road. Manufacturers design shocks for different purposes. Some are better suited for off-road, while others provide more of a luxury feeling for the driver and passengers.
This article applies to the Chevrolet Silverado GMT900 (2007-2013).
Shocks use a mix of fluid pressure, gas pressure, and pistons to create a dampening effect that is able to transfer road vibration into mechanical movement inside the shock. Many different shock manufacturers exist, with some using precision machined valves and bores to achieve a calibrated shock tailored to the needs of the driver. Over time, shocks can internally or externally leak, resulting in little to no dampening effect. Shocks should be changed whenever there is a large increase or decrease in ride height. A ride height change will also change the area of movement that the shock performs best in.

Materials Needed
- Vice grip pliers
- Socket set (15mm-22mm)
- Wrench set
- Spring compressor
- Pry bar
- Jack stands
- Floor jack
Step 1 – Raise the truck
If you do not have access to an air or electric impact wrench, loosen the lug nuts with a 22mm socket before you raise the truck.
Ready your jack stands and use your floor jack to raise each corner of the truck. Position the floor jacks under the frame rail. Using blocks of wood will give you additional height and eliminates damage to the truck from the jack stands hard surface.

(Related Article: How to Jack Up Your Truck - ChevroletForum.com)
Step 2 – Remove the sway bar end links
The sway bar end links attach the sway bar to the lower control arm. Use a wrench to hold the nut at the top of the end link still, while turning the bottom bolt loose with a socket. Lift the sway bar up and off of the end link.
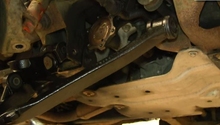
Step 3 – Remove the front strut assembly
Begin removing the front strut assembly by locating the three 18mm nuts at the top of the strut. Remove these, and then finish removing the front strut by loosening the two bottom bolts with a 15mm socket attached to the lower control arm. Pull the shock down and away from the truck to remove it.

Figure 3. Removing the front strut assembly. 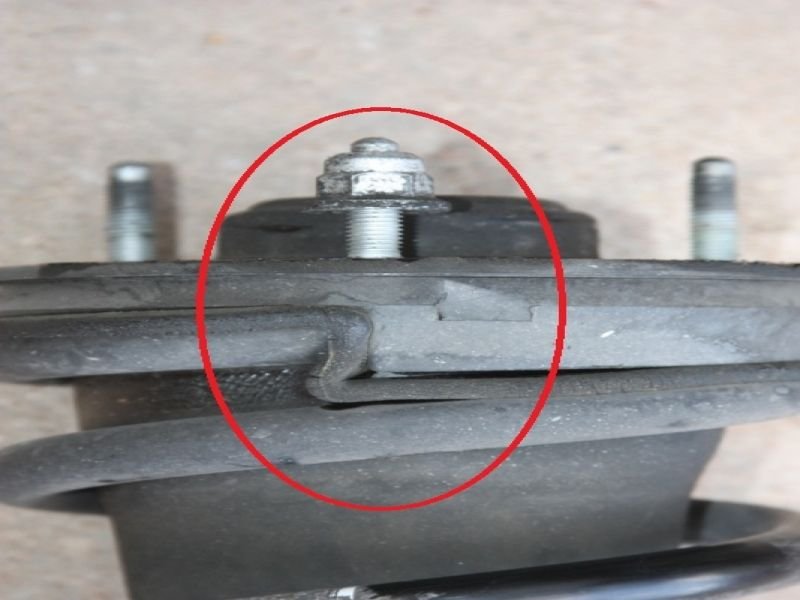
Figure 4. The three nuts holding the top of the strut in place.
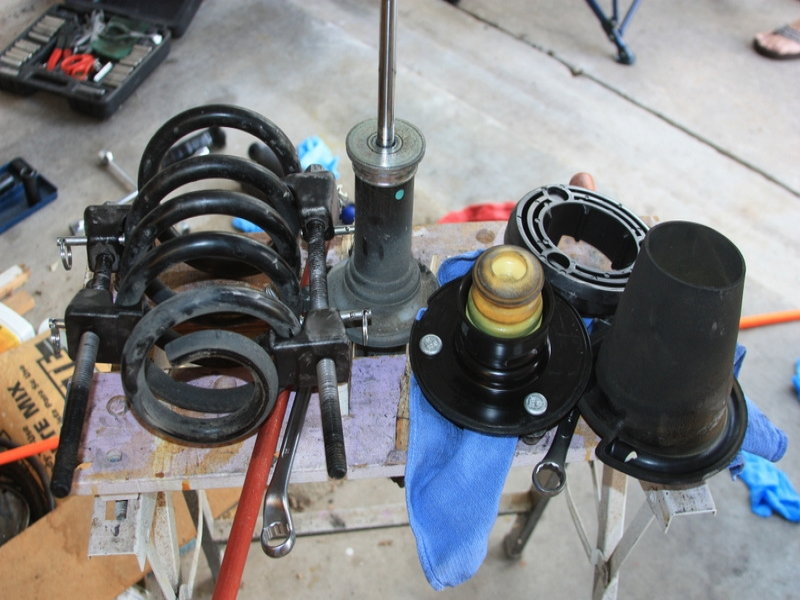
Step 4 – Separate the shock from the coil spring
If you are only replacing the shock absorber, you will need to compress the spring and disassemble the strut. Loosen the nut on top of the strut once the coil is compressed to separate the shock from the strut. You will need to hold the shaft by clamping on a pair of vice grip pliers.
Step 5 – Install the new front shocks
Slide the new shock into position into the strut and tighten down the large center nut. Slowly release the springs compression once the strut collars/hats have been placed back into position. Fit the new shock into the truck. Start the three 18mm nuts by hand, and then install the bottom of the shock to the lower control arm with the two 15mm bolts. Re-install the sway bar end links to the sway bar and lower control arms.
Featured Video: How to Replace Front Shocks
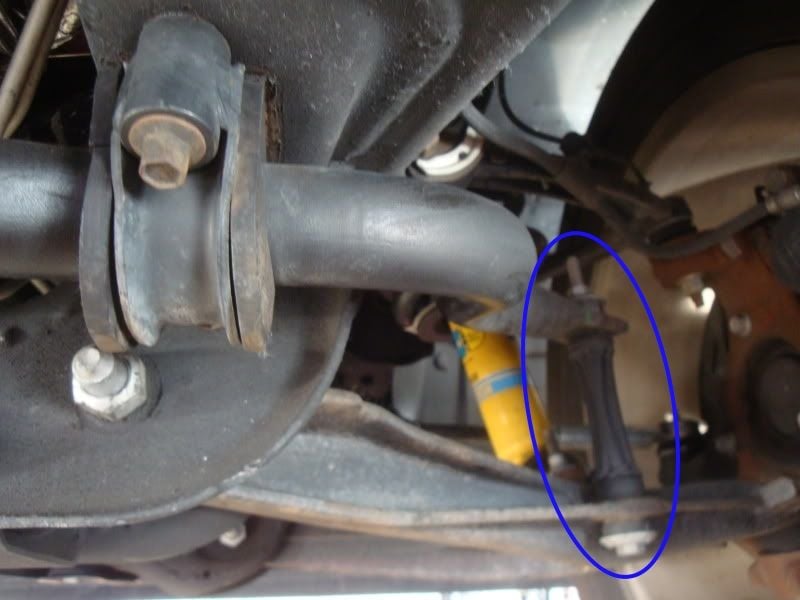
Step 6 – Remove the rear shocks
The rear shock installation is easier. There are only two bolts holding the rear shocks to the truck and rear axle. Use a 21mm socket and wrench to remove the bottom bolt from the shock. The top bolt can be removed with only the 21mm socket.
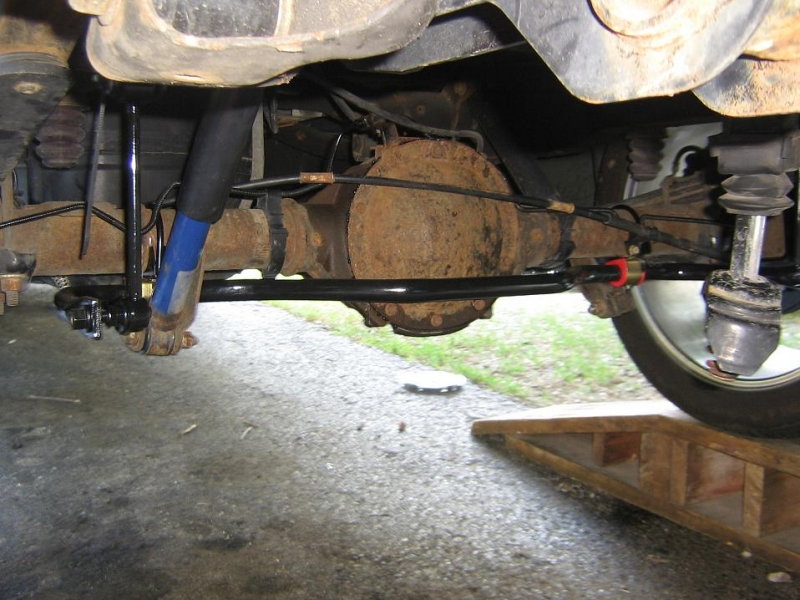
Figure 6. The blue shock is mounted to truck and rear axle. 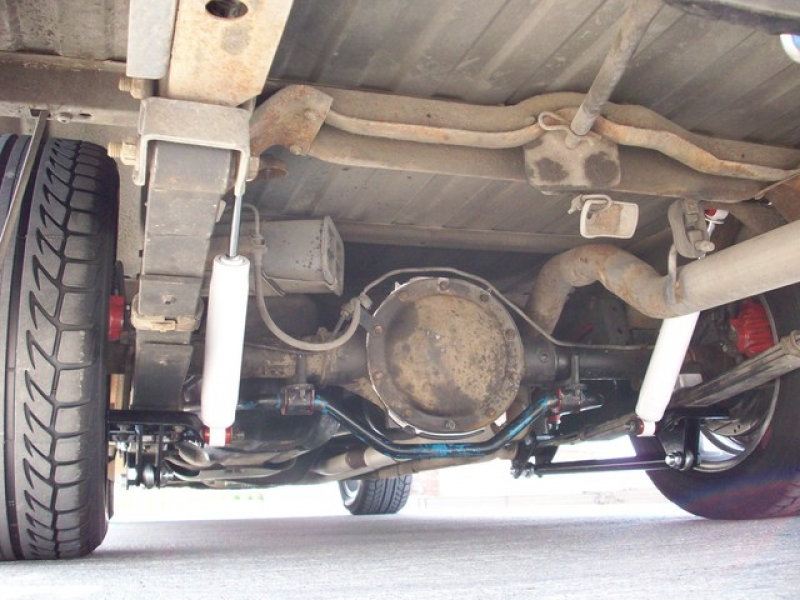
Figure 7. These aftermarket rear shocks have been fitted to this truck.
Step 7 – Finish the installation
Complete the installation by verifying all nuts as well as bolts have been properly tightened, and there are no missing components. Re-install the wheels and lower the truck back down. Push up and down on the front as well as rear of the truck to listen for any odd noises associated with the shock absorbers. If everything appears normal, give the truck a test drive. When you return, look under the truck to confirm there are no fluid leaks near the shocks.
Featured Video: How to Replace Rear Shocks
Related Discussions
- New Shocks - ChevroletForum.com
- Best Shocks - ChevroletForum.com
- Suggestions for Shocks - ChevroletForum.com
- Rear Shocks for 2010 Silverado - ChevroletForum.com