Chevrolet Silverado 1999-2006: The Ultimate Leveling Modification Guide
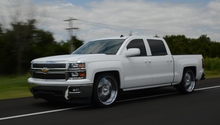
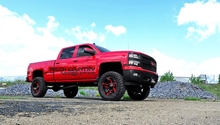
Tired of staring at the ground as you drive down the road? Maybe it’s time to install a leveling kit in your Silverado to raise the front end and keep your view where it should be.
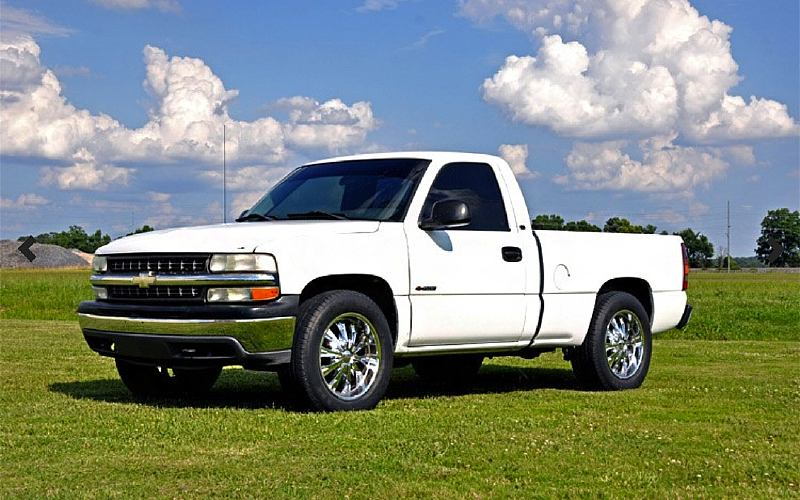
This article applies to the Chevrolet Silverado 1500 2WD GMT800 (1999-2006).
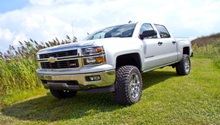
Although the terms “lift” and “leveling” seem to be used interchangeably, they refer to two different things. A suspension “lift kit” raises your entire truck, which not only allows for the installation of massive tires, but might also require some extra effort when climbing into the cabin. A “leveling kit” refers to adding lift only to the front suspension (usually between one to three inches), which levels out the front end with the height of the bed.
Because Silverado 1500s were designed to haul typical loads of 400 to 600 pounds (181 to 272 kg) and loads of up to 1,000 pounds (454 kg), the rear suspension comes pre-installed with overload springs to account for the extra weight and help keep the vehicle leveled. However, with the bed empty, the truck naturally angles downward toward the front. For this reason, people who usually drive with no load in the back may want to level their truck, which doesn't only enhance the look of their truck, but also its safety. For example, with the front end lifted, the headlights illuminate more of the road and the ride is generally smoother as well as more comfortable. Also, for those who've added some heavy hardware to the front end, such as a large bumper winch, the argument for leveling their truck becomes even stronger.
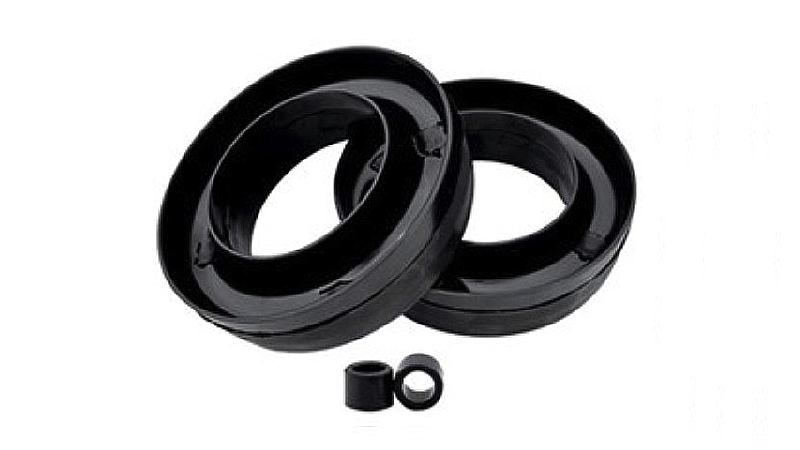
There are numerous companies that offer both lifting and leveling kits for the 1999 to 2006 2WD Silverado, including ReadyLift, Skyjacker, and Rough Country. This article will go through the steps necessary to install the popular 1.5-inch coil spacer leveling kit, which Rough Country makes to fit this series of Chevy Silverado 1500 trucks. Note that this bolt-on kit was designed to accomplish three things:
- Level the truck from front to back.
- Utilize all of the stock suspension connections and coil springs.
- Give you enough additional ground clearance to run with 32-inch tires all-around.
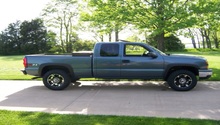
To determine how much you should raise the front end to make it leveled, park your truck on flat pavement, make sure the tires are inflated with equal pressure and that there’s no load on the bed. Measure the distance from the pavement to the highest center-point of each wheel’s fender lip. The difference between the front and rear will dictate the thickness of the levelers you want.
Table of Contents
Leveling Kit Review
Many find that the Rough Country leveling kits are easy to install and a great value. However, each leveling kit brand caters to each individual's preferences. Consider the options below when deciding what kit best fits your needs.
ReadyLift |
Skyjacker |
Rough Country | |
|---|---|---|---|
Price |
$229.95 | $148.35 | $99.95 |
Leveler Height |
2 inches | 2 inches | 1.5 inches |
Material |
Urethane fused onto steel | Polyurethane, black | A36 Steel |
Max Tire Size |
32 inches | 32 inches | 32 inches |
Warranty |
Life of vehicle | Life of vehicle | Life of vehicle |
Part Number/SKU |
66-3025 | C209P | 7599 |
Best Value: Rough Country
ReadyLift
Price – $229.95
Height – 2 inches
Material – Urethane fused onto steel
Max Tire Size – 32 inches
Warranty – Life of vehicle
Part Number/SKU – 66-3025
The ReadyLift kit is made from polyurethane-fused steel to keep the ride smooth and quiet. This kit also helps to prevent deterioration of the finish, while keeping the dimensions of the leveler intact. The front spacers, customized to hold piston travel within the truck's specs, keeps the vehicle leveled with the rear without adding any additional pressure to the stock suspension. Recommended for truck enthusiasts who want to add height without installing new, longer shock absorbers.
Skyjacker
Price – $148.35
Height – 2 inches
Material – Polyurethane, black
Max Tire Size – 32 inches
Warranty – Life of vehicle
Part Number/SKU – C209
Described as a “value” spacer leveling kit, Skyjacker's spacers are made from solid a polyurethane compound. These spacers are ideal for trucks with extra front end sag from a heavy bumper, winch, plow, etc. Longer shock absorbers are recommended to get the full extension advantage from the front springs. The Skyjackers are an economical way to gain an additional two inches on the front end for those also planning to install a new pair of shocks. Recommended for heavy duty quality without affecting ride quality.
Rough Country
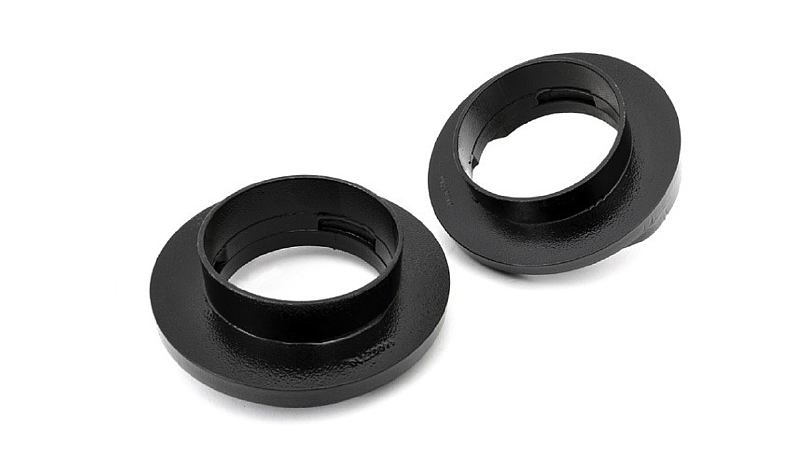
Price – $99.95
Height – 1.5 inches
Material – A36 steel
Max Tire Size – 32 inches
Warranty – Life of vehicle
Part Number/SKU – 7599
For a stock Silverado configuration, the Rough Country steel levelers can be utilized on all of the OEM suspension components, including the factory shock absorbers. These levelers are also the least expensive way to level your 2WD truck. Recommended for their value, compatibility, and Rough Country's good reputation for quality products.
How to Install a Leveling Kit
Although leveling kits differ form one another and their installation requires tampering with suspension components, the DIY procedure is easier than you might think. However, remember to follow manufacturer guidelines as they are designed specifically for each truck, and have an alignment done after the installation.

Materials Needed
- Front end leveling kit
- Hydraulic floor jack and jack stands
- Wheel chocks
- Ball joint separator (optional)
- Hammer
- Pry bar
- Bungee cord
- WD-40 (optional)
- 10, 12, 15, and 18mm sockets
- Ratchet and extension
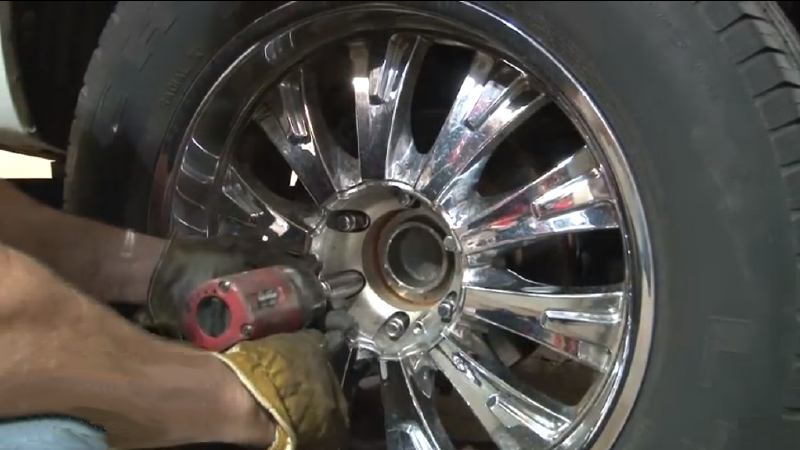
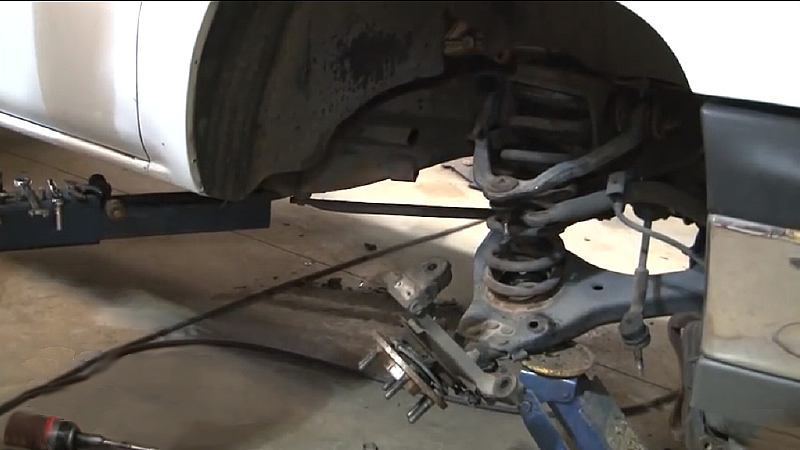
Step 1 – Jack up the truck
- Park your truck on level ground and engage the emergency brake.
- Chock the rear tires to prevent the truck from rolling backwards
- Loosen the lug nuts of the front tires while they are still grounded.
- Using a floor jack, raise the front end of the vehicle.
- Place the jack stands under the frame rails just behind the lower control arm mounts.
- Then lower the truck onto the jack stands.
- Remove the lug nuts as well as the wheels, and set them aside.
(Related Article: How to Jack Up Your Truck - ChevroletForum.com)
Step 2 – Remove the brake line and ABS wire
- Remove the bolt that holds the brake line to the knuckle.
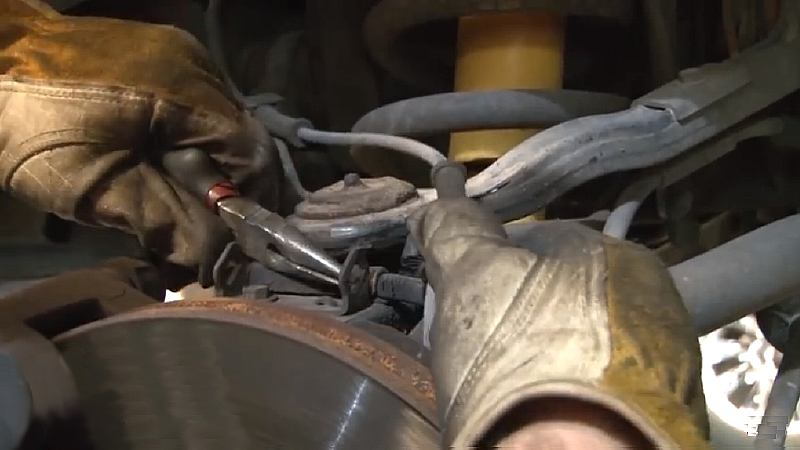
- Remove the ABS wheel speed sensor wire harness from the control arm mount.
- Free the wire harness from the clip on the upper coil seat.
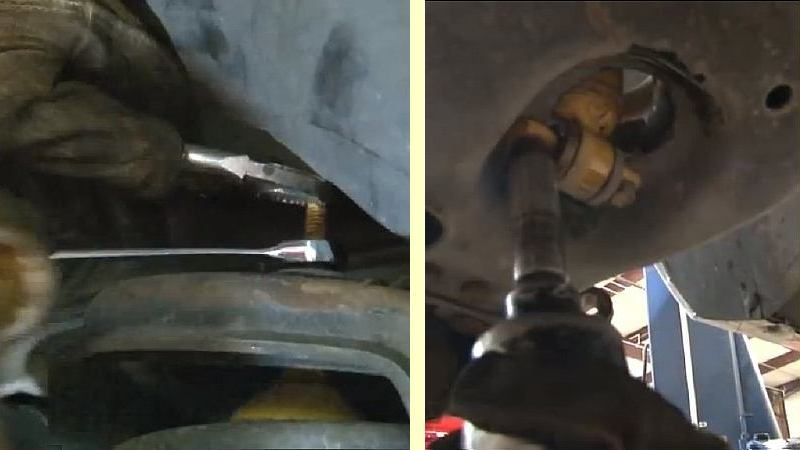
Step 3 – Remove the tie rod
- Loosen the bottom nut of the tie rod end.
- Strike the bottom of the tie rod with a hammer to free it from the knuckle.
- Set the tie rod aside.
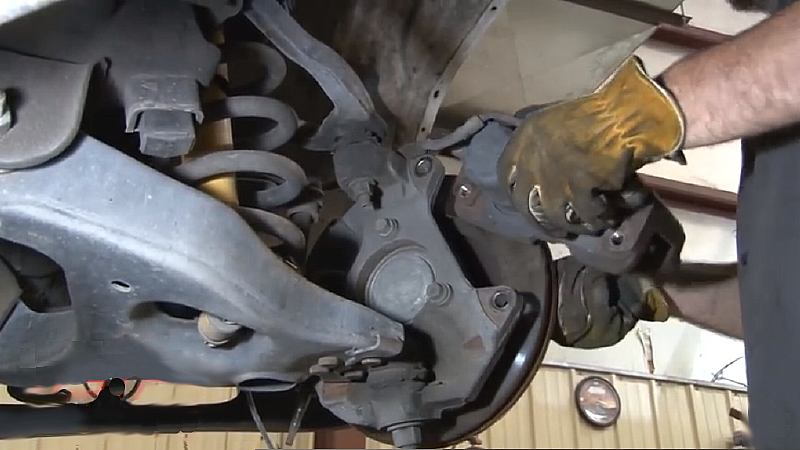
Step 4 – Remove the brake caliper and rotor
- Remove the caliper mounting bolts.
- Slide the caliper off the rotor and support it using a bungee cord.
- Pull off the brake rotor from the hub assembly, and set it aside.
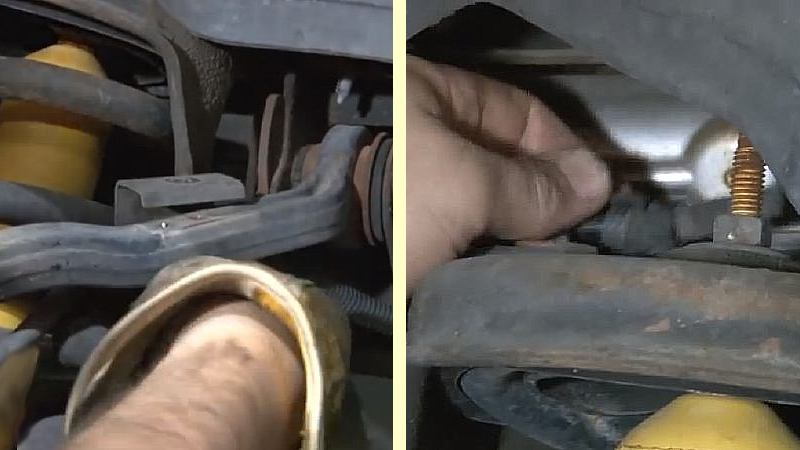
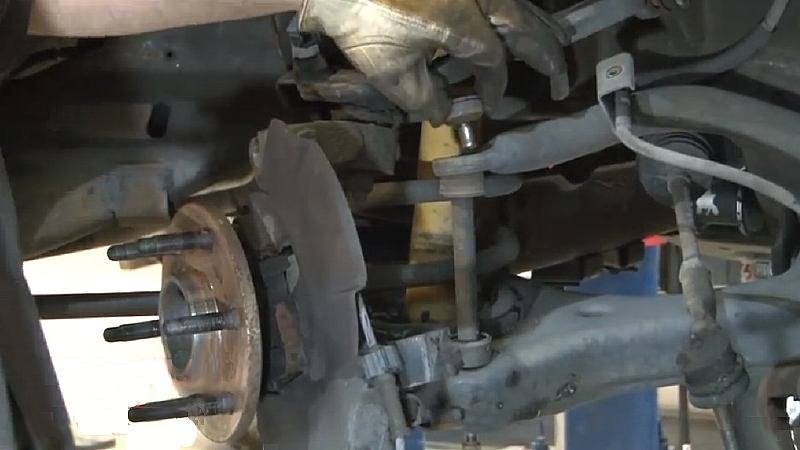
Step 5 – Remove the sway bar
- Hold in place the upper nut on the sway bar link.
- Use a socket and ratchet to remove the bottom sway bar link bolt.
- Set the sway bar aside.
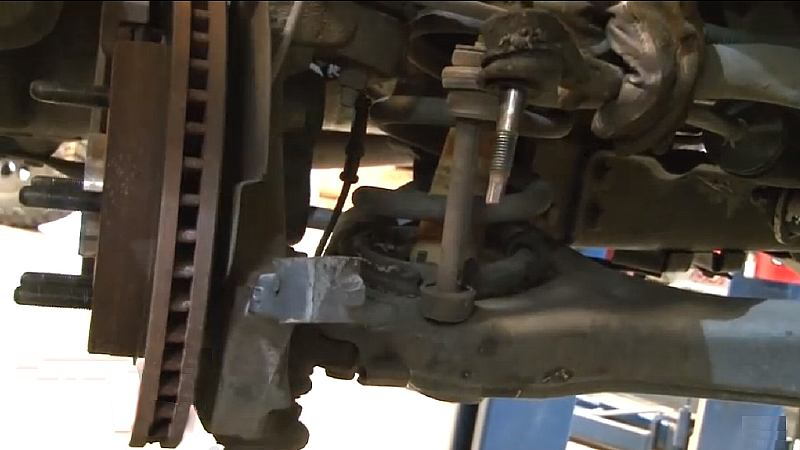
Step 6 – Remove the shock absorber
- Loosen the nut on the upper shock mount.
- Remove the two bolts of the lower shock mounts.
- Pull down the shock absorber from the bottom and out of the coil spring.
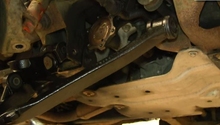
Step 7 – Separate the upper control arm and knuckle
- Place a floor jack underneath the lower control arm, and raise it to about one inch below the control arm.
- Remove the upper ball joint nut that holds the upper control arm to the knuckle.
- Separate the knuckle from the upper ball joint by striking down on the knuckle with a hammer, or use a ball joint separate tool.
- Support and lower the control arm using the floor jack.

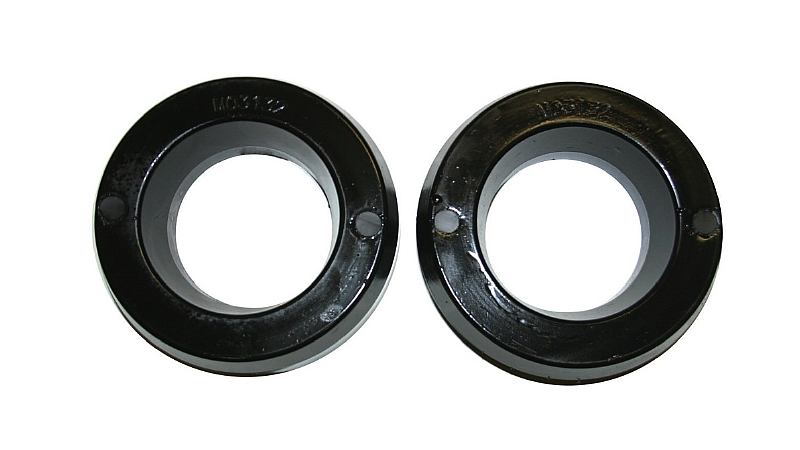
Step 8 – Install the leveling spacer
- Pull down on the coil spring to remove it from the spring bucket.
- Remove the coil spring from the wheel well.
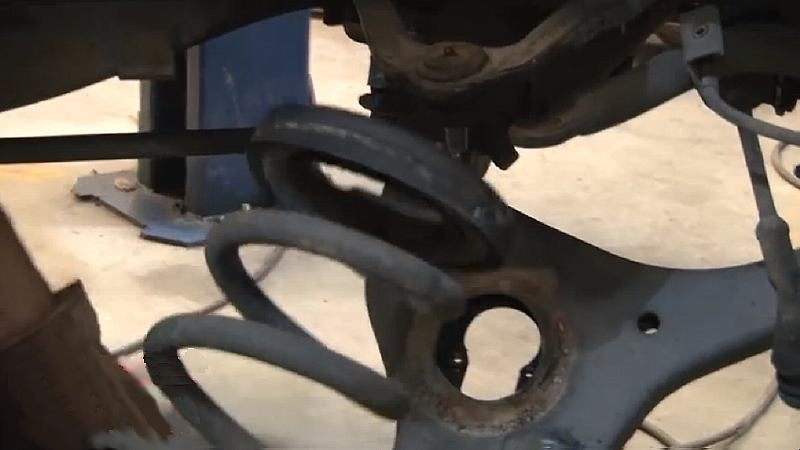
- Install the new spacer on top of the coil spring. Make sure to leave the isolator in place.
- Rotate the cut-out side of the spacer 180 degrees from the spring's pigtail end.
Step 9 – Re-install the coil spring
- Place the coil spring into the spring bucket.
- Compress the coil spring by using the floor jack to raise the lower control arm.
Step 10 – Re-install the components
- Reattach the upper control arm ball joint to the knuckle, and tighten the nut to factory specs.
- Re-install and tighten the sway bar link bolt.
- Re-install the shock absorber, and tighten the upper shock mount nut as well as the lower shock mount bolts.
- Slide the brake rotor back onto the hub assembly.
- Slide the brake caliper onto the rotor and tighten the caliper mounting bolts.
- Clip the ABS wire onto the upper coil seat, and secure the wire to the control arm mount.
- Reattach the brake line to the knuckle.
- Reattach the tie rod end to the knuckle and tighten the lower nut.
- Re-install the wheel, and lower the vehicle.
Pro Tip
Have the wheels aligned and the headlights adjusted after the installation.
Featured Video: Leveling Kit Installation
Related Discussion and Sites
- Need Info Leveling Kits - ChevroletForum.com
- ReadyLift Leveling Kits for Silverado - ReadyLift.com
- Skyjacker Leveling Kits - Skyjacker.com
- Rough Country Leveling Kits - RoughCountry.com
- Chevy Silverado Suspension Options - AutoAnything.com