Chevrolet Silverado 1999-2006: The Ultimate Lowering Kit Guide
Do you want to lower your Silverado? Not only will this article show you how to do it, but it will also give you a review of the most popular lowering kit brands on the market.
This article applies to the Chevrolet Silverado GMT800 (1996-2006).
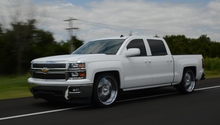
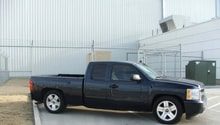
Lowered trucks have been around for a long time, and the popularity of drop kits still remains strong. The reason is simple: lowered trucks handle better, they don't have that giant void of space between the tires and the wheel wells, and they just plain look nice. If you're interested in installing a lowering kit in your Silverado, the process is fairly simple. This article will guide you through the steps, and provide you with some great brands to choose from.
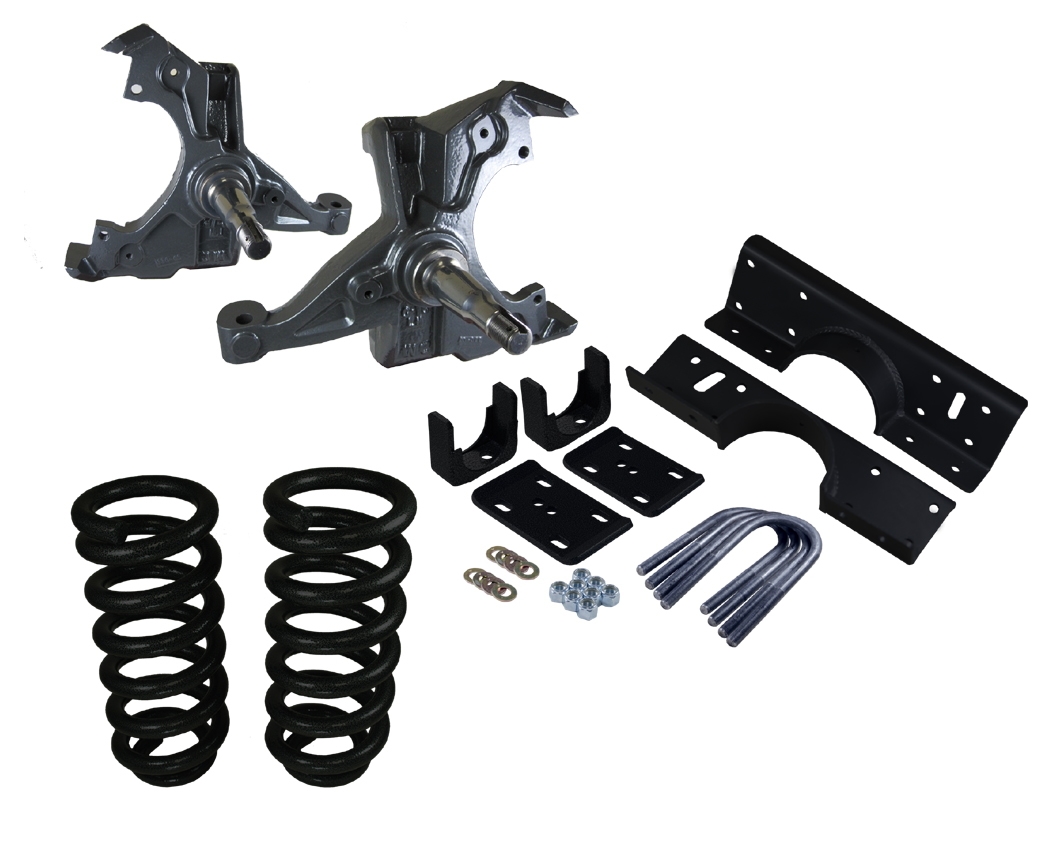
Depending on which kit you choose, there are a variety of ways to lower the front suspension, which include lowering springs, control arms, or drop spindles. Lowering springs are shorter versions of the stock springs. Lowering spindles allow you to lower the truck without changing the shock and spring travel. And control arms allow the spring to rest lower in the pocket by lowering the ball joint. In this article, a Western Chassis will be used in the how-to.
Table of Contents
Lowering Kit Reviews
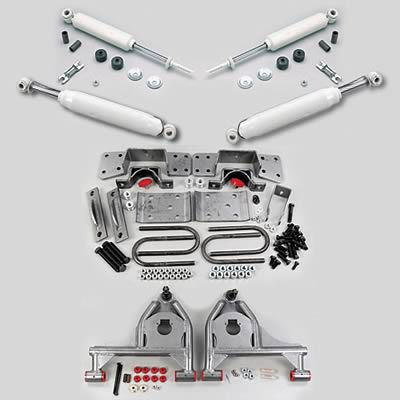
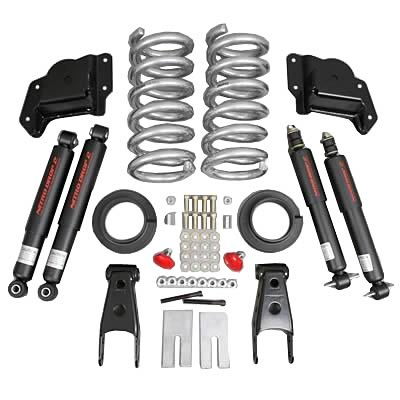
There are countless brands and types of lowering kits available for the Chevy Silverado, and here are some of the most popular brands for you to take a look at. What distinguishes the different brands and kits is quality, price, and reputation. While installation is generally the same for all of these kits, there are some notable differences to take into consideration before taking the plunge and purchasing one. If you want to go beyond a 4" drop in the rear, you will need to purchase a kit that contains a flip kit. This adds considerable labor to the job, as you must "flip" the rear axle and the leaf spring assemblies. Also, keep in mind that some kits do not come with shocks. It is highly recommended that you purchase a kit with drop shocks. Even though you can use your stock shocks with a drop kit, they will wear out very quickly following installation and your truck's ride quality will suffer.
Western Chassis |
McGaughy's |
DJM |
Belltech | |
|---|---|---|---|---|
Price |
$494 | $589 | $635 | $544 |
Front Drop |
2" | 3-5" | 4" | 3" |
Rear Drop |
4" | 4-7" | 6" | 4" |
Front Shock |
N/A | Gas charged monotube | Gas charged twin tube | Gas charged twin tube |
Rear Shock |
N/A | Gas charged monotube | Gas Charged twin tube | Gas charged twin tube |
Warranty |
Limited Lifetime | Limited Lifetime | Limited Lifetime | Limited Lifetime |
Best Value: McGaughy's
Western Chassis
Price – $494
Front Drop – 2"
Rear Drop – 4"
Front Shock – N/A
Rear Shock – N/A
Warranty – Limited Lifetime
Western Chassis manufactures kits that are high in quality. Their basic kit is a good value, but take note that it doesn't include shocks. You can expect to add another $200 to $250 for a set of quality drop shocks. The deluxe kit features drop spindles, springs, and a rear flip kit that will lower your truck 2" in the front and 4" in the rear. Western Chassis components are a great choice if you don't mind spending the extra money, or plan on sticking with stock shocks for a while since their quality and reputation are competitive. Recommended for its high-quality reputation.
McGaughy's
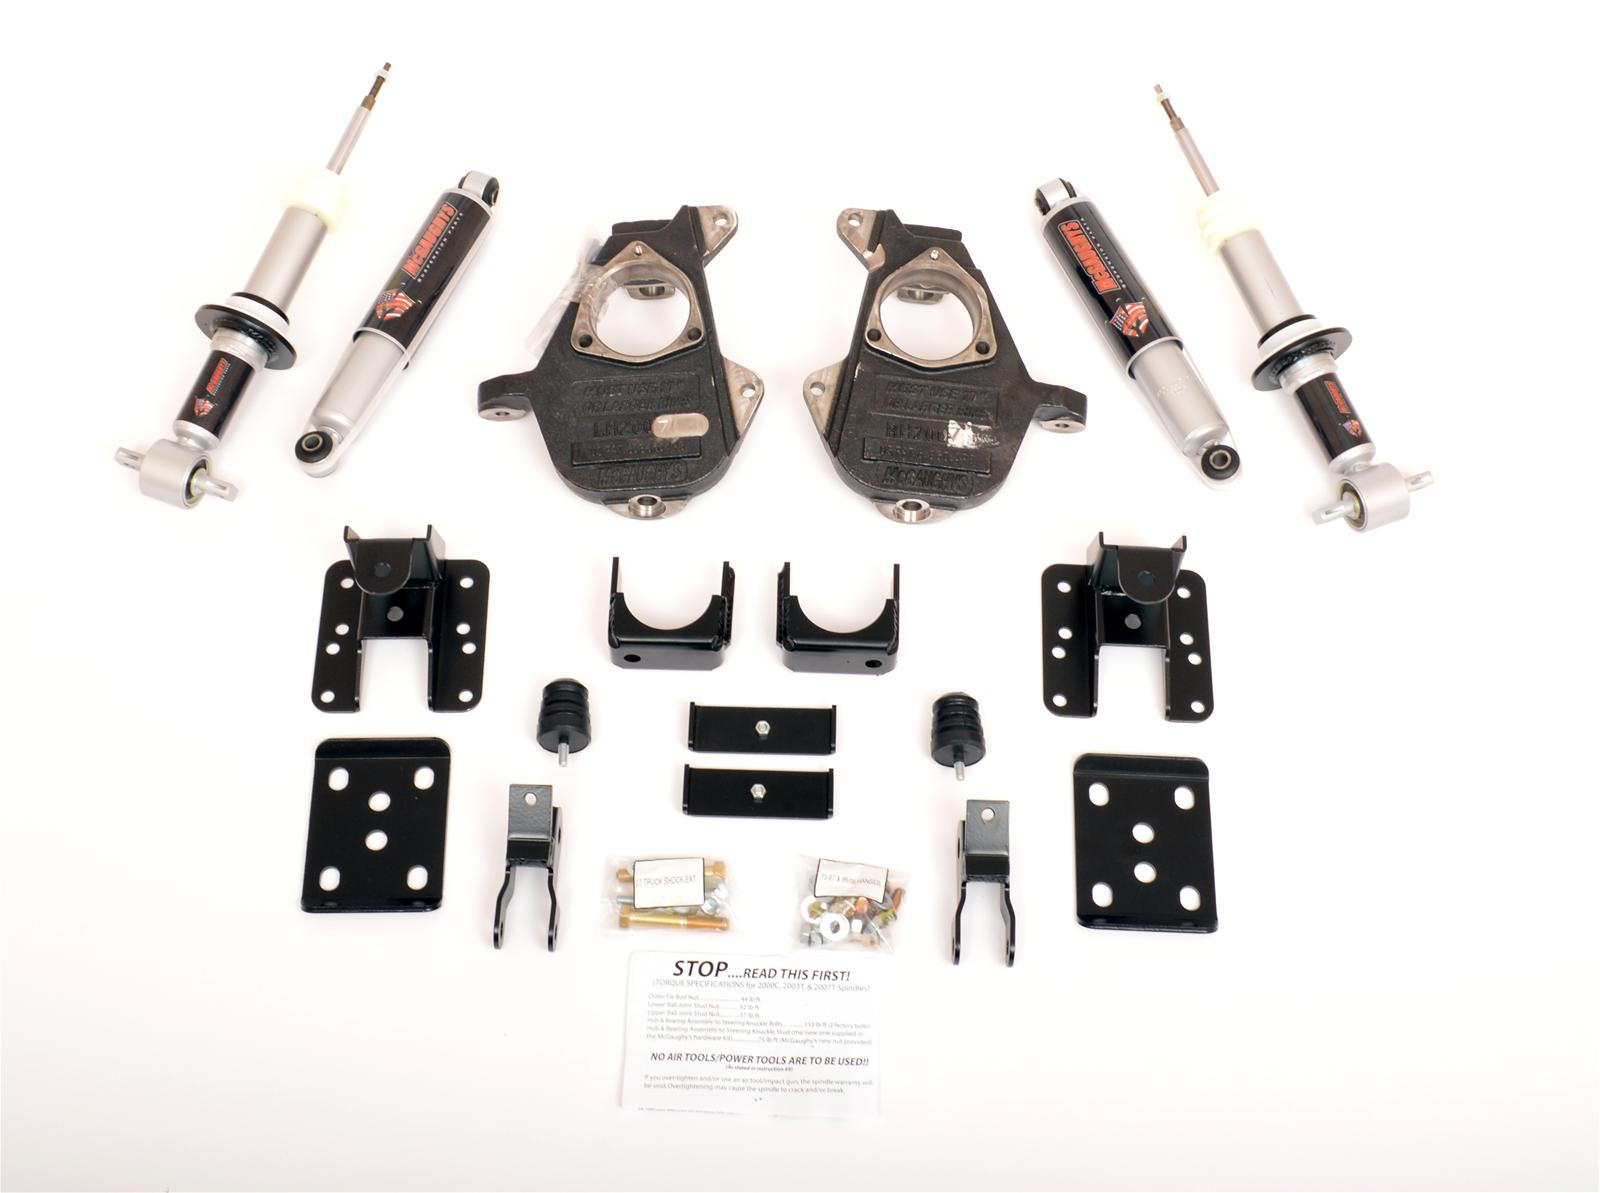
Price – $589
Front Drop – 3-5"
Rear Drop – 4-7"
Front Shock – Gas charged monotube
Rear Shock – Gas charged monotube
Warranty – Limited Lifetime
McGaughy's drop kits give you a good quality product for a great price. Their all-in-one solution is by far the cheapest of the group, considering that it comes with shocks, spindles, and also provides your truck with the biggest drop. It's worth noting, however, that some have reported issues with their truck's ABS and traction control systems after installation. You will mostly likely have to shorten the links for the sensors as well. Recommended for its low price and great quality.
DJM
Price – $635
Front Drop – 4"
Rear Drop – 6"
Front Shock – Gas charged twin tube
Rear Shock – Gas charged twin tube
Warranty – Limited Lifetime
DJM kits come with spindles, shocks, and a flip kit, giving you a big drop of 4" in the front and 6" in the rear. This kit is a good value for what it's worth, and owners report good ride quality, which can sometimes degrade considerably after the installation of such a kit. DJM's kits also come with detailed instructions, unlike some of the competitors. Recommended for its easy installation.
Belltech
Price – $544
Front Drop – 3"
Rear Drop – 4"
Front Shock – Gas charged twin tube
Rear Shock – Gas charged twin tube
Warranty – Limited Lifetime
Belltech is a well established and reputable brand in producing lowering kits, and this company has been around for a long time. Belltech sells a great drop kit for the Silverado, which is a great value and extremely easy to install since the procedure involves replacing the rear shackles instead of installing a flip kit. The Nitro Drop shocks that come with Belltech's kits are also an in-house part that are specifically designed for lowered trucks, offering a superior ride quality. Many owners even claim that their ride is better than with the stock suspension. Recommended for its enhancement ride quality.
How to Install a Drop Kit
Installing a drop kit is easier than you might think. Few components are needed, and the perks as well as price will outweigh the effort of doing it yourself. The advantages these kits add to your truck are improved traction and safety on flat roads, including a more balanced weight distribution to reduce rollover risk. After the installation, you should also notice more comfort and slightly higher fuel economy because of the reduced drag.

Materials Needed
- Jack and jack stands (or lift)
- Air wrench and deep sockets
- Spring compressor
- Hammer
- Ball joint tool
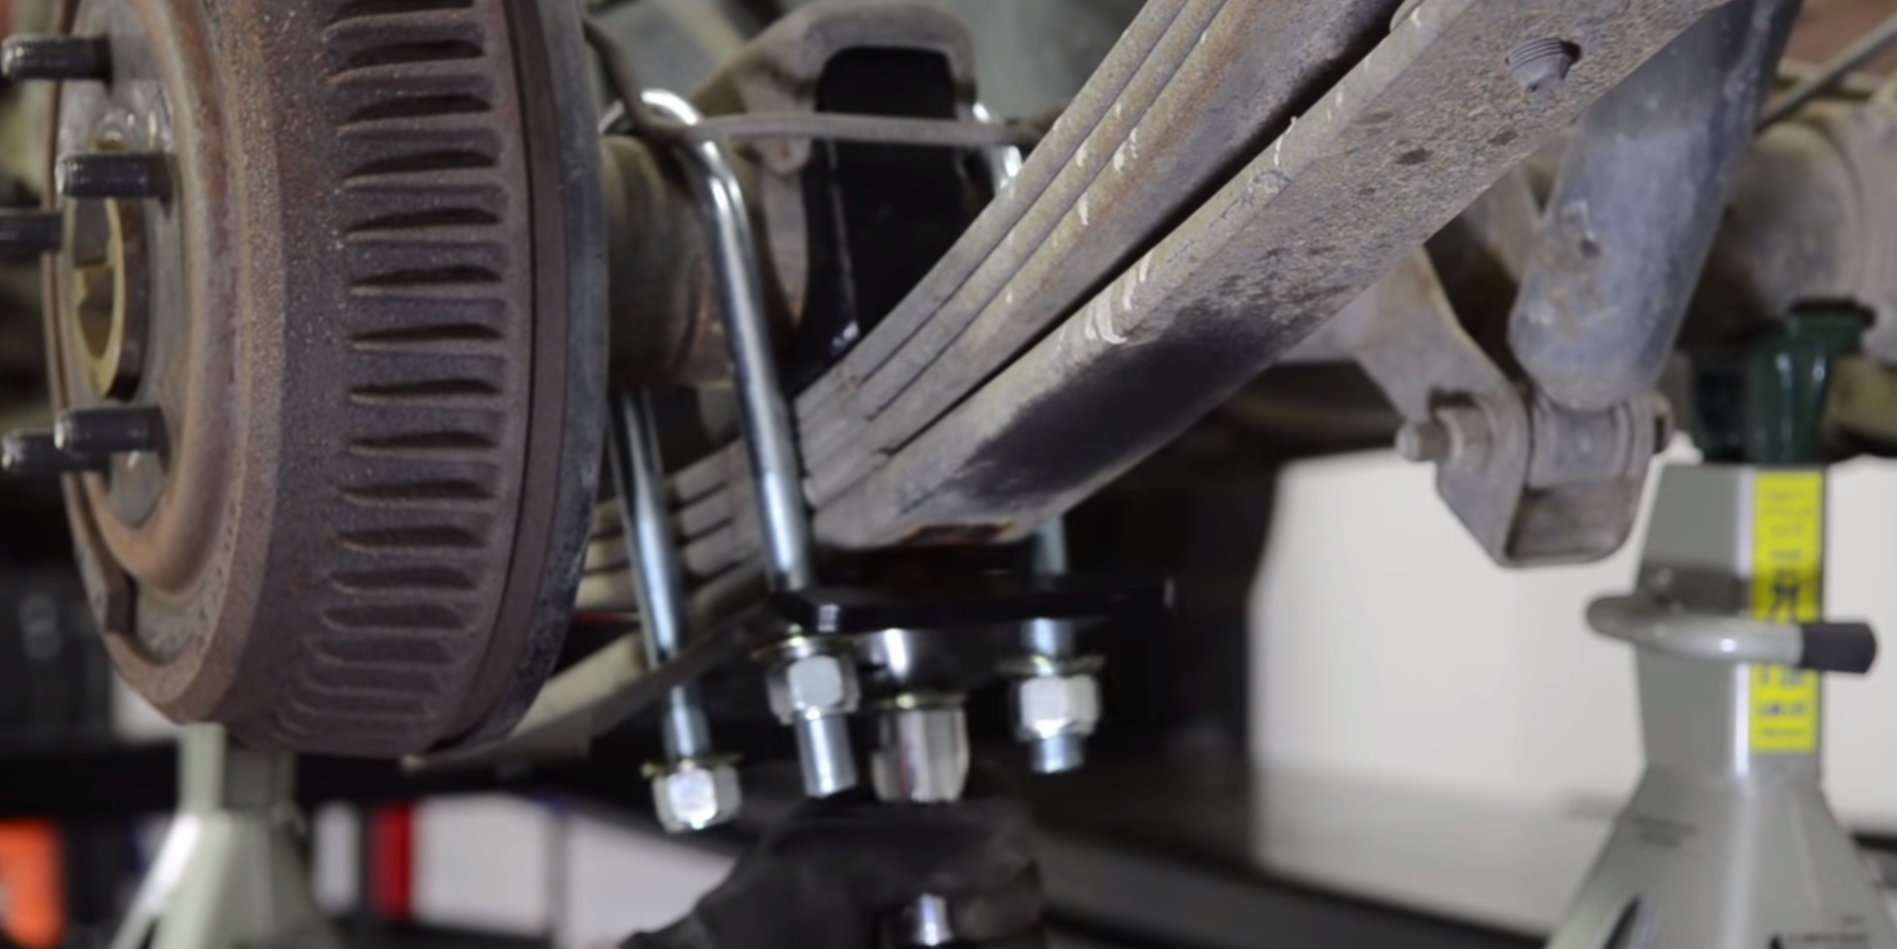
Step 1 – Install the rear flip kit
- To get started, lift and support the rear end of the truck with jack stands, making sure there is no tension on the leaf springs.
- Remove the nuts from the leaf spring U-bolts, and then remove the U-bolts.
- Remove the bolts at the end of each leaf spring, and then remove the leaf springs.
- Re-position the leaf springs below the axle, and bolt the ends back in place.
- Secure the rear differential with safety stands.
- Install the new U-bolts and clamp each leaf spring to the axle using the kit's included hardware.
Step 2 – Remove the front spring coils
- Jack up and support the front of the truck. Then remove the front wheels.
- Remove the front shock absorber.
- Use a spring compressor to compress the spring until it is loose in the pocket.
- Pull the cotter pins out of the ball joints, but leave the castle nuts in place to prevent the spring from coming out.
- Use a ball joint tool or hammer to separate the ball joint from the control arm.
Warning
It's pertinent that you compress the spring because it is under a tremendous amount of pressure.
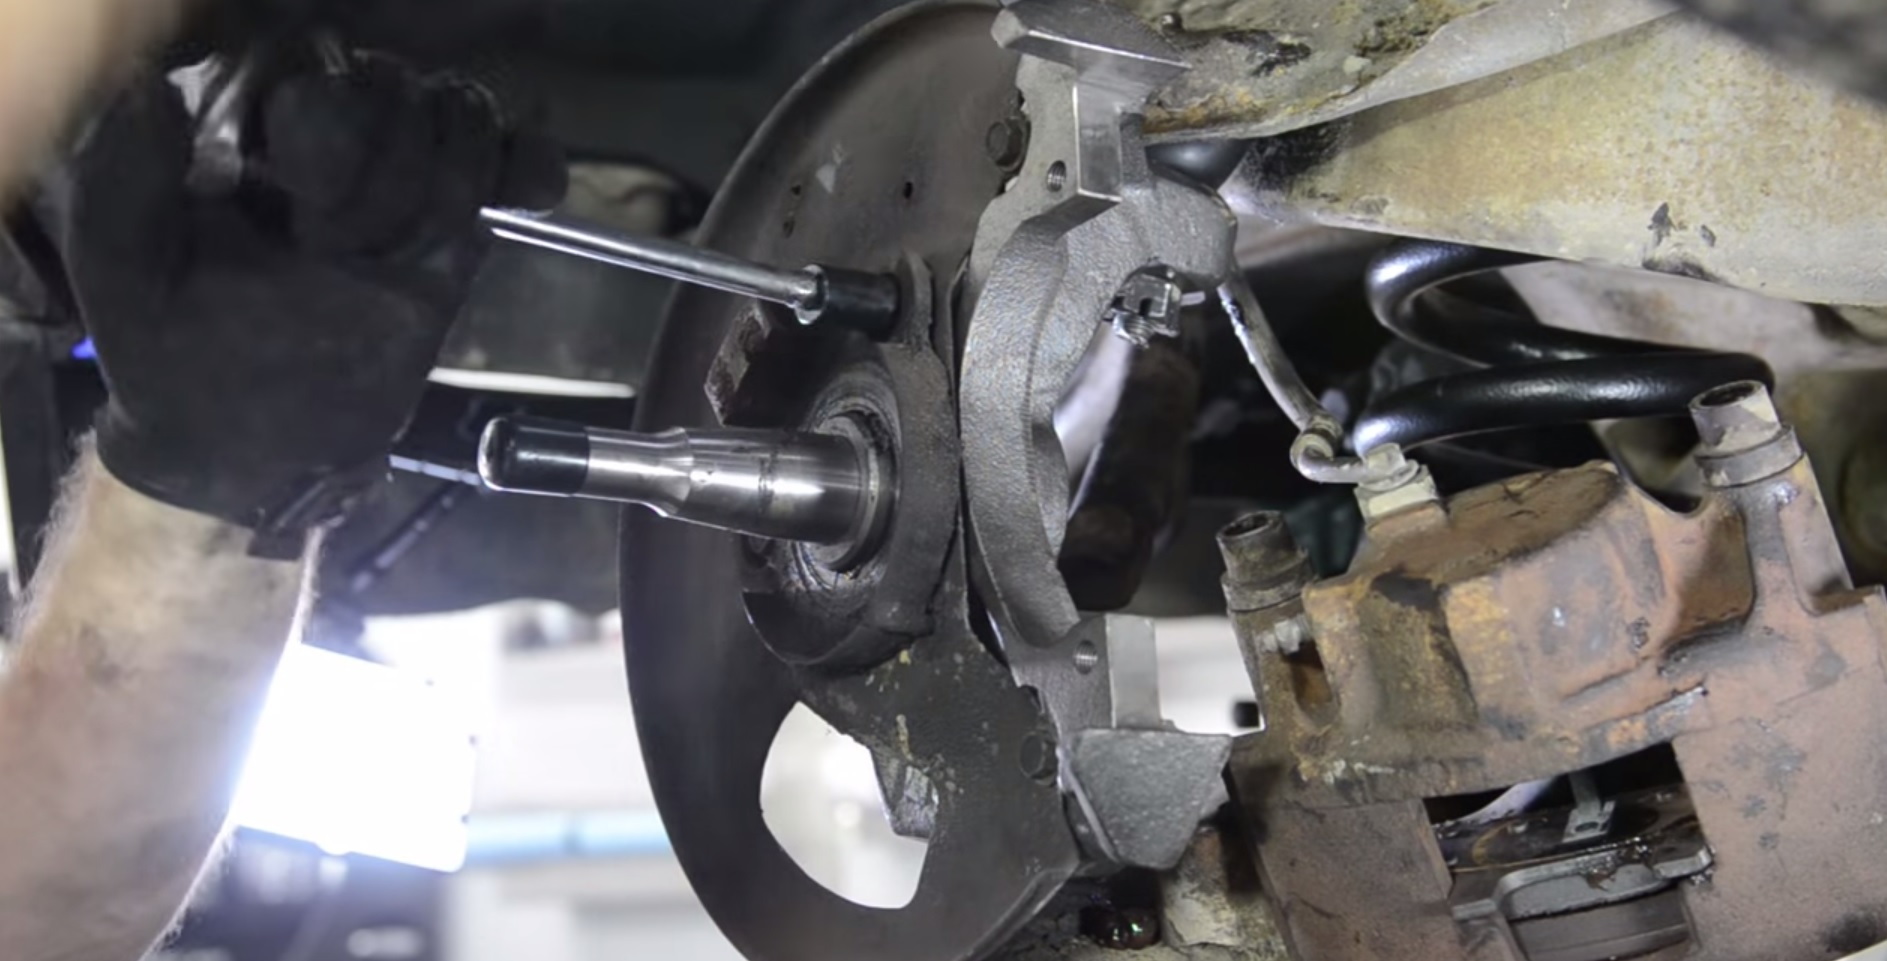
Step 3 – Install the front drop spindles
- Remove the brake caliper and piston assembly.
- Remove the backing plate behind the calipers.
- Unbolt and remove the factory spindle. If you are also installing new coil springs, the factory springs can easily be removed at this point.
- Bolt the new spindle in place and re-install the backing plate.
- Re-install the brake caliper and piston assembly.
- Re-install the tie rod and ball joints.
- Slide the shock absorber into place and bolt it in.
Related Discussions
- Lower Ball Joint Issues - ChevroletForum.com
- Chevy Silverado Want Level Suspension - ChevroletForum.com
- Silverado Lowering Kit - ChevroletForum.com