Chevrolet Silverado: Stereo Diagnostics
Don't waste your time taking your truck into the dealership only to learn they can't tell you what's wrong. Take a chance to solve the problem yourself. This diagnostic will give you some suggestions on where to look for a solution.
This article applies to the Chevrolet Silverado 1500 (1999-present).
It's frustrating when the radio doesn't work, especially if you need something to keep you going during those long drives. But usually it's not the radio itself that's at fault. This diagnostic will help you find the cause of the problem. If only some of your speakers work, check out Step 1. If none of them work, then start with Step 3. If you use aftermarket equipment, try Step 4. If your radio turns on but says locked, check out Step 5.
Step 1 – Replace the speakers
Factory speakers are not made of the best materials and do eventually fail. If you have a problem where one or two speakers are out then you should replace them. Find a pair of aftermarket speakers that fit your truck. It will improve your sound quality and save you some money.
To install them, you'll have to remove the door panel which requires prying off the paneling around the lock button, the door handle and the corner piece. Then you have to remove three screws hidden behind small round covers, another screw behind the door lock and another behind the arm rest. Pull out the door panel then disconnect all the connectors on the inside. Remove the two screws attached to the speaker, disconnect the plug, and pull it out. Attach your new speaker, connect everything back up, and reattach the door panel.

If this doesn't help proceed to Step 2.
Step 2 – Moisture has gotten into your speakers
If your truck is outside during a heavy rain, sometimes moisture can get inside the door panels and affect the speakers. You can prevent this by wrapping the speaker connectors in heat shrink. If the connectors are well protected, it'll be much harder for moisture to get into the speakers.
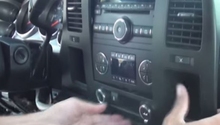
Step 3 – Check if it's an electrical problem
If your radio isn't powering on, then you know it's an electrical issue. Check the fuse for the radio to see if it's burnt out and replace it if necessary. If your radio gets power but the speakers still don't come on, it could be a problem with one of the wires or the amplifier. Check the connections going to speakers with a multimeter. If it shows no power is going to the speakers, then it means there's a problem further down the line.

If this doesn't work, try the next step.
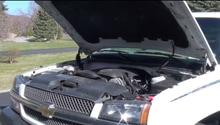
Step 4 – Install a GMOS-LAN interface
If you've installed aftermarket equipment to your truck and bypassed the GMOS-LAN interface, it can cause all kinds of issues since the GMOS-LAN is responsible for the warning chimes, radio, and other electronic features. You'll need to purchase and install a module that will connect your aftermarket equipment with the GMOS-LAN interface.

If this doesn't work, proceed to Step 5.
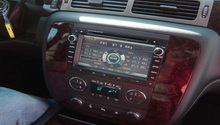
Step 5 – Unlock the radio
If you've installed a factory radio but it says locked when you turn it on, then it means there's a locking chip installed to your radio. You'll need to remove the radio and take out the chip inside the radio. Once that's removed, it should work properly.
If unlocking the radio doesn't solve the issue, try replacing it in the next step.
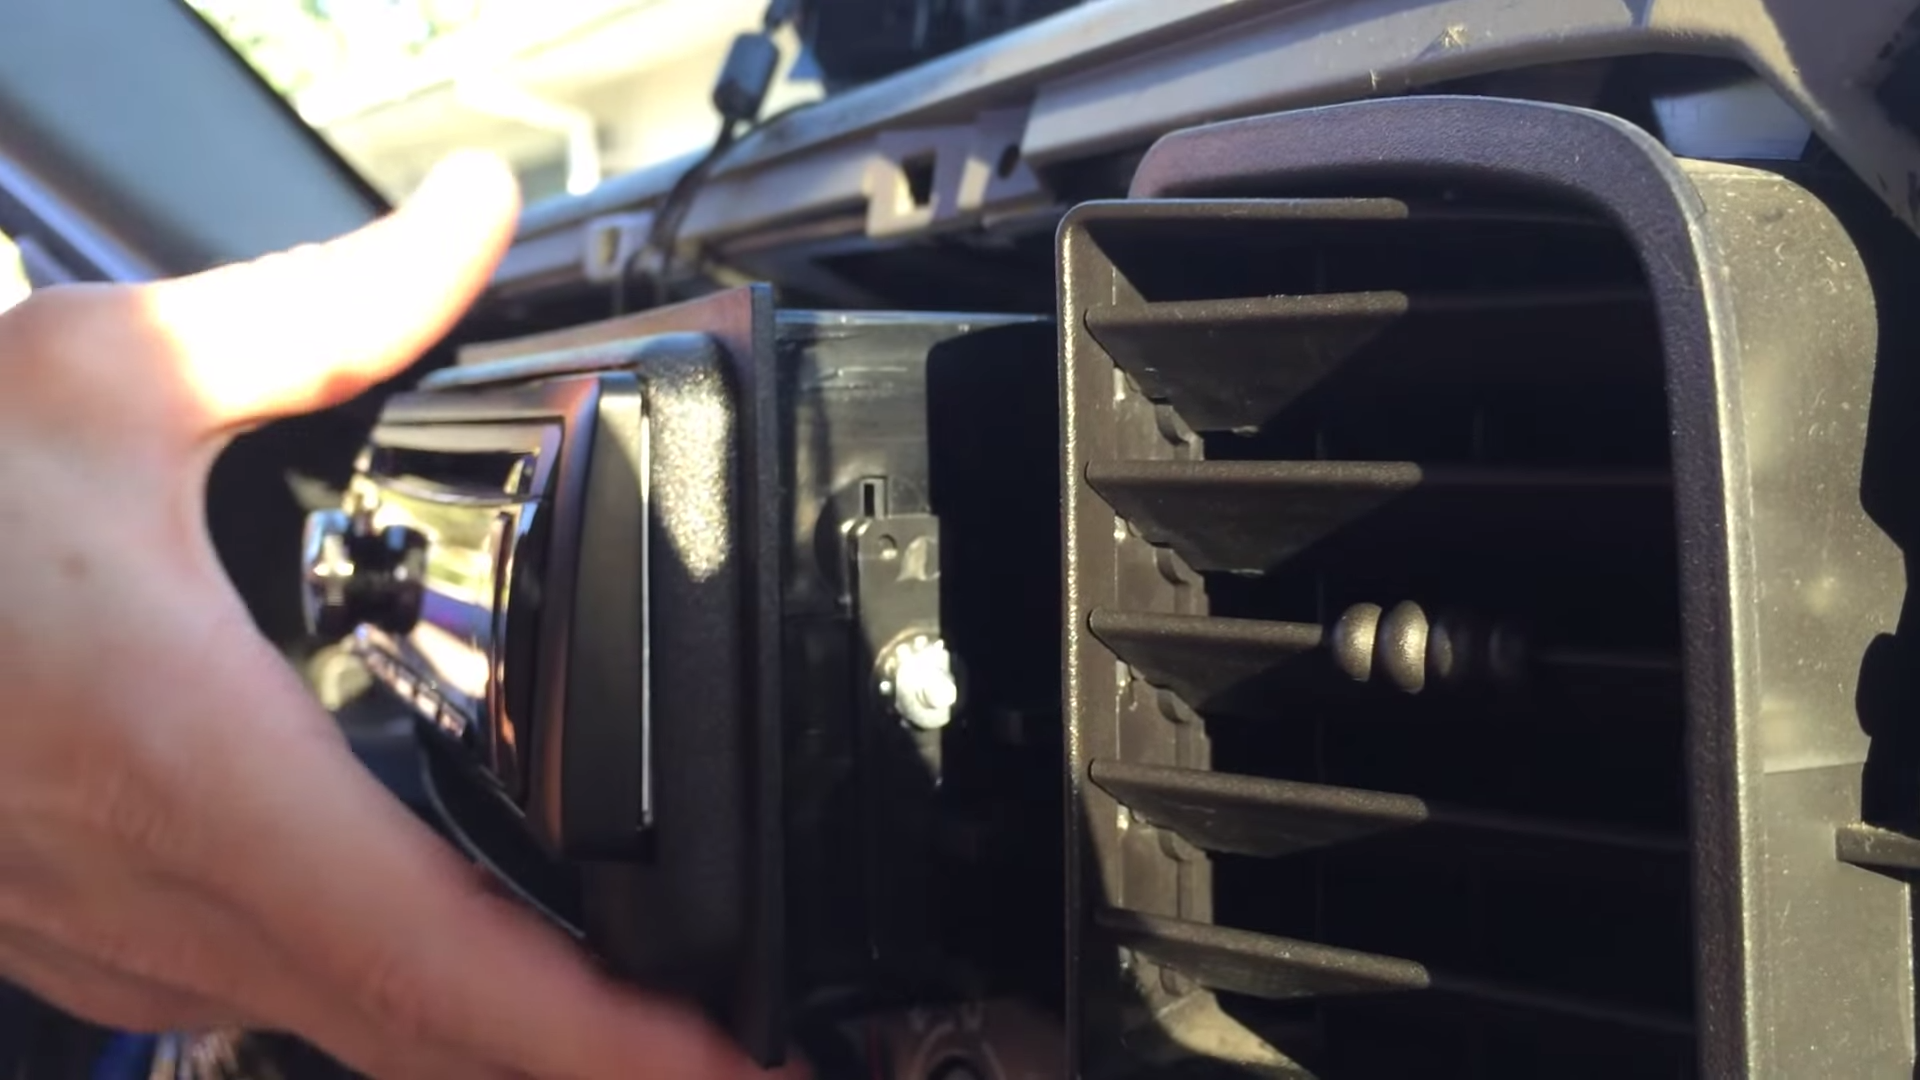
Step 6 – Replace the radio
When all else fails, it could just mean you have a bad radio. Replacing it is simple. Just remove the paneling from around the radio. Unscrew the bolts on either side of the radio and slide it out. Disconnect any wiring then attach your new radio.
Related Discussions
- 2008 Silverado Radio/Speaker Issues - ChevroletForum.com
- Chimes and Speakers Not Working Properly - ChevroletForum.com
- 08 Silverado Front Door Speakers Not Working - ChevroletForum.com
- 2004 2500HD W/T Numerous Problems After a Radio Install - ChevroletForum.com