Chevrolet Silverado: How to Replace Side Mirrors
Sometimes, you misjudge how close you are to the side of the garage, and there goes your mirror. Fortunately, they can be replaced more easily than you think, so let's get to it.
This article applies to the Chevy Silverado 1500 (1999- Present).
Maybe your side mirrors are old, or maybe they've gotten scratched and worn out through time. At some point you'll have to replace your side mirrors with nice and clear new ones. Side mirrors help you be a safe driver by allowing you to watch out for cars and pedestrians around you. Here is a step by step guide on how to replace your side mirrors, although if you're not handy with tools, you may want to visit a repair shop.
Materials Needed
- New side mirrors
- Flathead screwdriver
- 10mm socket
- Ratchet wrench
Step 1 – Prep door panel
Before being able to start working on the mirror, we'll get some things out of the way to access it. First unfasten the door panel and other covers in order to reach the mirror assembly. Start by popping the cover off the armrest, then remove the triangle cover by the side mirror. Lastly, go ahead and pop the cover to slide the door lock off. Once those covers are off, use the 10mm socket and ratchet to remove the three 10mm bolts. Two by armrest and one by the handle.
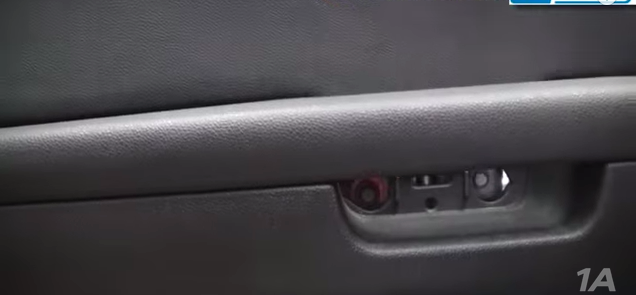
Figure 1. Undo the two bolts by the armrest. 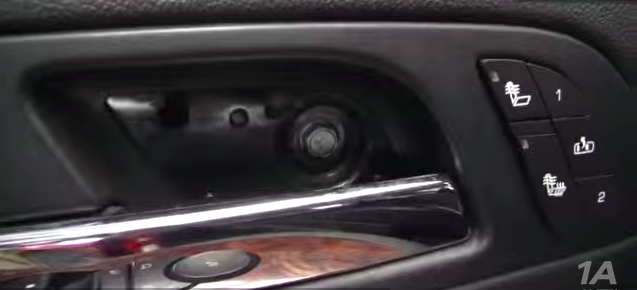
Figure 2. Undo the bolt by the door handle.
Step 2 – Remove door panel
Once all the bolts have been removed, gently start pulling the panel off the door panel. Once the panel comes off, reach behind it and unlatch the door cable then unplug the power window connectors. Once it's fully off, carefully peel back the right upper corner of the water shield without tearing it.
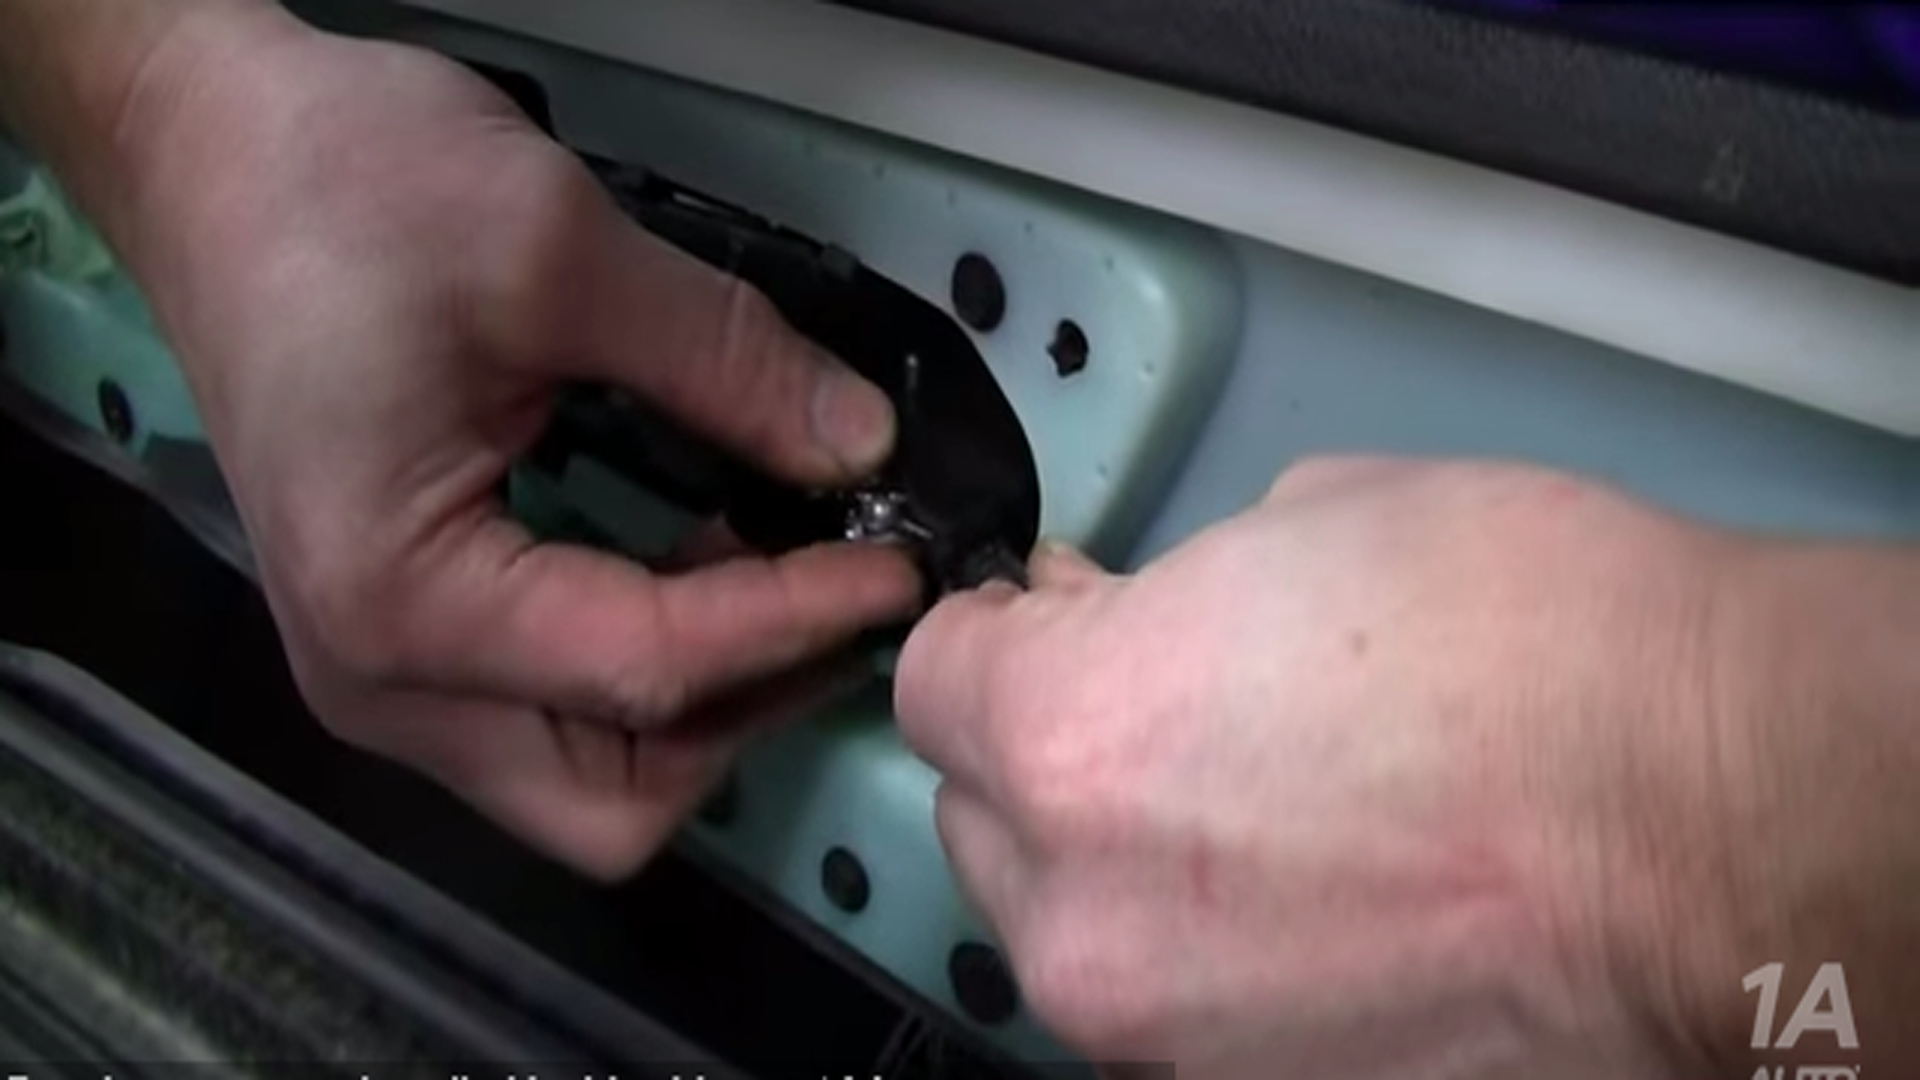
Figure 3. Release lock cable. 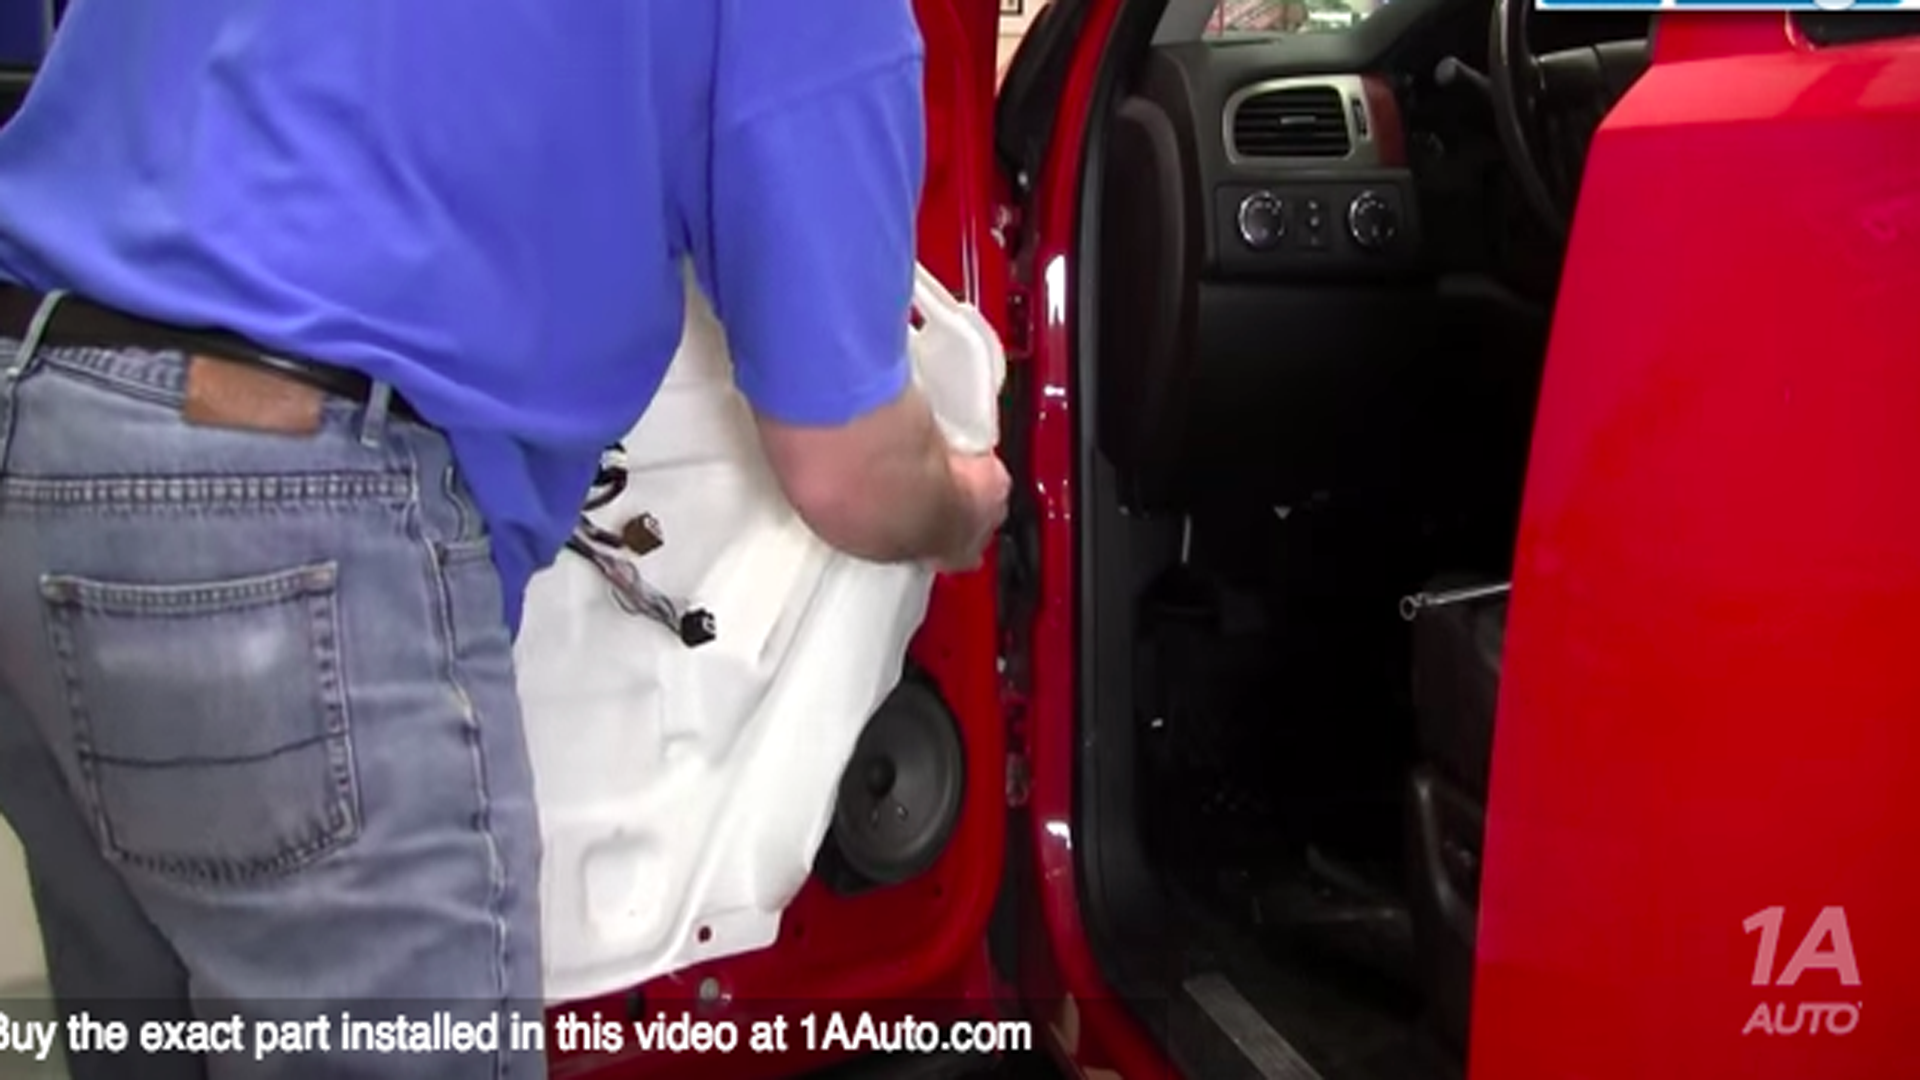
Figure 4. Carefully peel the watershield off the door.
Step 3 – Remove mirrors
Now that all the panels and covers are off, unplug the power mirror connector off its harness. Now there's access to the main three 10mm bolts that hold the mirrors in place. Once those are removed, walk around to the outside of the door and gently wiggle the mirror back and forth until it comes off. Now you should have a clean slate to install your new mirrors.

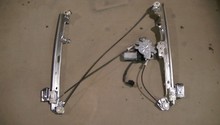
Figure 5. Diagram of stock mirror installation.
Step 4 – Install new mirror
From this point forward everything is in exact reverse order as it was just performed. Make sure to follow these steps to make sure nothing is left behind;
- Set new mirrors into place
- Bolt in three 10mm bolts
- Connect power mirror connector
- Replace water shield
- Replace lock cable
- Connect power window connectors
- Replace door panel
- Bolt three 10mm bolts back in
- Replace plastic covers
Featured Video: How to Replace Side Mirrors
Related Discussions
- Replacing Sliding Tow Mirrors in Silverado - Chevroletforum.com
- Replacing Broken Side Mirror Housing - Chevroletforum.com
- Swapping Mirrors Metal to Plastic - Chevroletforum.com
- Side Mirror Glass Replacement - Chevroletforum.com