Chevrolet Silverado 2007-2013: How to Replace Oxygen Sensors
On OBD-II vehicles, like the Chevrolet Silverado, the O2 sensor is an essential component that monitors your exhaust. This guide will show you how to replace one that's malfunctioning.
This article applies to the Chevrolet Silverado GMT900 (2007-2013).
You won't know if the O2 sensor needs to be replaced until the service light comes on, and you've plugged a code reader to your truck's OBD-II computer. Even if the error code is caused by the O2 sensor, be aware that most of the time it's not the sensor itself that's malfunctioning, but it is catching problems caused by other parts of the engine. Before you replace the O2 sensor, you should inspect your vehicle for any air leaks or loose gaskets as those could also cause an error. With that said, due to the fact that the sensor is plugged into your hot and dirty exhaust, this is a wear and tear item. Mileage varies, but it would not be unusual for these sensors to wear out between 100,000 to 200,000 miles.

Materials Needed
- Replacement O2
- Ratchet with 7/8" O2 sensor socket and extension
- Long flat head screwdriver
- Pliers
- Jack and jack stands
Step 1 – Lift the truck
Lift the truck and set it on jack stands. This is not absolutely necessary, but it will make it a little easier for you to remove the O2 sensor.
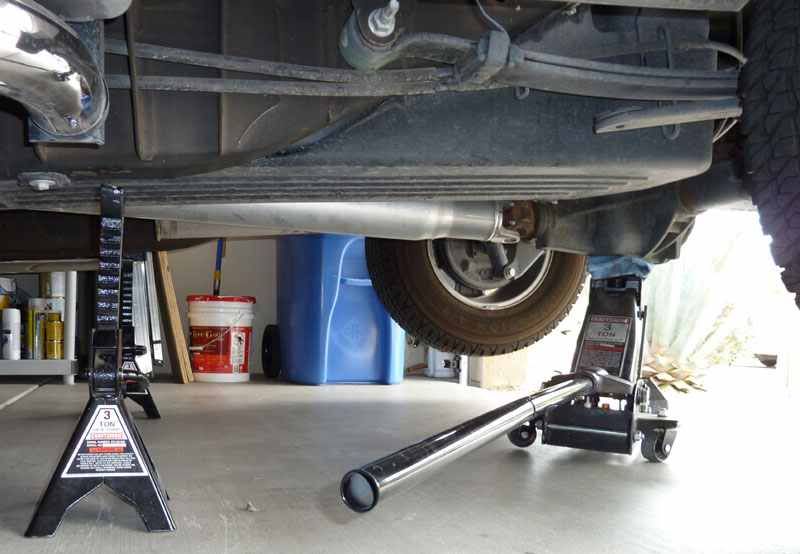
(Related Article: How to Jack Up Your Truck - ChevroletForum.com)
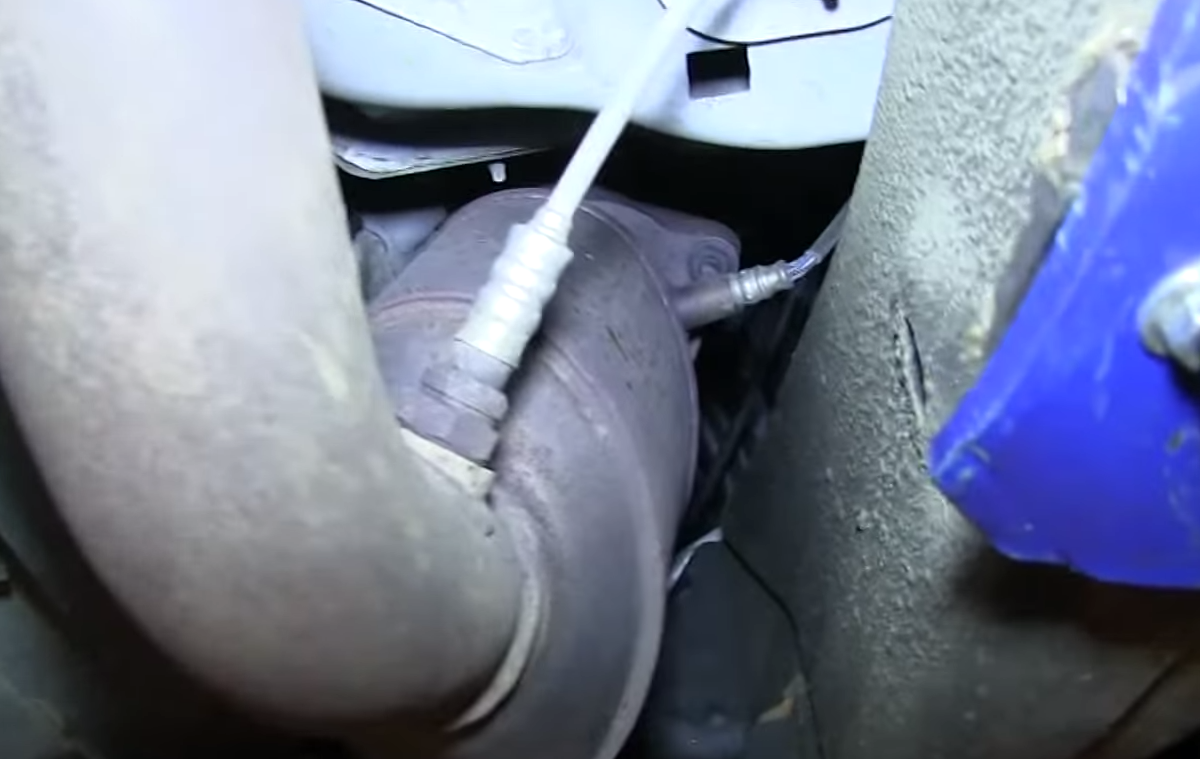
Step 2 – Disconnect O2 sensor from exhaust
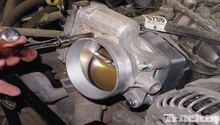
Identify the faulty O2 sensor from the code. Bank 1 is on the driver's side, while bank 2 is on the passenger's side. Sensor 1 comes before the catalytic converter, while sensor 2 comes after. Once you've identified the correct sensor, you can get to work. You need the special socket designed for O2 sensors. Attach it to your ratchet and put it over the O2 sensor. Use an extension if you need to. Use the socket to loosen the sensor, then twist it out by hand.
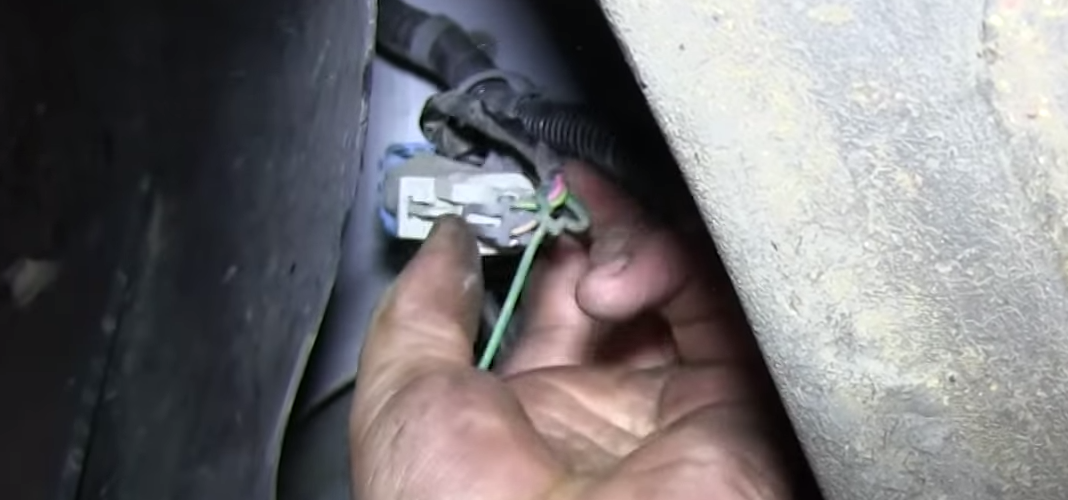
Step 3 – Disconnect O2 sensor from electrical harness
Next, you need to disconnect the O2 sensor from the electrical harness. This is where it gets challenging because there's almost no room to work with. Pry off the clip that holds the wire to the harness. Then, pull the green locking pin out of the plug. Use pliers if you need to. After this, you can pull out the wire from the harness, but you'll also have to pry out the black clip attached to the harness.
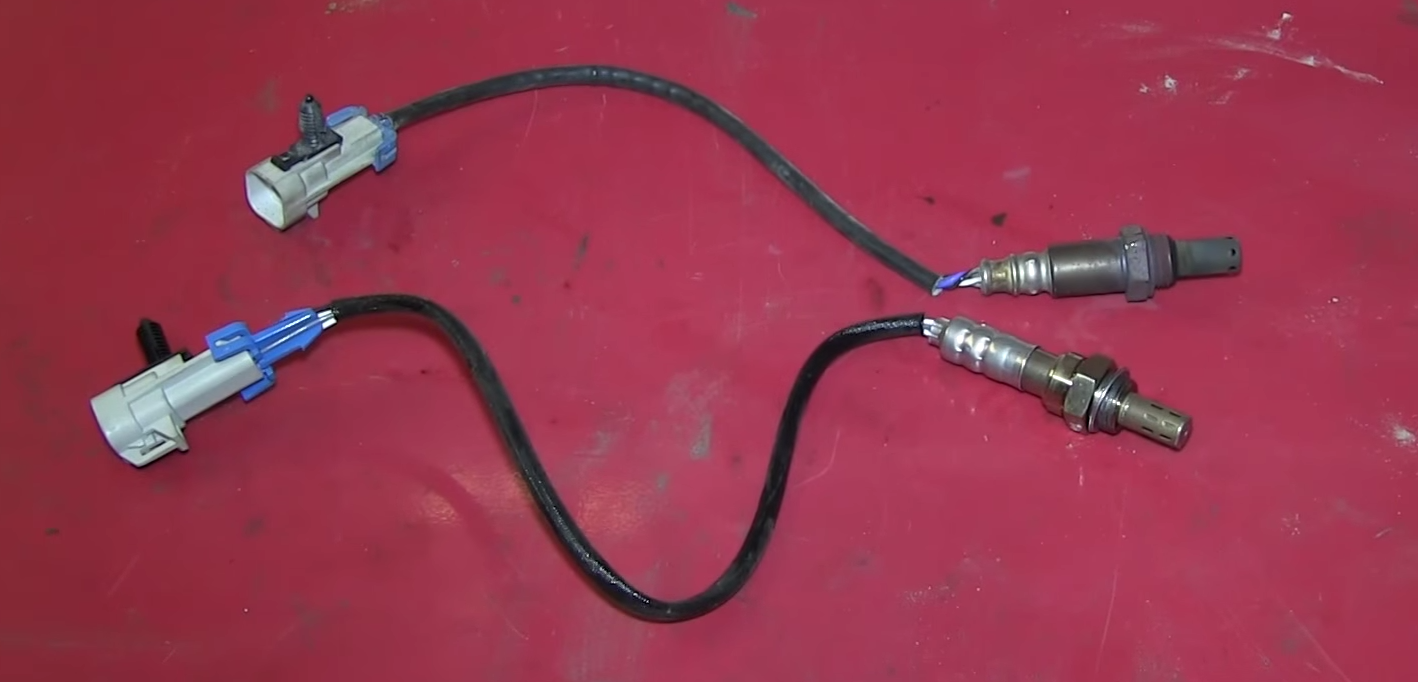
Step 4 – Install new O2 sensor
Screw on the new O2 Sensor to the exhaust. Then plug it into the electrical harness, reinserting the black clip. Reattach the green locking pin, and then reattach the holding clip to the wire.
Featured Video: How to Install/Replace Oxygen O2 Sensors
Related Discussions
- 2008 Silverado O2 sensor - ChevroletForum.com
- 2003 Silverado O2 Sensor Error Codes - ChevroletForum.com
- 1999 Chevy Silverado 5.3 Codes - ChevroletForum.com