Chevrolet Silverado 2007-2013: How to Adjust Parking Brake
The parking brake is there to keep your car from rolling away, or putting an excessive load on your transmission. But it may require an adjustment from time to time. Find out how to adjust the parking brake on your Chevrolet Silverado with this article.
This article applies to the Chevy Silverado GMT900 (2007-2013).
The parking brake fulfills many roles necessary to the safety and well being of crucial components like your transmission as well as axles. Contrary to popular belief, the parking brake isn't an emergency brake and surely isn't for drifting. It's there to make sure that your truck doesn't roll away while parked on a gradient, and also to make sure your transmission gears aren't heavily loaded by the weight of the truck while parked. You can think of them as a cushion that holds the weight of the truck. The more you use your parking brake, the more the system weakens, and therefore needing an adjustment. This is a simple task, but if you aren't familiar with cars, you should visit a shop.

Materials Needed
- Jack and jack stands
- Lug nut wrench
- Ratchet wrench
- 12mm socket
- 5/8" open wrench
- Pliers of flat head screwdriver
Step 1 – Loosen lug nuts and raise truck
Use the lug nut wrench to partially loosen the rear lug nuts. Then, find the appropriate spot in front of the rear wheel to place your jack. Lift up the truck about six inches or so. Use the lug nut wrench again to fully remove the nuts, and dismount the tire. Make sure to always support the truck with jack stands.
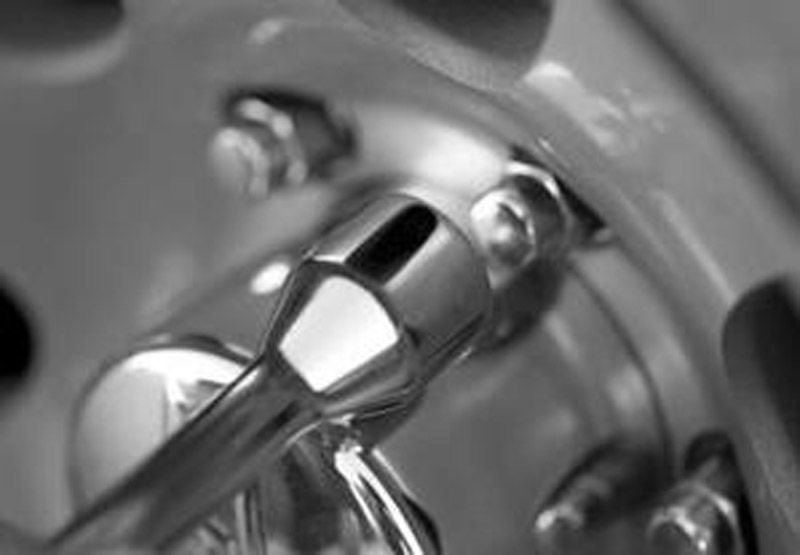
Figure 1. Loosen lug nuts. 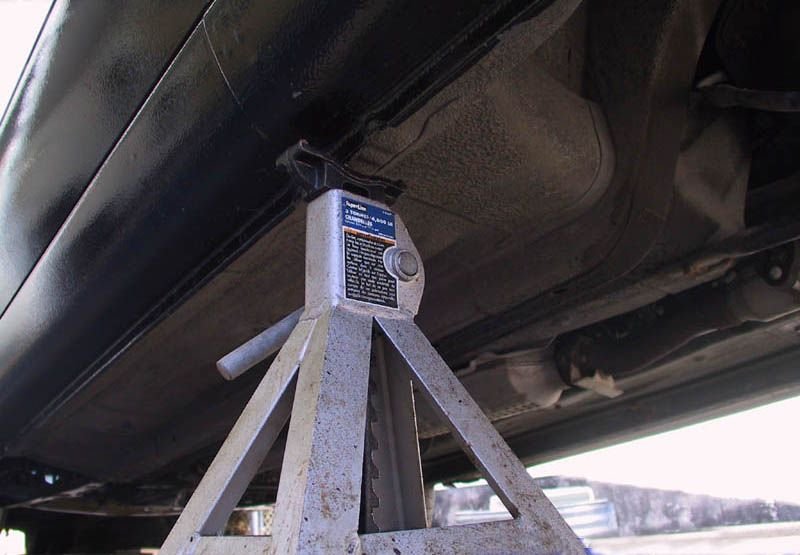
Figure 2. Always use jack stands for safety.
(Related Article: How to Jack Up Your Truck - ChevroletForum.com)
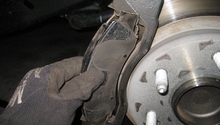
Step 2 – Remove brake assembly
In order to gain access to the adjusting mechanism for the parking brake, you have to dismount the disc brake caliper from the rotor itself. For this, you will use a ratchet wrench and a 12mm. You may need a 5/8" open wrench to use as a counter balance for one of the top bolts. Undo the three bolts, and you'll be able to slide out the caliper off of the rotor. As a last step, slide the rotor off to expose the parking brake mechanism.
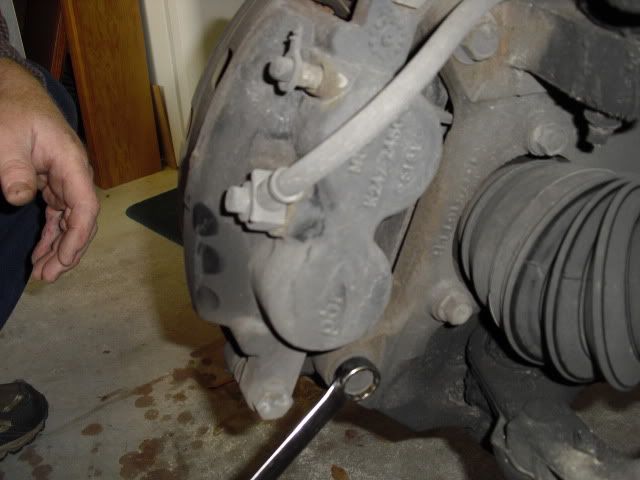
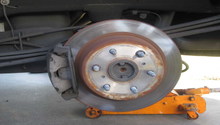
Figure 3. Undo bolts behind the caliper. 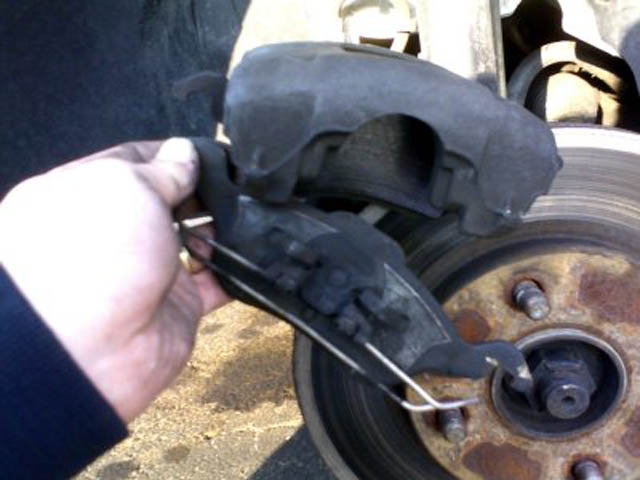
Figure 4. Caliper should slide right out.
Step 3 – Adjust parking brake
Now that the parking brake mechanism is exposed, look at the brake assembly and refer to the rotary dial located at in between 12 and 1 o'clock. You will notice that the turn dial is connected to a bolt that pushes out the parking brake shoes, bringing the shoe closer to the rotor and essentially "tightens" the braking tension. Adjust this dial using the pliers until the shoes are further up than their present state. Tighten a couple of turns at a time, and test resistance by remounting rotor, while observing how much more friction there is in between the pads as well as the rotor. If there isn't enough friction, remove rotor and turn dial more. This requires some trial and error.
Warning
Do not tighten the parking brake dial in large increments as it could throw off the balance.
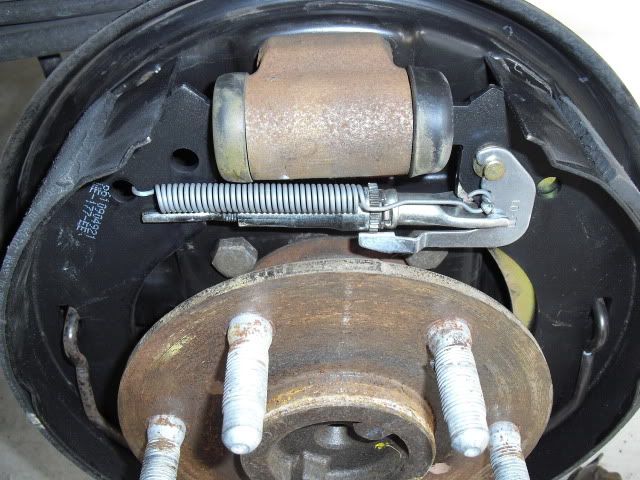
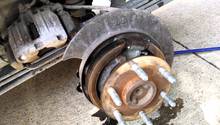
Figure 5. The parking assembly with the rotor removed. 
Figure 6. Use pliers or flat head to turn dial until desired setting is found.
Step 4 – Wrap up
Now that you've found the right setting for your parking brake, it's time to mount everything back up and enjoy a nice as well as tight parking brake. Here are the steps in order to make sure nothing is overlooked.
- Mount rotor
- Install and bolt down caliper
- Mount tire
- Hand-tighten lug nuts
- Lower down car
- Tighten lug nuts

Featured Video: How to Adjust Parking Brake
Related Discussions
- Adjusting Parking Brake - ChevroletForum.com
- Emergency Brake Issue - ChevroletForum.com
- Problem with Emergency Brake - ChevroletForum.com