Chevrolet Silverado 1999-2006: How to Replace Torsion Bar Keys
Adjusting or replacing the torsion bar keys in your Silverado is an inexpensive alternative to raising the front end. However, only do so if you don't normally strain your truck's suspension and want a more even ride height.
This article applies to the Chevrolet Silverado GMT800 (1999-2006).
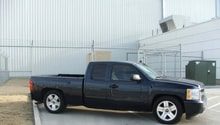
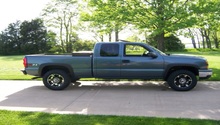
It's most likely that the front end of your Silverado sits lower than the rear, since higher rear suspension would account for the extra weight of any load carried in the truck bed. If you rarely use your truck to carry heavy loads and dislike the look of an uneven ride height, replacing or adjusting the torsion bar keys is one way to lift the front end by several inches. The problem with doing so, however, is that ride quality is drastically affected by altering the torsion keys alone, and down-travel is severely reduced. And not only will the ride be rougher than before, but suspension parts, steering components, and tires can wear out more quickly now that they are under much more stress. Although a simple leveling kit is the better alternative, this article will show you how to replace the torsion bar keys for a stiffer or higher ride height.

Materials Needed
- Torsion bar unloading tool (or heavy duty C-Clamp)
- Breaker bar (or impact gun)
- Socket set
- Hammer
- Hydraulic floor jack and jack stands (optional)
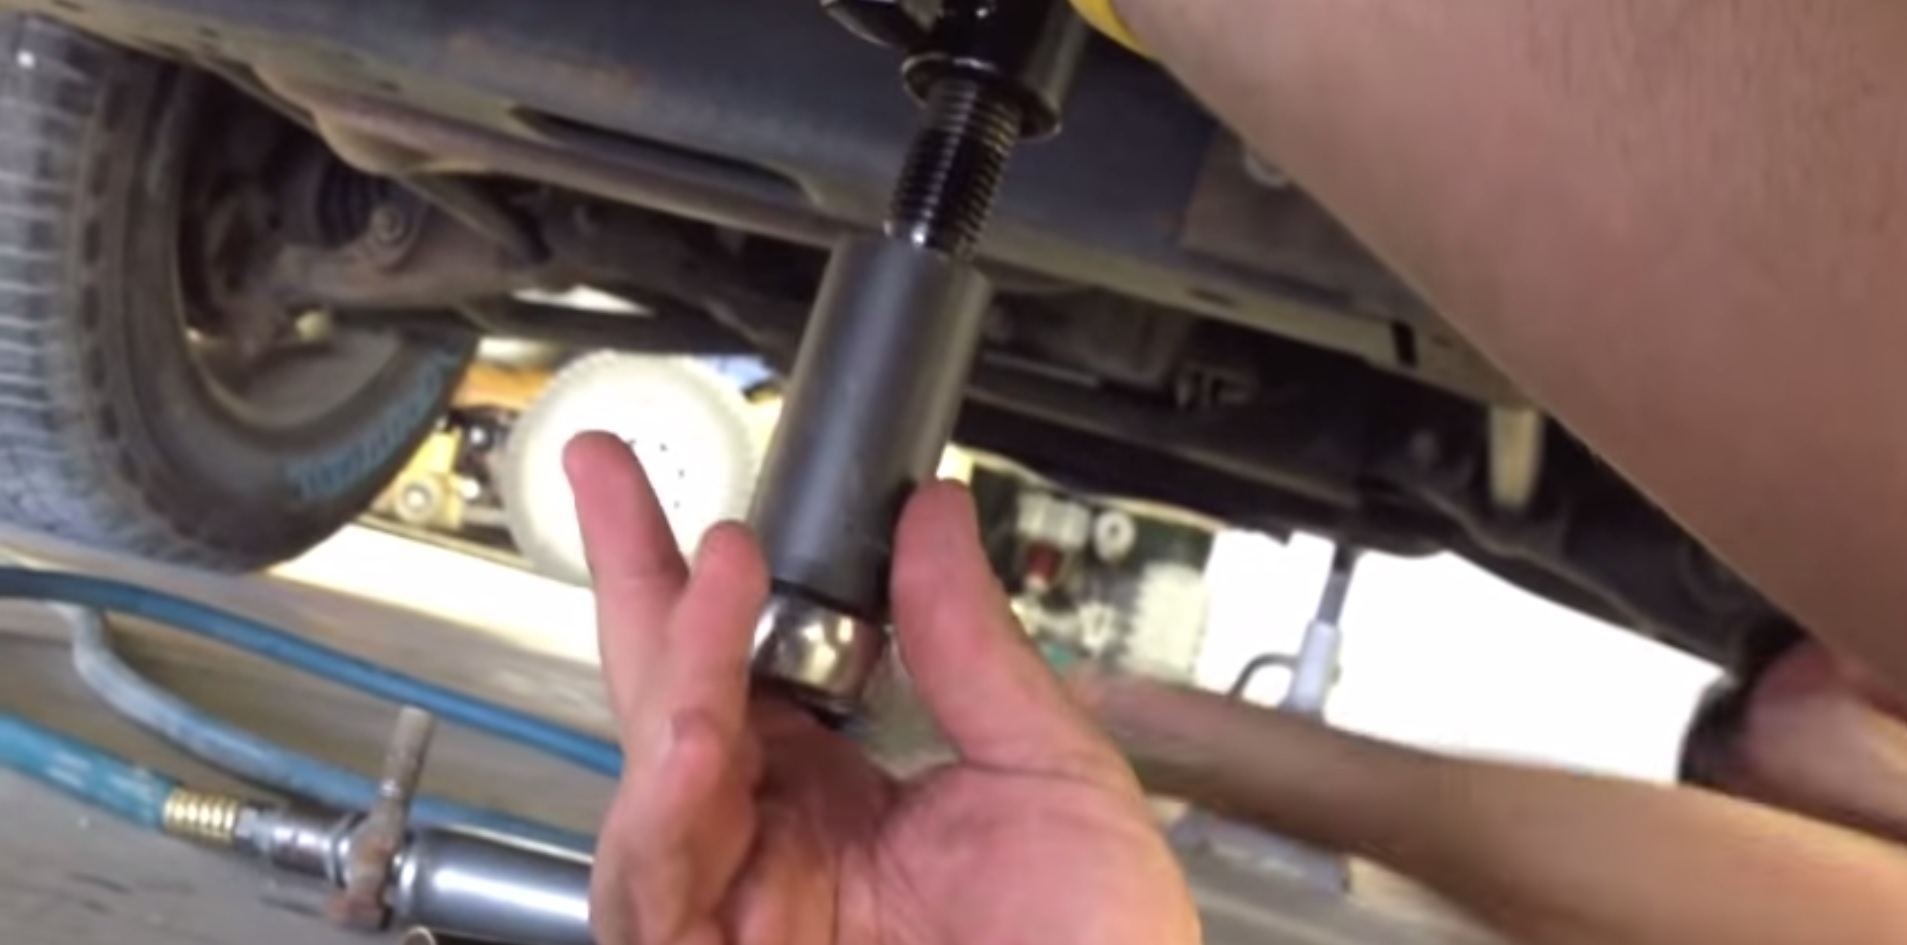
Step 1 – Remove the adjusting block
- Use a floor jack and jack stands to lift as well as support your truck. If you use a breaker bar on the torsion bar unloading tool, lifting your truck won't be necessary.
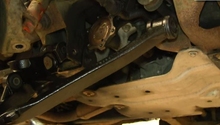
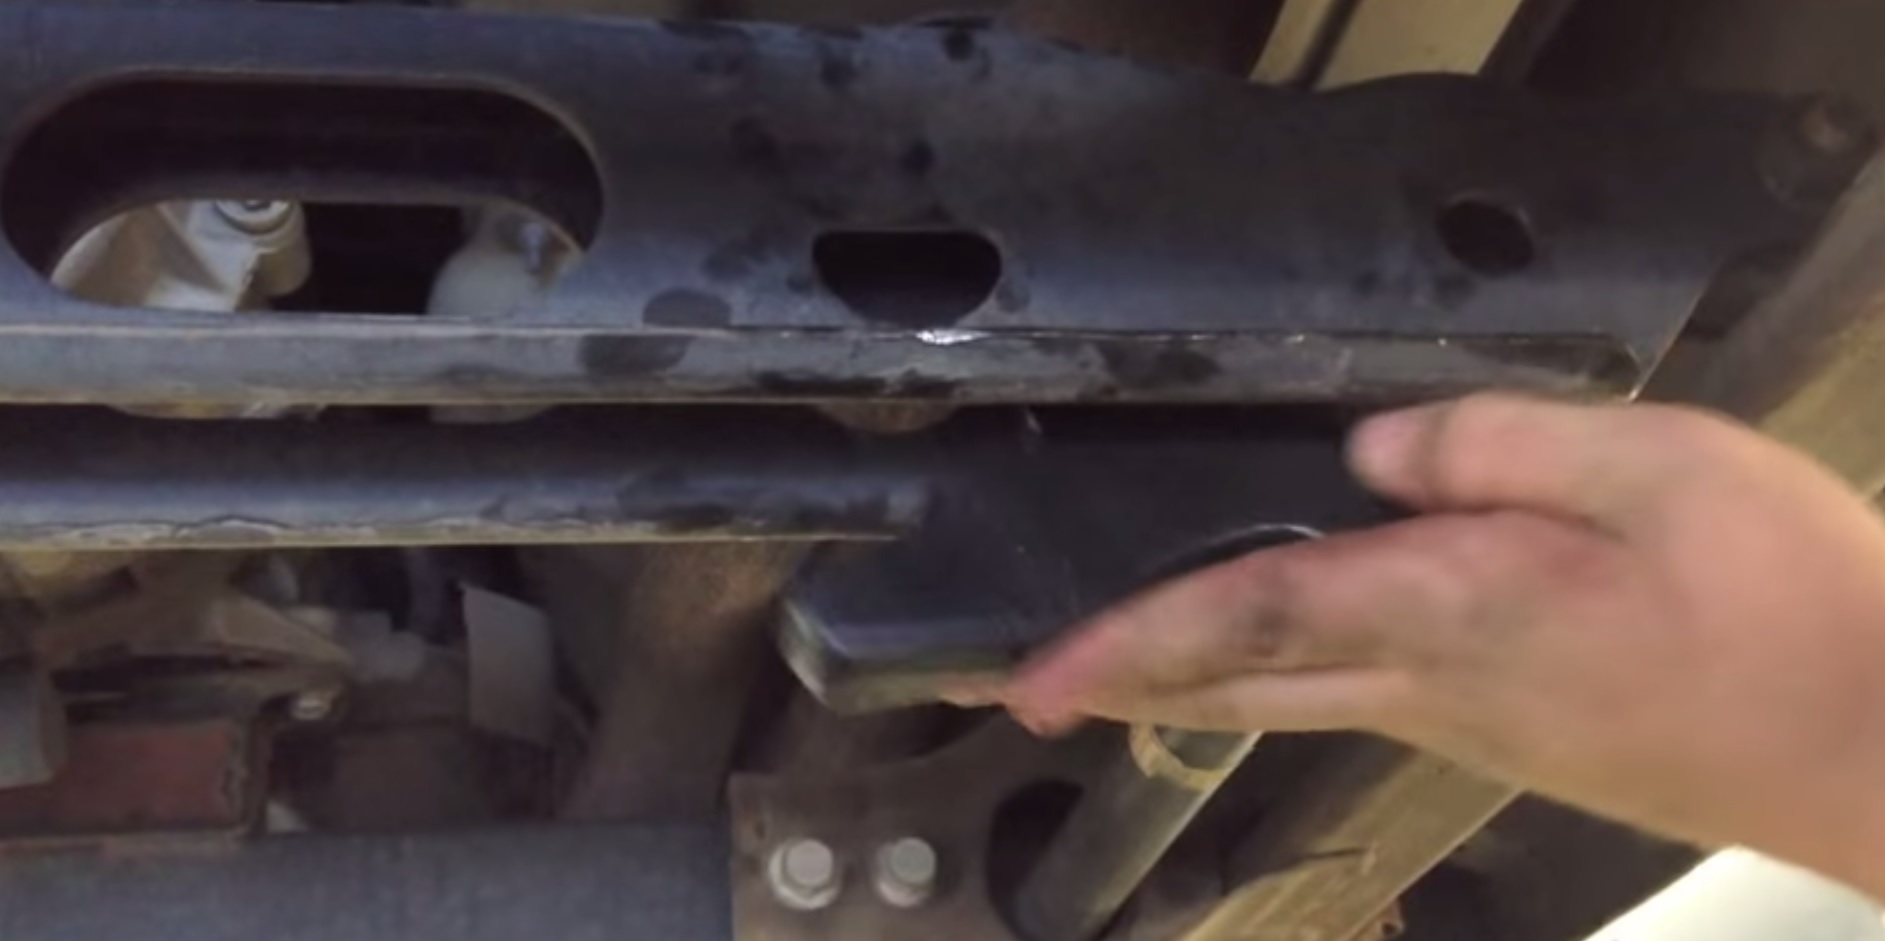
- Follow the torsion bar from the front axle to the center transmission crossmember. You will see the torsion bar key in the opening of the crossmember, which is held in place by an adjusting bolt and adjusting block.
- Use a breaker bar and socket to remove the adjusting bolt.
- Attach the torsion bar unloading tool to the crossmember, and use the breaker bar as well as socket to lift the end of the key high enough for the adjusting block to be removed.
- Then slide the adjusting block out, and remove the unloading tool.
(Related Article: How to Jack Up Your Truck - ChevroletForum.com)
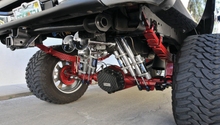
Step 2 – Remove the torsion bar key
- Wiggle the torsion bar, and free it from the torsion bar key.
- Use a hammer to hit the key if it is difficult to remove. The key should fall right out when detached from the torsion bar.

Step 3 – Install the new torsion bar key
- Slide the new torsion key in the crossmember, and attach the torsion bar to the key. Use a hammer to make sure the two components are securely connected.
- Use the torsion bar unloading tool to lift the end of the key and gain enough clearance to insert the adjusting block.
- Slide the adjusting block in place.
- Thread the adjusting bolt through the end of the key and into the adjusting block.
- Then loosen as well as remove the unloading tool, and tighten the adjusting bolt to a snug fit.
Pro Tip
Always perform an alignment on your truck after altering any suspension components.
Featured Video: How to Level a 2005 Chevy 1500
Related Discussions
- Torsion Keys Questions - ChevroletForum.com
- Lift Adjustment Using Torsion Bars - ChevroletForum.com