Chevrolet Silverado 1999-2006: How to Install Air Helper Springs
Air helper springs will enhance the smoothness of your Silverado's ride under heavy loads, and protect you at night by keeping your headlights leveled and true. Continue reading for the complete air helper spring DIY installation process.
This article applies to the Chevrolet Silverado GMT800 (1996-2006).
If you've ever put a heavy load in the back of your Silverado, you've probably seen what it does to the rear suspension. A load of around 2,000 pounds is enough to make the back of your truck sag significantly, making your drive less safe and more uncomfortable. One of the more inexpensive ways to rectify the problem is by installing air helper springs. These suspension systems will give your truck a higher weight capacity in addition to keeping the rear end level when heavy loads are added.

Materials Needed
- Air helper spring kit
- Ratchet and socket set
- Bench vise
- Hammer
- Drill and 3/8" drill bit
- Torque wrench
- Tubing cutter
- Zip ties
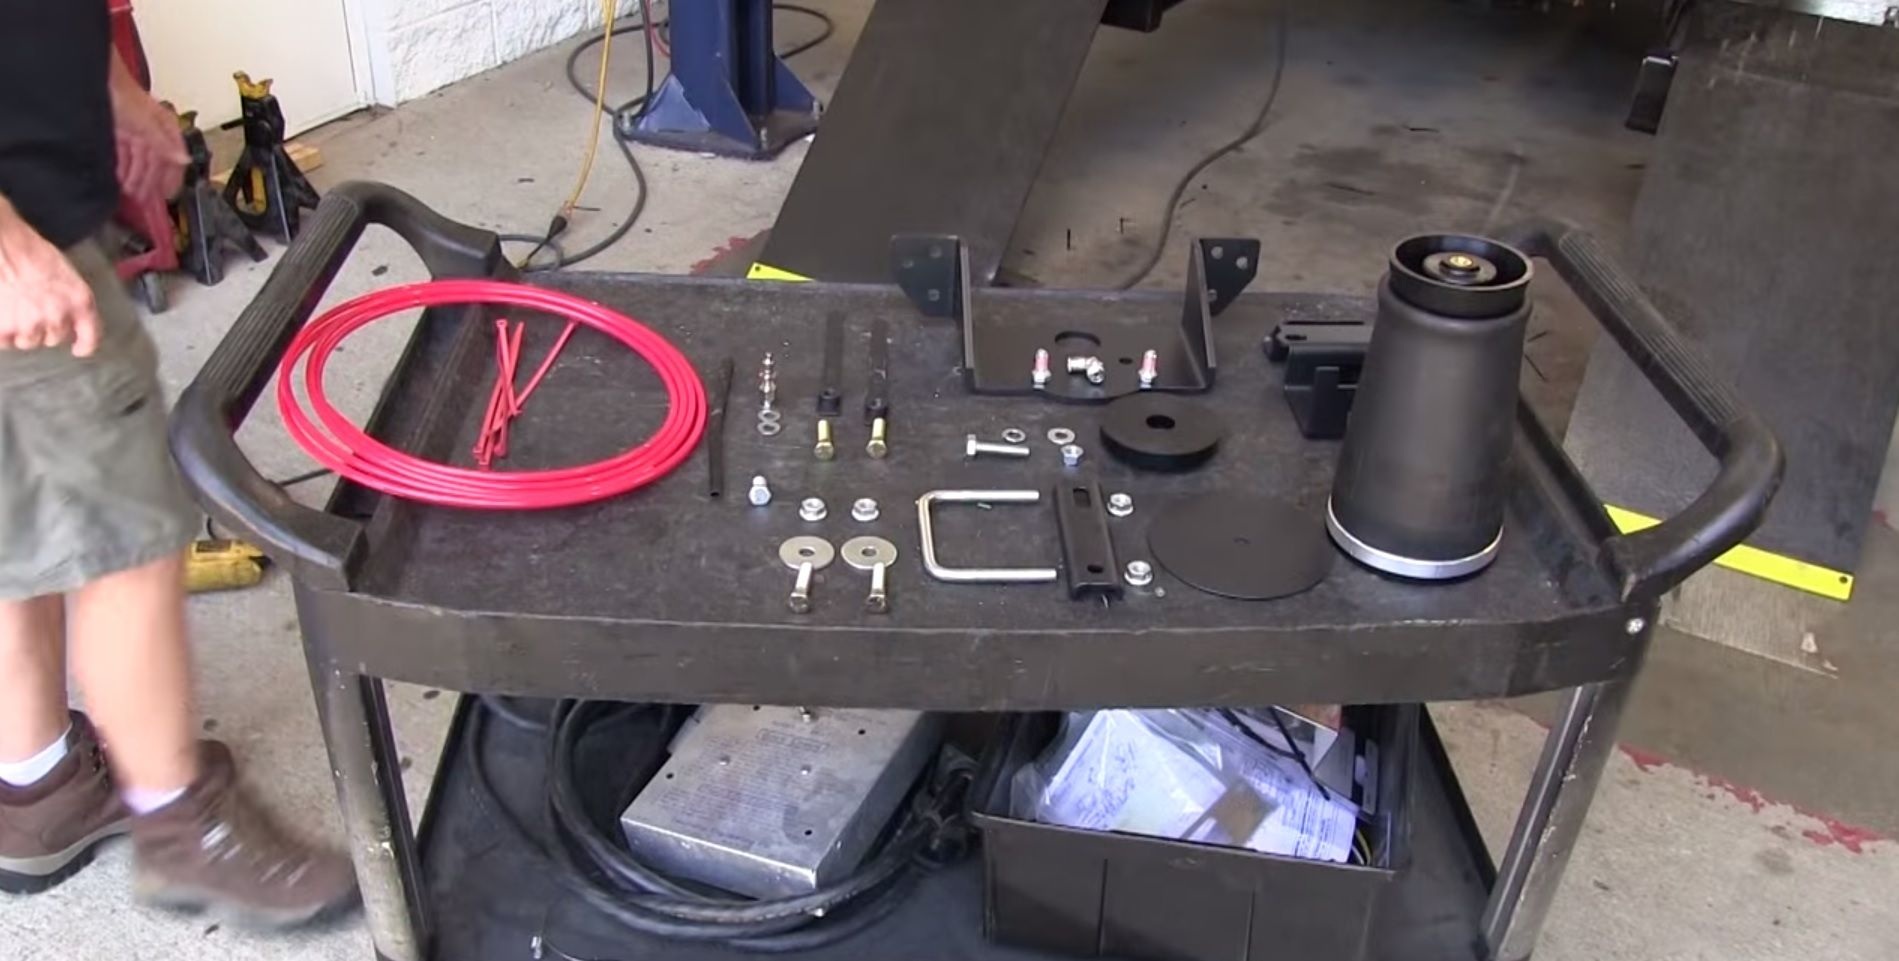
Step 1 – Assemble the air helper spring components
- Lay out all of the parts from your air helper spring kit. Having a flat cart would make this job much easier and more organized.
- Assemble the air fitting and fasten its bolts by hand.
- Tighten the bolts to a snug fit using a ratchet with socket, and then tighten the bolts an additional half-turn.
- Place the bracket on top of the air fitting and install the two 3/8" bolts.
- Flip the assembly over and install the flat round disc as well as the round bottom bracket with a 3/8" bolt. Don't tighten the bolt completely.
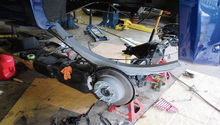
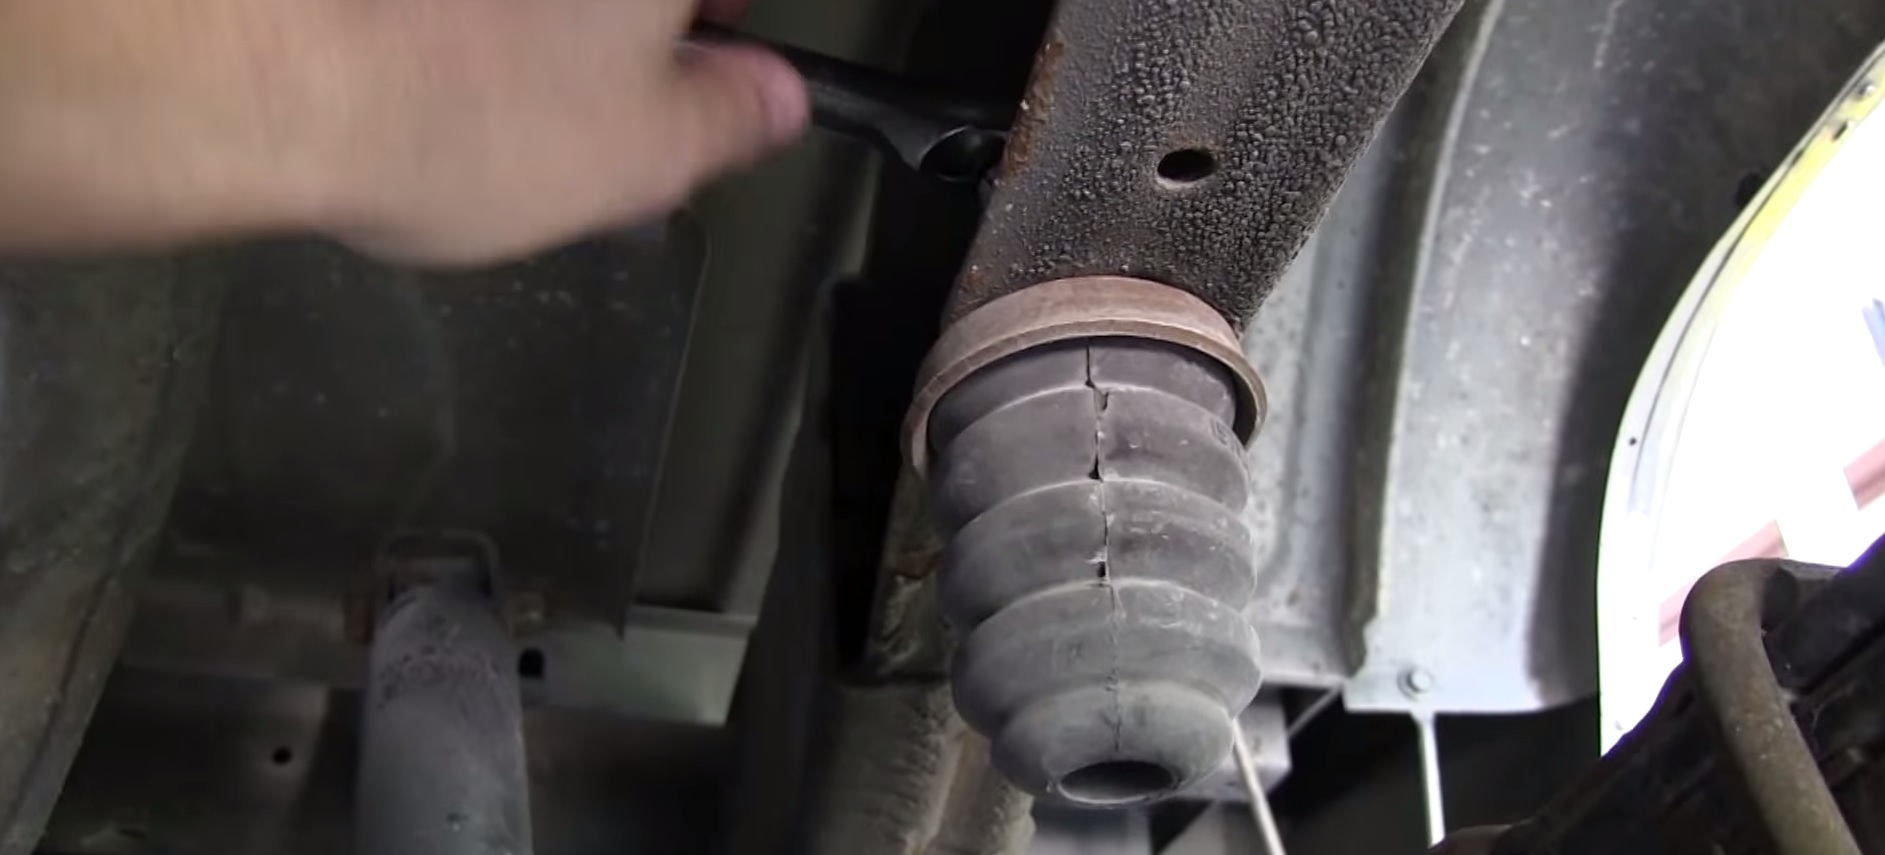
Step 2 – Remove and modify the jounce bumper
- Use a ratchet with socket to remove the bolt securing the jounce bumper to the frame. Then remove the bumper.
- Hold the bumper in place using a bench vise.
- Use a hammer to knock the bumper's bolt straight down and remove it.
- Wrap the thread of a new 15mm bolt with electrical tape. Then slide the spacer on the bolt.
- Re-install the bumper to frame using the new bolt.
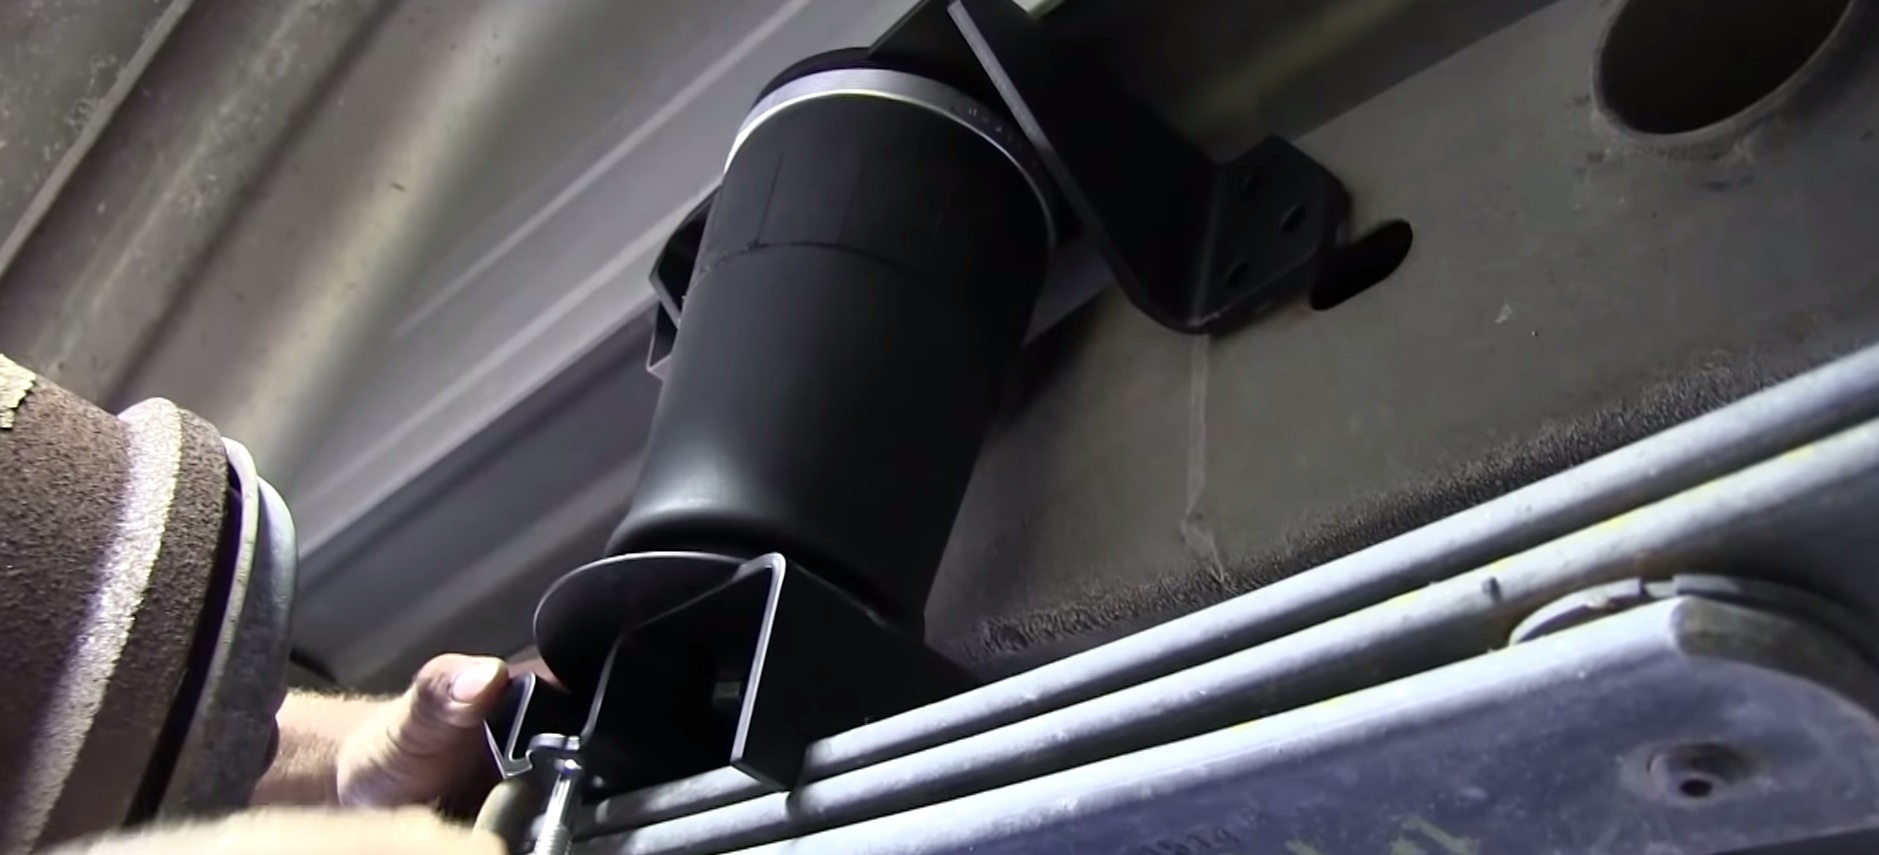
Step 3 – Install the new air helper spring assembly
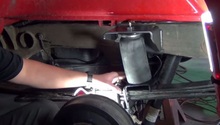
- Place the new spring assembly on top of the leaf spring and the U-bolt. Half of the assembly will sit over the U-bolt, and the other half will sit around the springs. The bottom clamp holds the spring assembly in place.
- Secure the clamp with two bolts as well as nuts, and tighten them to a snug fit. Make sure the assembly is sitting leveled with the top of the frame.
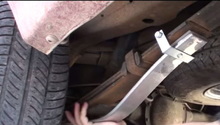
- Use a 3/8" drill bit to mark and properly align one bracket hole location on the frame; then drill the hole.
- With a new bolt, large flat washer, and locking flange nut, secure the bracket to the drilled hole in the frame.
- Mark and drill the remaining holes onto the frame, then finish bolting down the bracket.
- Install the two handle nuts on the side of the assembly facing the front end.
- Re-torque all of the bolts to manufacturer specifications.
Step 4 – Install the air lines
- Take one end of the air line and use a tubing cutter to snip off the end. Make sure the cut is straight and even.
- Push one end of the hose into the air line fitting.
- Continue pushing the hose until it stops. Then tug it back to ensure a snug fit.
- Route the line to the rear bumper.
- Mount the air line to the bracket. If needed, a hole can be drilled into the bracket as shown in Figure 4.
- Add the fitting to the end of the hose, and then fasten the bolts, washers, as well as nuts. Tighten the the bolts to a snug fit.
- Use zip ties to prevent the air lines from moving around.

Featured Video: Air Helper Springs Installation
Related Discussions
- Helper Spring Suggestions - ChevroletForum.com
- Air Bag Helper Springs - ChevroletForum.com
- Load Helper Springs - ChevroletForum.com