Chevrolet Silverado 2014-Present: How to Add a Leaf to Leaf Springs
Adding a leaf to the rear of your truck is an old trick that will improve your Chevy Silverado's payload capacity and give it a few inches of lift in the back.
This article applies to the Chevrolet Silverado 1500 (2014-Present).
Adding a leaf to your truck's leaf springs is an easy and inexpensive way to add 900 pounds or more to your towing capacity, while also lifting the rear 1.5-3". It's also a great way to lift the truck while keeping it stiff and stable. A lot of people add leaf springs instead of getting a lift kit if they're looking for a small change in looks without spending too much money. The process is easy, inexpensive, and can be done right from your driveway.

Materials Needed
- Floor jack
- Two jack stands
- 1/2" deep socket set
- Impact gun (preferred) or 1/2" ratchet and breaker bar
- Air hammer (or hammer and punch)
- C-clamps
- New U-bolts (if your kit doesn't contain them)
Step 1 – Lift and support truck
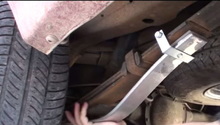
Lift the back of your truck using a floor jack, and support it using two jack stands (one on each side) on level ground. If your jack is rated high enough, you can lift the rear using the differential, otherwise lift one side at a time. Lift the truck enough to ensure both wheels are clear off the ground. The axle should be supported by the jack, but make sure it isn't hanging in the air by the leaf springs. Lower the axle until there is no weight on the shock absorbers, then remove the upper and lower bolts and pull out the shock absorbers.

(Related Article: How to Jack Up Your Truck - Chevroletforum.com)
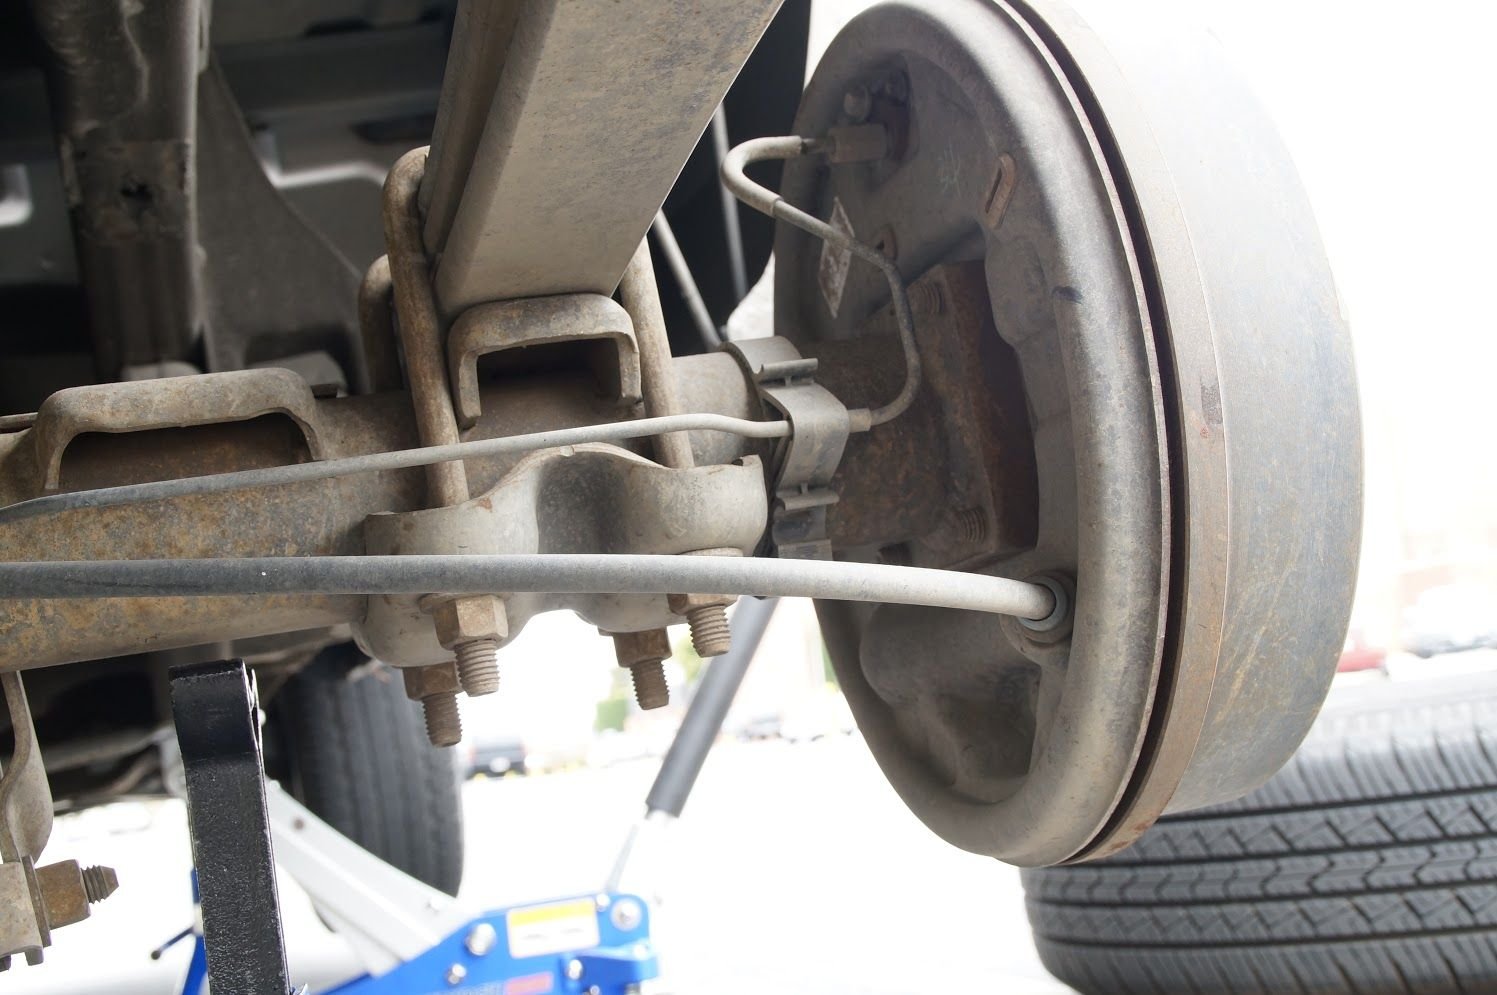
Step 2 – Remove Leaf Spring
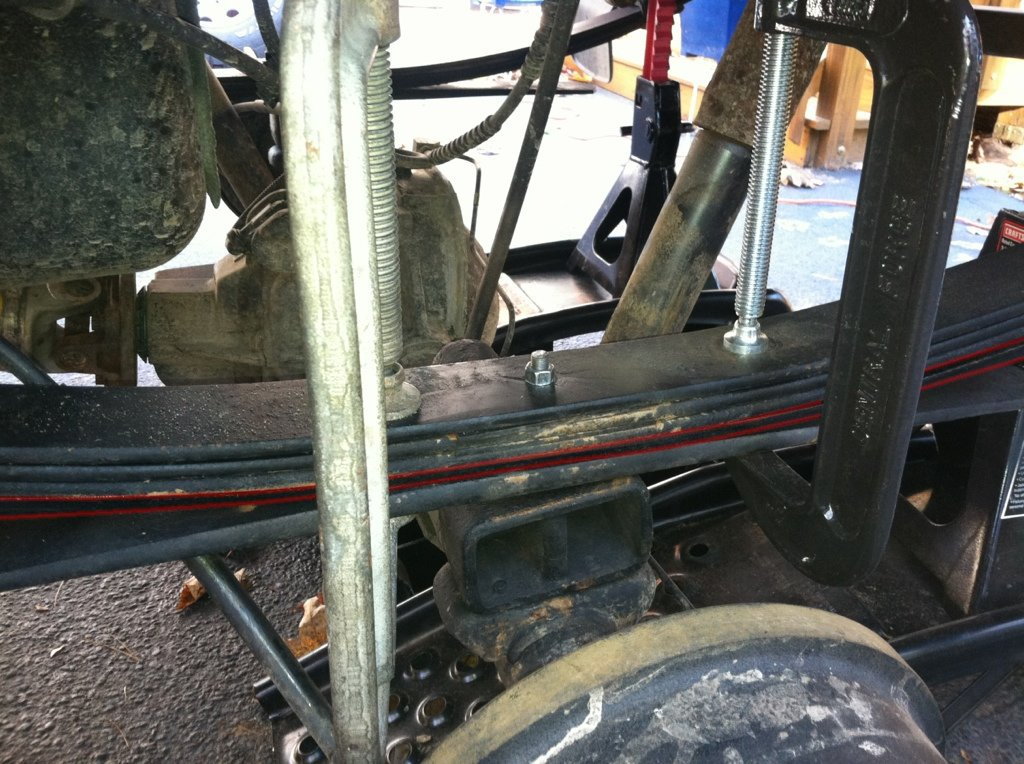
Remove the U-bolt and the bracket. Before removing the center bolt, use C-clamps to hold the spring assembly together. Once securely clamped, remove the center bolt with a socket. If your springs and hardware are rusty, you might need to use a hammer and punch to free them. Carefully remove the C-clamps.
Step 3 – Install add-a-leaf kit
Place the add-a-leaf into the leaf spring and reassemble it. The new leaf should slot in between the lowest leaf spring and the flat helper spring (as seen highlighted in red in Figure 3.). Add a small amount of grease to each end.
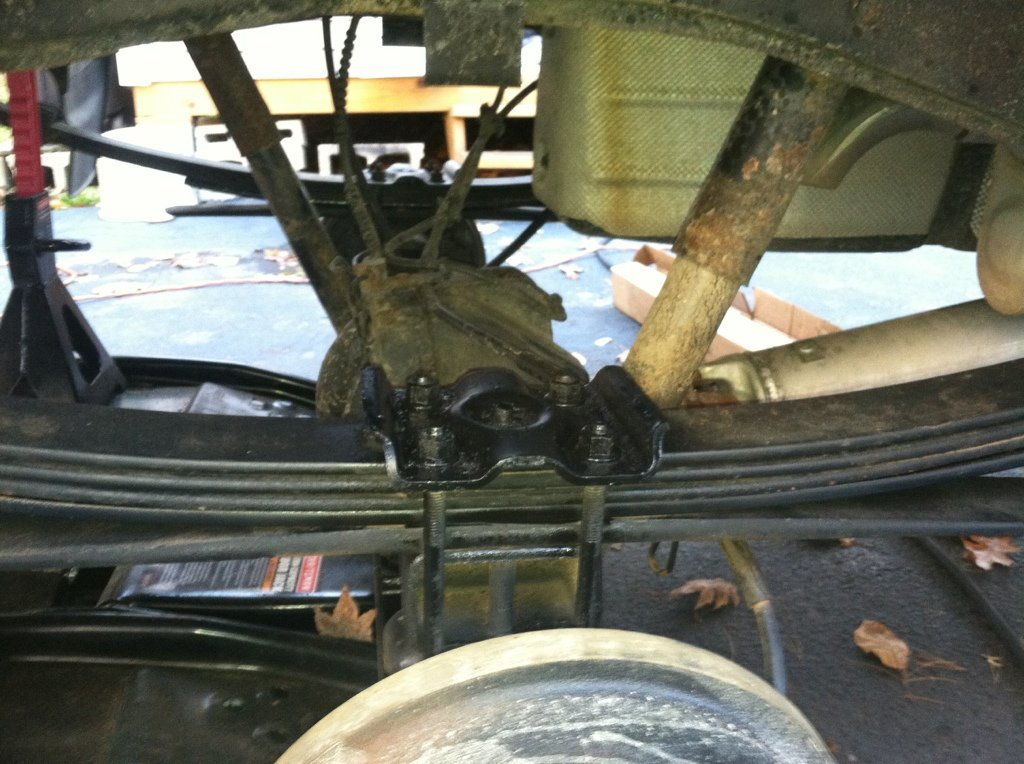
Step 4 – Reassemble suspension
Place the completed assemblies back into the axle mounts. Reinstall the center bolt, U-bolt, brackets, and nuts, torquing to factory specifications. Reinstall the wheels, lift using the floor jack, and remove the jack stands. Next, lower the truck and remove the floor jack. Make sure to test drive the truck to ensure proper installation. You should not hear any noises from the suspension, if you do, it could indicate broken leaves or brackets.
Related Discussions
- Add a Leaf? - ChevroletForum.com
- Need New Leaf Springs - ChevroletForum.com
- Anybody Add a Leaf to Aid with Towing? - ChevroletForum.com