Chevrolet Silverado: How to Remove Frozen, Rusted Wheel Hub Assembly
Many weather elements can cause your truck's underbody to rust and become a pain to work on. Here is a guide on how to deal with that situation.
This article applies to the Chevrolet Silverado 1500 GMT800, GMT900, and K2XX (1999-Present).
Snow, salt, or overall harsh conditions start taking a toll on your truck's undercarriage after a few years of use. Whether you live in the north or the gulf, you are exposed to weather elements that can make it a real pain to work on certain parts of your truck like the wheel hub. After many miles and years, rust sets deep into moving metal parts and causes them to nearly fuse together, and consequently makes them nearly impossible to remove—or remove without damaging another component. Below is a guide on how to successfully remove a frozen, rusted wheel hub off your Chevy Silverado.

Materials Needed
- Large ratchet wrench or air gun
- 4 to 5 inch long screw (12mm to 15mm in diameter)
- 12mm to 15mm socket (depending on screw size)
- Vice-clamps, pliers, or lug remover
- Drill and wire brush or sandpaper (100 grit)
- Hammer
- Red Loctite
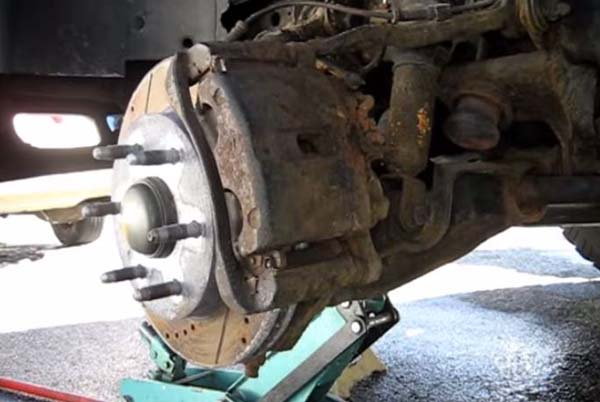
This step-by-step guide begins once the wheel as well as the brake assembly have already been removed and the spindle is ready to come off.
Related Articles
- How to Change a Tire - ChevroletForum.com
- How to Replace Brake Pads, Calipers, and Rotors - ChevroletForum.com
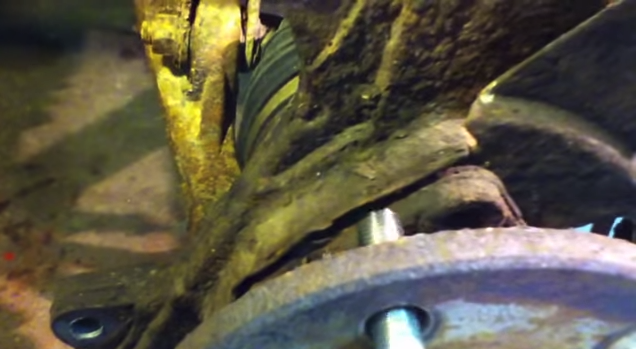
Step 1 – Assess the problem
You must now choose which tools you have at your disposal to fix the problem. Using an air gun can be easier and requires less effort, but if you don't have any power tools available, then a simple long screw and ratchet will work. The goal is to apply pressure and push the hub out.
Step 2 – Remove the lugs
First you should use your vice-clamps, pliers, or lug removing tool to successfully undo two lug nuts off the hub.
Remove two lugs on opposite ends of each other. For example, far right and far left lug, or north and south lug. That way the outward pressure is even as you alternate from one to the other. Once the lugs are out, set them aside because you will need to put them back in when finished.

Step 3 – Remove the hub
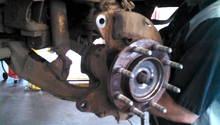
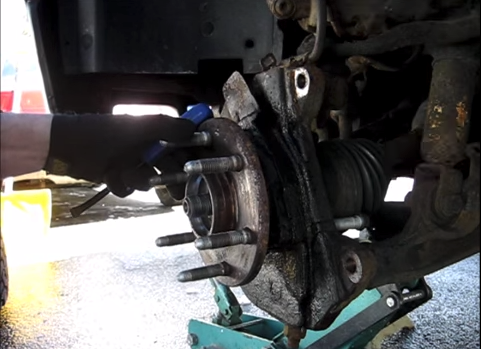
Now that the lugs have been removed and the holes are free, you can insert your screw in one of the holes. Once the screw is in, set it all the way in so it hits the fixed part of the control arm or any other component that will remain fixed to the car and will not come off with pressure. Once you've set it by hand, it's time to use your socket as well as ratchet wrench, or air gun, to start screwing it in and apply pressure. Gently start applying pressure and check the gap to the hub for progress. Once you see a gap open up, remove the screw and set it into the other lug hole to apply pressure. Repeat this process again until it fully detaches. Once it has broken loose from all the rust, you can pull the hub off by hand.
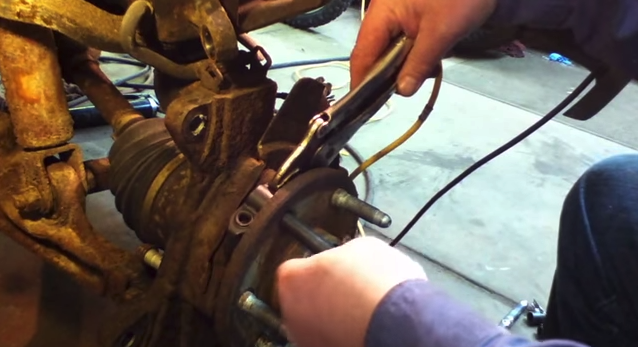
Figure 4. Alternate between lug holes to apply even pressure. 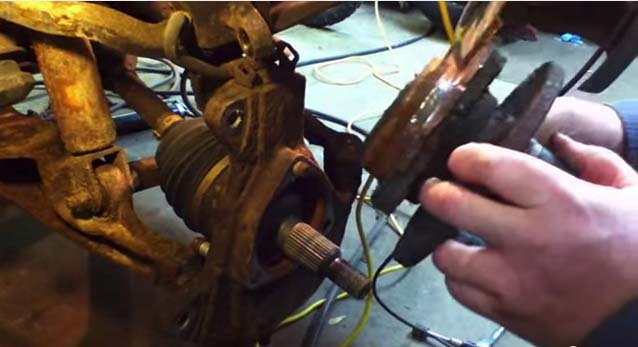
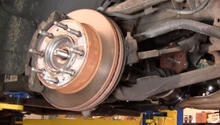
Figure 5. Eventually, the hub should come off.
Step 4 – Install the new hub
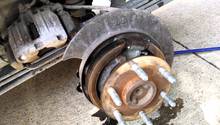
Now that the rusty, old hub is out, it's a good time to clean the area and try and get as much rust off as possible. Then, grease any components if needed. A common means of doing this is with a wire brush attachment on a drill. If that is not available, coarse sandpaper (around 100 grit or rougher) will also do the trick.
From this point on, install the new hub in reverse order as you first removed it.
- Place the hub back onto the spindle, and secure it with the correct fastener.
- Reset your wheel studs (this process differs from car to car, but often the solution is "red" Loctite and a big hammer).
- Ensure everything is tight by grabbing the hub and giving it a good shake.
- Refit your brake rotors, then calipers and pads.
- Put your wheels back onto the cleaned hub, and snug the wheel nuts.
- Lower truck down.
- Set your torque wrench and torque lugs to correct setting (aluminum wheels: 90 ft./lb.; steel wheels: 100 ft./lb.)
Featured Video: Replacing Wheel Bearing Hub
Related Discussion
- Tips on Removing a Frozen Hub - ChevroletForum.com