Chevrolet Silverado: How to Install Helper Leaf Springs
Too much sag from what you are towing could cause some serious rear-end wear on your Silverado. Luckily, this situation can be easily avoided using helper springs. Here is how to install helper leaf springs on you Chevy Silverado.
This article applies to the Chevrolet Silverado GMT800, GMT900, and K2XX (1999-Present).
The Chevy SIlverado was not built for getting the groceries. It was made to perform in the worst terrains and have ability to tow heavy cargo loads. Sometimes, however, the load can put too much strain on the rear leaf suspension. In these cases, there are aftermarket suspension kits called "helper springs" that attach to the stock springs, and add additional support to the truck's rear-end. Although it may sound a bit complicated, installing a spring is relatively easy to do at home. Use the following instructions to install a helper spring onto your Chevy Silverado.

Materials Needed
- Jack and jack stands
- Metric socket set
- Helper leaf spring kit
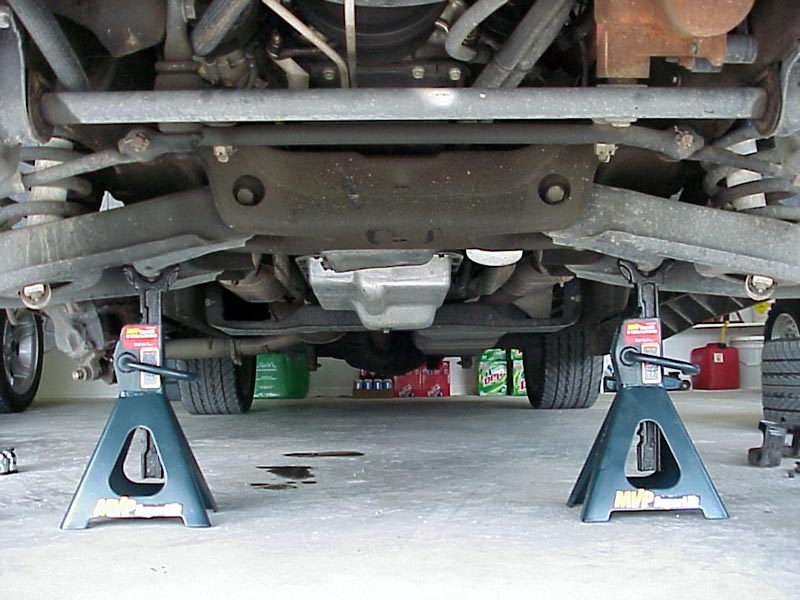
Step 1 – Lift the truck
The leaf springs are under the truck-bed, so you will need to get the back of the truck up in the air. Although not required, it is recommended getting the front of the vehicle on stands as well, for additional working room. Jack your truck up on the frame to get the front stands in place, and then the rear diff (not the diff cover!) to get the rear stands in place.
- Raise the truck up with a jack.
- Secure it in place using jack stands.
(Related Article: How to Jack Up Your Truck - ChevroletForum.com)
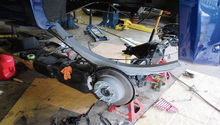
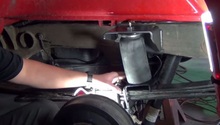
Step 2 – Attach the helper leaf springs
Helper springs mount over the existing suspension on the truck. However, before you install it, adjust them to how much of a load they can handle. This is done by installing a small rivet into the adjustment hole on the helper spring.
- Once adjusted, place the helper spring on the bottom of the stock suspension.
- Slide the bracket over it and tighten its nut by hand.
- Slide the U-bolt on the other side of the helper.
- Attach the bracket on top, along with the locking washers and nuts on both ends.
- Tighten each nut with its corresponding socket.

Figure 2. Mount the leaf helper spring. 
Figure 3. Mount the U-bolt. 
Figure 4. Attach the U-bolt plate with its nuts and washers. 
Figure 5. Tighten each nut down.
Pro Tip
Make sure to read the nut size of the leaf helper spring kit, as they may differ according to each brand.
Step 3 – Lower the truck
You are finished. Now all that is left is to lower the truck and take it for a test drive. Check for any unusual noises. With the helper springs in place, your truck will ride more stiffly as they are designed with the extra tow load in mind. However, if the load is too stiff (you will know), the helper springs will need to be removed for re-adjustment.
Featured Video: How to Install Leaf Helper Springs
Related Discussions
- Swapping Leaf Springs From 1500 to 2500/2500HD - ChevroletForum.com
- Leaf Spring Inserts - ChevroletForum.com
- Helper Springs - ChevroletForum.com