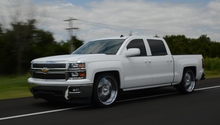
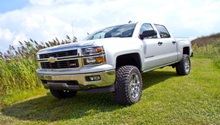
Chevrolet Silverado 2014-Present: How to Install Air Bag Suspension
Air bags are simple devices that balance the load placed onto your truck while towing. Some kits allow you to adjust your truck's ride height on the fly without even stepping out of the truck.
This article applies to the Chevrolet Silverado 1500 (2014-present).
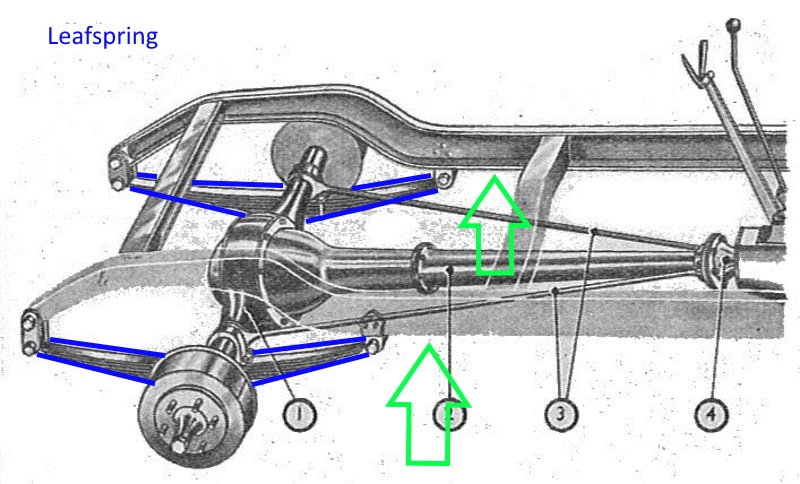
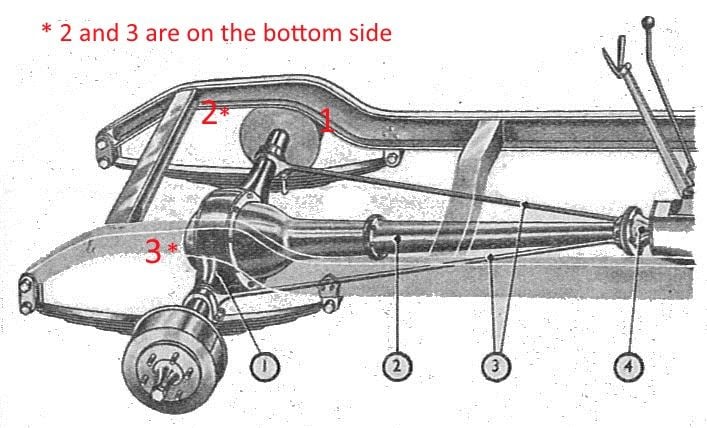
An air bag suspension, or air bag "helper springs," are commonly used on trucks to deter the negative effects while towing or carrying a heavy load in the bed. Air bags are designed to fit between the frame and axle. They work in conjunction with the leaf springs to provide a smooth ride quality.If the load is unequally placed onto the Chevy Silverado, it may lean to one side or cause the front of the truck to raise. This causes wear to suspension components and creates steering/stability issues. Learn how to install air bag suspension on the Silverado 1500 here.

Materials Needed
- Floor jack and jack stands
- Wheel chocks
- Safety glasses
- Torque wrench
- Flat head screwdriver
- SAE open end combo wrenches
- 1/2" ratchet
- Metric and standard socket set
- 17/32" Allen head socket
- 1 5/16" drill bit
- Electric drill
- Hose cutter or razor blade
- Compressed air
- Spray bottle with soapy water
Step 1 – Raise the rear wheels and support the rear axle with jack stands
Raise the truck with your floor jack and place jack stands just forward of the leaf springs on each frame rail.
(Related Article: How to Jack Up Truck - ChevroletForum.com)
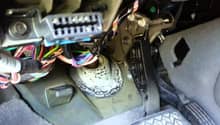
Step 2 – Remove the wiring and ABS brake lines from the frame rails
- In order to install the air lift, you have to remove the ABS lines from their brackets. These brackets hold the lines in place and guide them up and down the frame rails.
- The wiring bracket is located on the inside of the driver side's frame rail and is in front of the axle.
- The ABS lines run across the bottom of the frame rails behind the rear axle.
- The Air Lift kit will require you to install a new metal bracket onto the abs lines.
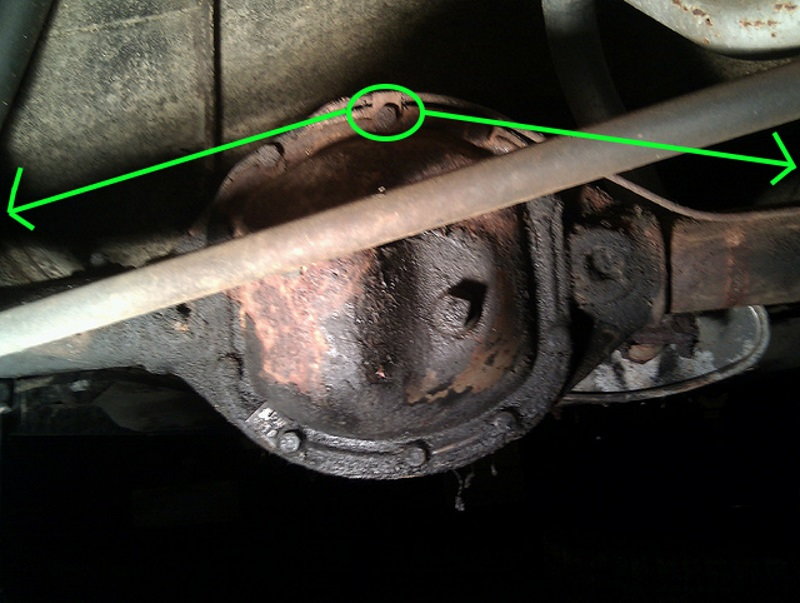
Step 3 – Modify the emergency brake cable
- The emergency brake cable runs across the backside of the rear differential to each wheel brake.
- It must be re-located or else it can damage the air bag.
- Remove the bracket holding the e-brake cable to the rear differential. The bracket is held in place by one bolt.
- A new bracket will be provided with your Air Lift kit that raises the position of the cable. Install it in the same location as the previous bracket with the original bolt.
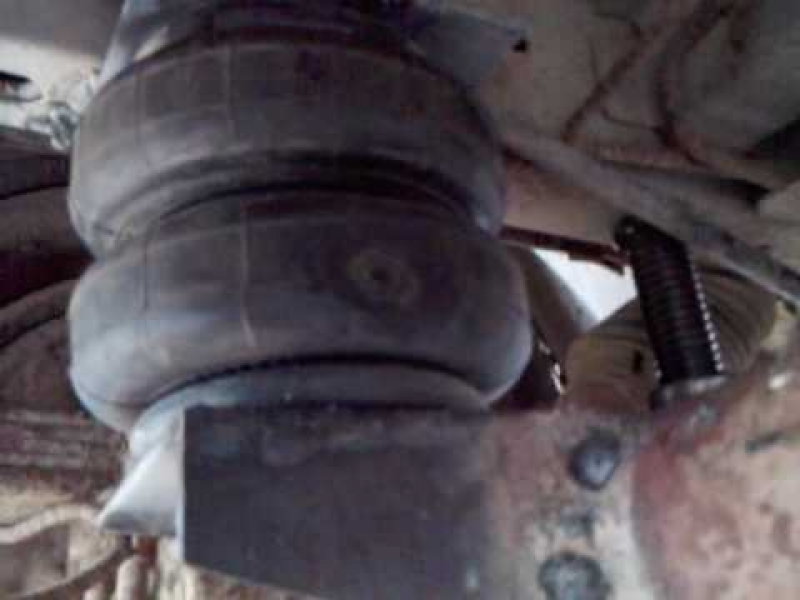
Step 4 – Assemble the air bags
If your kit's air bags did not come pre-assembled, then you will need to make sure all fittings and brackets have been installed onto the air bags.
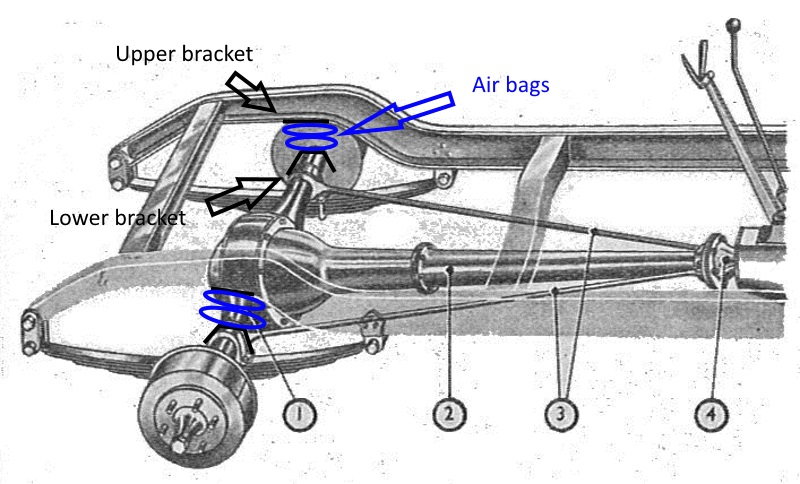
Step 5 – Install the air bag assembly's upper bracket
- Start with the passenger air bag. The air bag brackets are identifiable by the markings (L) and (R) signifying left and right side.
- To position the first bolt to be tightened to the air bag bracket and frame, feed it through the hole the ABS line bracket ran through.
- You will install the new ABS line brackets to the upper portion of the bracket.
- Now install the u-bolts into the air bag bracket. You will see two holes the u-bolt will slide through on the front side of the bracket.
- The rear side of the bracket is fastened by one bolt. It's tightened directly into the frame rail.
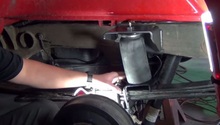
Step 6 – Install the air bag assembly's lower bracket
- Center the lower bracket onto the jounce bumper strike plate. It's welded onto the upper side of the rear axle.
- The lower bracket has a hole for a bolt to pass through on each side.
- A J-clamp (a piece of metal bent at a 90 degree angle) holds the bracket to the jounce bumper strike plate. The bracket stays in place once it's tightened onto the bolt with a lock nut.
- As you're tightening, make sure the bracket stays center on the jounce strike plate.
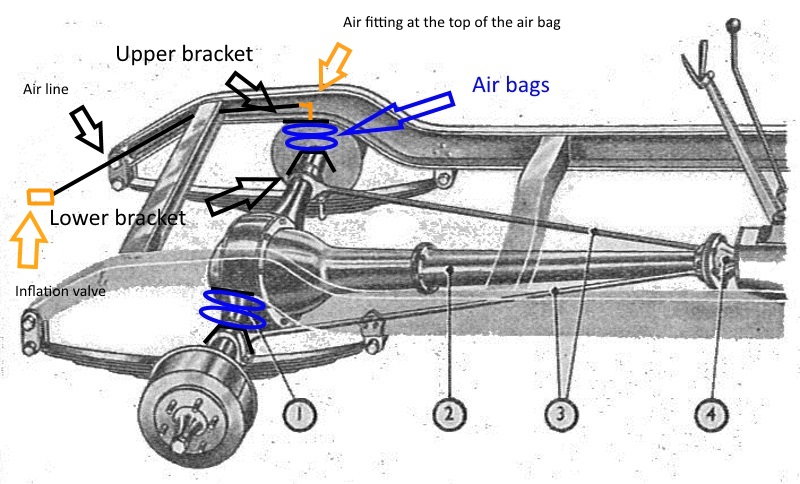
Step 7 – Install the air inflation valves
- If you decide to purchase a kit with an in-cabin air pressure regulator, you may have additional steps that explain air line routing into the truck.
- For a manually adjustable air bag kit, you will find a location convenient for you to install inflation valves. Make sure this location is accessible enough to fill the air bags with compressed air.
- Drill two 5/16" holes into the truck where you choose the inflation valves to be mounted.
- With the Air Lift kit you will first place a star washer, then a hex nut onto the rear side of the valve. On the front side, install a rubber washer first, then a flat washer. Finish by installing another hex nut onto the valve. Tighten the nuts to secure the valve onto the truck.
Step 8 – Install the air lines
- Carefully cut the air lines using a sharp knife or similar tool. Make sure the cut is made straight up and down otherwise the line may not seal completely inside of the inflation valve.
- Route the air lines towards the air bags securing the lines against the frame rail. In areas where the lines are exposed to high heat, use a heat shield wrap or similar product to prevent damage.
- The Air Lift kit includes air fittings at the top of the air bags. These are push-to-connect. Simply push the line into the air fitting once you've made a straight cut.
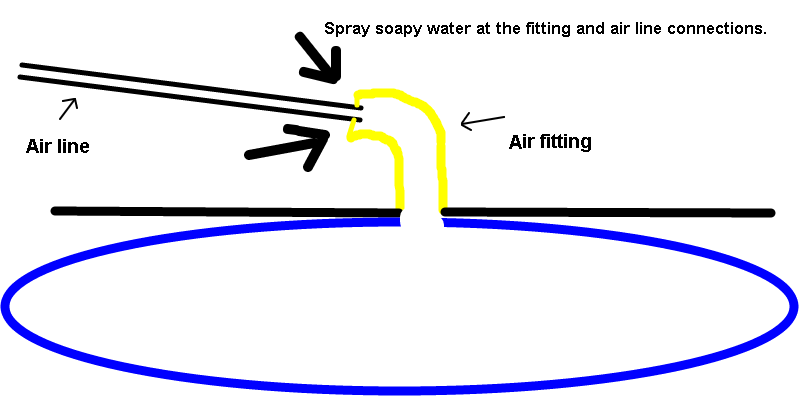
Step 9 – Perform a leak check
- Inflate the air bags to 60 psi (or the amount recommended by the manufacturer). Spray soapy water onto the air line connections, if no bubbles appear you have a leak-free air bag system.
- You can also perform an overnight air pressure drop test. Inflate the air bags and check the air pressure level the next morning. A drop of more than 5 psi is an indication your system is leaking.
- Be sure to perform the periodic maintenance on your air bag system.
Related Discussion and Sites
- Air Bag Compressor Mounting - ChevroletForum.com
- Air Lift Air Helper Springs - Airliftcompany.com
- Firestone Air Bag Helper Springs - Riderite.com