Chevrolet Silverado 2014-Present: How to Install Tie Rod Ends
The thought of replacing tie rod ends might used to send chills down the spine of a novice DIY guy, but the job is actually easy. Keep reading to learn how.
This article applies to the Chevrolet Silverado 1500 (2014-present).
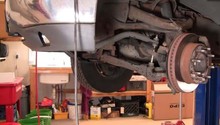
The tie rods are pretty simple; it says right what it is out of the box. Tie rods are threaded rods that screw into the steering gear box on one side, and then the suspension knuckle/hub (where the wheels are mounted) on the other. They tie the steering to the wheels. For most vehicles, this system is separated into "inner" and "outer" tie rods to make servicing less complicated. Tie rods are solid metal, and do not have bushings that degrade over time; however, due to road impacts, they are designed to bend or take damage instead of damaging the steering rack. Fortunately, it is usually the "outer" rod that takes the beatings. We say fortunately because the outer tie rods, or tie rod ends, are usually easily accessible and not too daunting of a task to replace, even for novice weekend mechanics.

Materials Needed
- Two tie rod ends
- Jack and jack stands
- Flat end screwdriver
- 7mm, 21mm and 22mm socket and ratchet
- 15/16ths wrench
- 16mm wrench
- Needle nose pliers
- Mallet
- Tape measure
- Grease gun
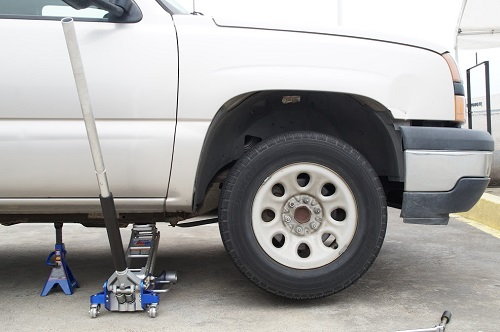
Step 1 – Jack up and remove wheels
- Jack up the front end of the truck; it's recommended to jack the truck up on the broad side of the frame on the underside, near the front doors.
- Place jack stands under the front lift tabs and chalk the rear wheels.
- Remove the lug nuts and center cap.
- Remove wheels.
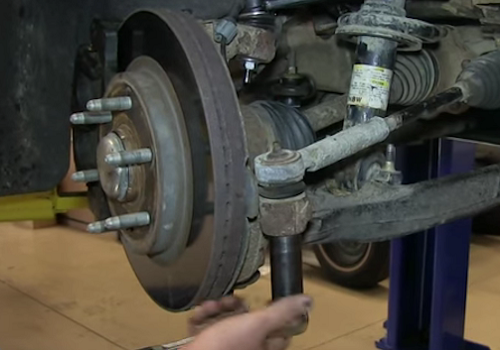
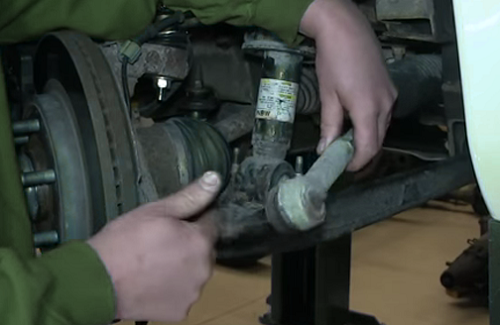
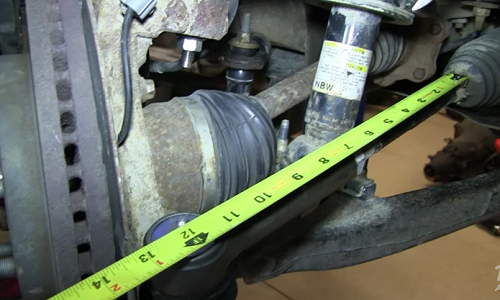
Step 2 – Measure the tie rod end
Measure the distance between the tie rod and the opposite end of the tie rod assembly.

Pro Tip
Measuring from the tip of the rubber boot is a good choice.
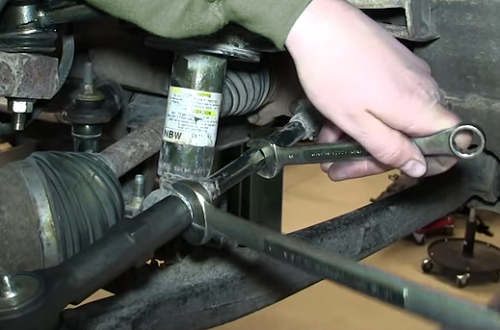
Step 3 – Loosen the lock nut on the tie rod
Using a 15/16ths wrench, loosen the lock nut that secures the outer tie rod to the inner tie rod.
Pro Tip
If the nut is rusted on, use a piece of pipe for leverage to break it.
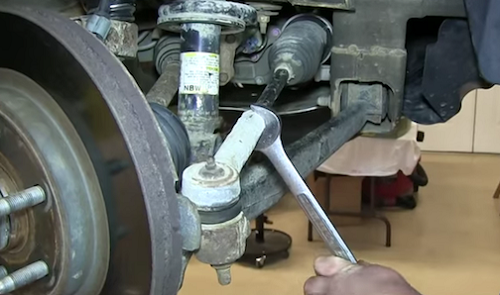
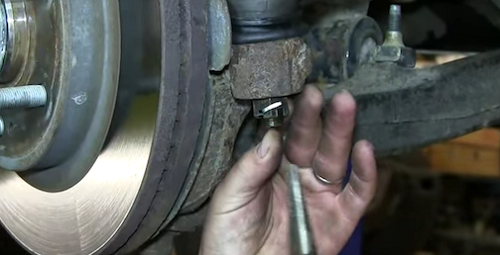
Step 4 – Remove the cotter pin and castle nut
Unless you're an NFL lineman, odds are you're going to need a pipe extension to remove the castle nut on the underside of the tie rod. Use a 21mm socket (use an impact socket if you have one. Take a deep breath and PULL! Make sure that the ratchet you're using is tough and locks securely into the "loosen" position. This job will break weak tools.
Step 5 – Hammer the housing
Use a sledge hammer or mallet and give the arm a few taps to loosen the tie rod bolt for removal.

Pro Tip
If you have a nice paint finish on your suspension, put a folded rag over the tie rod end so you won't chip the paint.
Step 6 – Twist off the tie rod
Turn the tie rod to the left and remove it.
Step 7 – Screw in the new tie rod
Install the new tie rod by twisting it to the right.

Once it's threaded back to the locking nut, slide it down into the knuckle.
Pro Tip
Turn the tie rod until you feel it's close to the original length. (You did measure right?) Slip the end into the knuckle to see if and when you have the correct alignmant and length.
Step 8 – Install the lower castle nut and cotter pin
Hand-tighten the castle nut, then torque it down with your ratchet and 21mm socket. Install a new cotter pin and bend the ends outward with your needle nose pliers.
Step 9 – Tighten locking nut
Using your 15/16ths wrench and a 16mm wrench to keep the rubber boot from twisting, tighten the locking nut.
Measure the distance to be sure your alignment will be close. Getting a front alignment done is a great idea.
Featured Video: How to Install/Replace Outer Tie Rod Chevy Silverado
Related Discussions
- Tie Rod Replacement - Chevroletforum.com
- Tie Rods Changed, Clunk Still There - Chevroletforum.com
- Clunking Noise From Steering - Chevroletforum.com
- Broken Tie Rods? - Chevroletforum.com