Chevrolet Silverado 2007-2013: How to Replace Throttle Body
Your Silverado's throttle body is an air-intake butterfly valve that regulates air flow. Removing it and replacing it with a shiny, new throttle position sensor (TPS), or a new unit all together can keep your truck running strong.
This article applies to the Chevrolet Silverado GMT900 (2007-2013).
That crazy-looking intake manifold in your Silverado's engine compartment can look downright daunting when you experience the dreaded check engine light, and need to clean or replace your throttle position sensor. However, with just a few hand tools, an hour of your time, and a little cash, you can R&R the entire throttle body to keep your truck running like new again.

Materials Needed
- Flat head screwdriver
- 10mm socket or wrench
- Throttle body cleaner (do not use regular carb cleaner!)
- Throttle body unit
Step 1 – Open hood and pop off plastic engine cover
That behemoth of a top cover on your Vortec V8 is held on by only two tabs. Gently lift the front until it pops up from its post, then reach under and toward the rear of the cover to pop the back tab. (It's so easy, a US Congressman could do it!)

Pro Tip
It's a great time to clean that cover and apply a vinyl dressing on both sides.
Step 2 – Remove the PCV valve
Just unplug it!

Step 3 – Remove air intake tubing
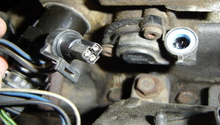
At each end of the intake tubing, you'll see a worm-drive clamp. Loosen both clamps at the air cleaner and TB unit. There will also be a tab at the far left side rear. Simply pop that off. Finally, unplug the sensor plug on the intake tube.
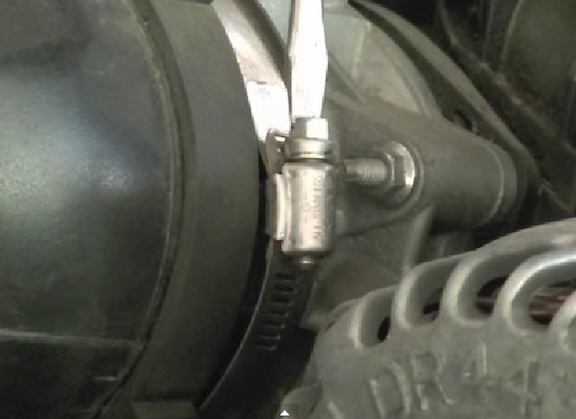
Figure 3. Loosen (don't remove) the large hose clamps with a flat head screwdriver. 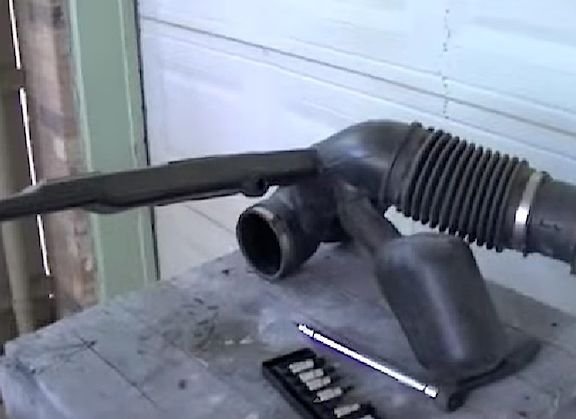
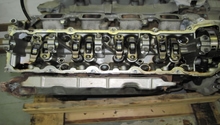
Figure 4. This is the intake after you've removed it from the truck.
Pro Tip
Again, while you have the air intake tube out, it's a great time to clean it up and dress the plastic with a good vinyl protectant,
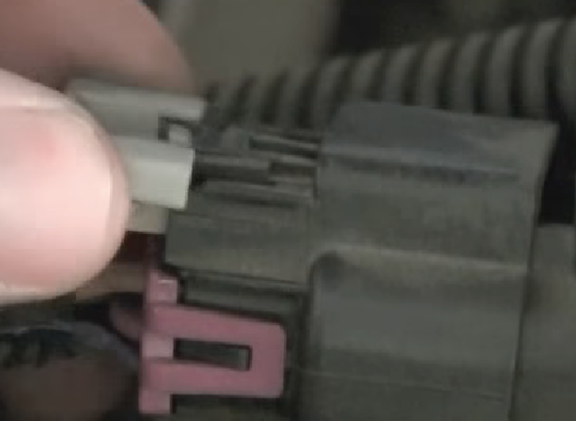
Step 4 – Remove power leads to the throttle body
Simply push down on the gray clip tab, and remove the entire plug. You should not have to remove the pink clip.
Pro Tip
If you are cleaning the TB unit and putting it back in, BE ABSOLUTELY CERTAIN you don't open the butterfly! It is directly tied to the sensor, and it will take many miles of driving at a higher RPM before your on-board computer resolves itself and drops your idle back to below 1,000 RPM!
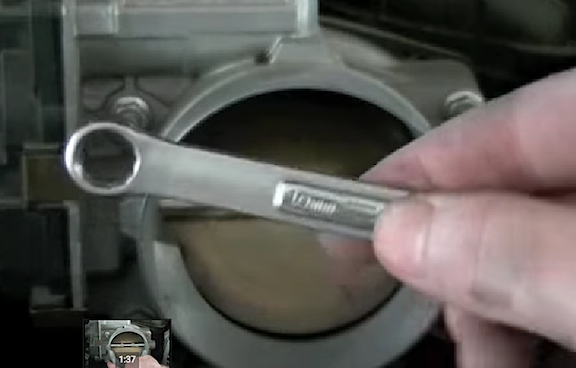
Step 5 – Remove the throttle body assembly
Using a 10mm wrench, remove the two nuts and two bolts. Then, slide the TB off the studs.
Step 6 – Inspect O-ring and replace if needed
The O-ring should be intact; however, if it has any cuts, abrasions, or is just plain grungy, you should have a new gasket in the new throttle body kit.
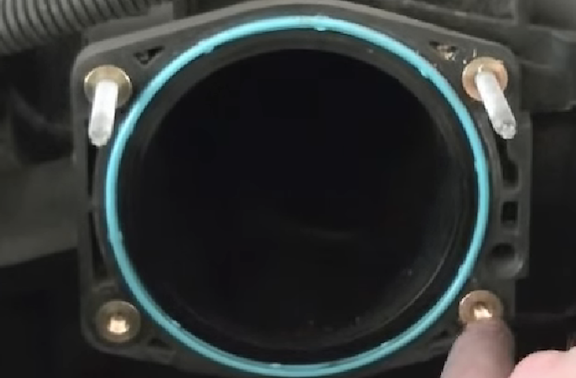
Pro Tip
Leave the O-ring undisturbed if it's in good shape. A light fingertip with some grease can lubricate it to help seat the new unit.
Step 7 – Install the new (or refurbished) throttle body
Simply line up the stud screws and slide the unit in place. Tighten the nuts and lower bolts in a crisscross pattern until tight. Do not over tighten! There is no torque spec for these, so use common sense when tightening. Plug the sensor plug in, and secure it with the gray clip.

Pro Tip
Remember not to mess with the butterfly. It'll confuse your computer when you manually move the inner gears and sensor settings!
Step 8 – Reinstall air intake assembly and cover
Install the plastic air intake tubing assembly, tighten the worm-drive clamps, and push the PCV valve back in place. Simply line up the front and rear tabs on the engine cover. Then, push down firmly until it snaps into place. Plug in the sensor at the air cleaner end of the intake.
Hey! You're done!
You may notice a higher idle speed once you've installed the new or refurbished throttle body. The computer will need to "re-learn" the proper butterfly settings from the sensor. The best way to remedy this quickly is to take a drive on the nearest highway, and then drive in some traffic. The computer will reset the idle by itself
Related Discussions
- High Idle, Relearn - ChevroletForum.com
- Engine Power Reduced Light - ChevroletForum.com
- Throttle Position Sensor - ChevroletForum.com
- Replacing TPS - ChevroletForum.com