Chevrolet Silverado 1999-2006: How to Replace PCV Valve
Among the complex mechanical components that allow an engine to function, the PCV valve is one of the smaller parts but just as significant. If this valve is clogged in your Silverado, replace it as soon as possible before other problems arise.
This article applies to the Chevrolet Silverado GMT800 (1999-2006).
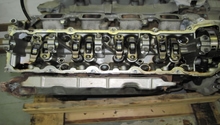
As the air/fuel mixture ignites in an engine cylinder, the high pressure combustion causes a very small amount of gases to slip through the piston rings and into the crankcase, also known as 'blow-by.' Since the pressure in the intake manifold is always lower than the pressure inside the crankcase, the fumes naturally flow into the intake valve where the gases are recycled and contribute to the combustion process. The Positive Crankcase Ventilation (PCV) valve is what allows this ventilation process to occur. So if clogged, the result may be oil leaking to other parts of the engine, such as out of the oil dipstick or through the gaskets. If the PCV valve in your Chevy Silverado needs to be replaced, follow the steps below to get the job done in just a few minutes.

Tool Needed
- 8 mm socket and ratchet
Step 1 – Remove the engine cover
Make sure the engine is off and has cooled down before starting the job. Use an 8 mm socket and ratchet to remove the center bolt on top of the engine cover. Then lift the cover off and set it aside.

Step 2 – Remove the PCV valve
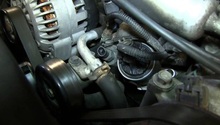
The PCV valve is located at the rear of the engine on the side nearest to the brake fluid reservoir. The PCV hose is the widest of the three hoses in this location (the two thinner hoses are connected to the firewall). Follow this hose to the valve cover and pull out the hose with attached PCV valve. Then remove the PCV valve from the hose.
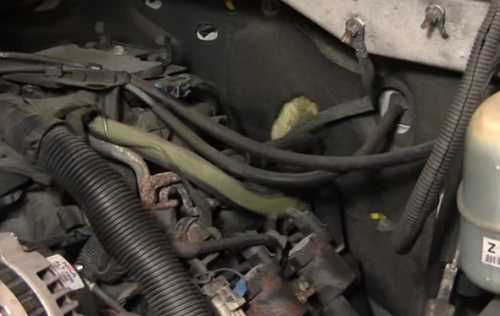
Figure 2. Follow PCV hose to the valve cover. 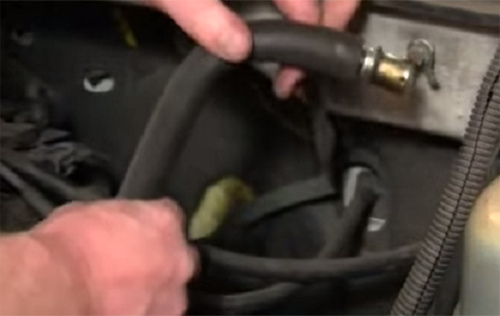
Figure 3. PCV valve and hose disconnected. 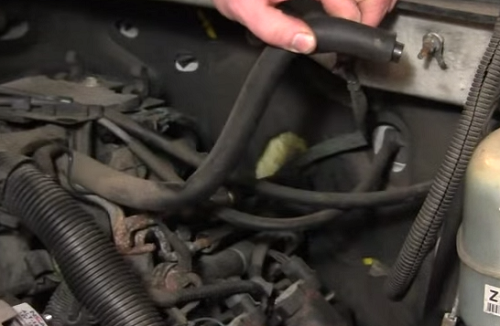
Figure 4. PCV valve removed from the hose.
Step 3 – Install the new PCV valve
Insert the new PCV valve into the hose and plug it into the correct location on the valve cover. Re-install the engine cover to complete the installation.
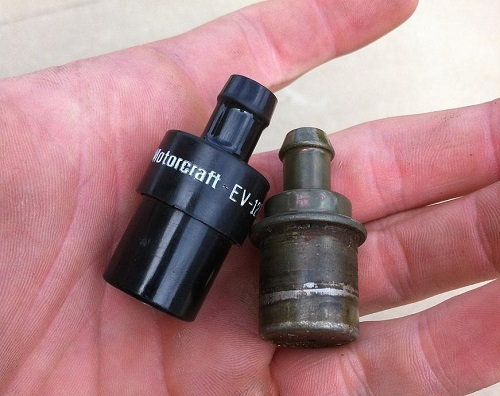
Figure 5. New (left) and old (right) PCV valve.
Featured Video: How To Replace PCV Valve 2000-03 6.0L Chevy Silverado
Related Discussion and Video
- Where's My PCV Valve? - ChevroletForum.com
-
How To Replace PCV Valve 2000-03 6.0L Chevy Silverado - YouTube.com