Chevrolet Silverado: How to Disarm Anti-Theft Lock
Read more to learn how to disarm the anti-theft lock in your Silverado 1500.
This article applies to the Chevrolet Silverado 1500 (1999-present).
If your battery is bad or all the doors to your Chevrolet Silverado are not properly closed, the anti-theft lock in your 1500 could be set off. Disarming the anti-theft lock in your vehicle is relatively easy, but you'll first need to complete a few troubleshooting steps to determine which is the simplest and easiest resolution for this common problem. Your first course of action should be to wait 15 minutes, and then start your ignition using your spare key. If this does not resolve the problem, continue reading.

Material Needed
- Replacement battery (optional)
- OBD reader
- Car keys
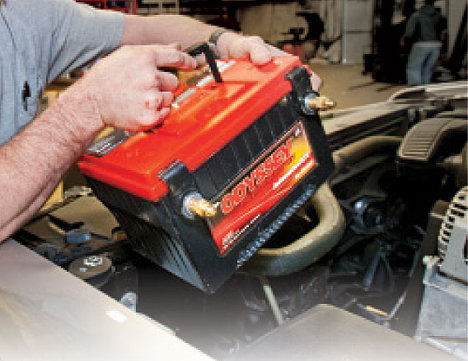
Step 1 – Unplug the battery
Pop the hood of your truck to remove the battery. This should be as simple as removing the cables from your battery terminals and freeing the battery with your hands.
- Wait 15 to 30 minutes.
- During this time, it's recommended that you test your battery using a multimeter.
- If your battery is bad or weak, the multimeter will confirm that a replacement is needed.
- Re-install your old battery or, if necessary, install a replacement battery.
- Start your engine using your key.
If replacing the battery doesn't fix the issue, move on to Step 2.
Step 2 – Lock all doors
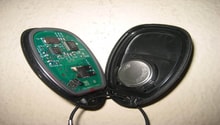
Close your doors, and then lock your vehicle using your key fob.
- Wait five minutes.
- Unlock your vehicle using your key fob.
- Start your engine using your key.
Pro Tip
The above simple step should resolve the problem. However, if there is a problem with one of your door sensors, it's important that you check your trouble codes to ensure your system is functioning properly. Read on to Step 3 to learn how.
Step 3 – Check for trouble codes
Using an on-board diagnostics tool, read the trouble codes stored in your vehicle.
- Connect your diagnostics tool to your vehicle's diagnostics plug, which is located on the driver's side (underneath the steering wheel).
- Read the codes.
- Fix the faulty component, which might be a blown fuse, malfunctioning door sensor or weak battery, if you are skilled in that area.
- If not, make a service appointment at your local Chevrolet dealership or garage.

Pro Tip
An on-board diagnostics tool can run you anywhere from $50 to several thousand dollars online. If you do not own one, your local Chevrolet dealer can run diagnostics on your vehicle; however, there might be a charge of $100 or more.
If scanning the codes does not reveal the culprit, move on to the last step.
Step 4 – Visit your local dealer
You might need to have your local dealer reset your anti-theft system. Unfortunately, this is not a DIY project that you can complete on your own without some professional training and the correct tools.
As well, if you are dealing with a mechanical issue, you will want a licensed technician to resolve the problem. If your vehicle is still under warranty, the faulty component will be repaired at no cost to you.

Pro Tip
Let your local Chevrolet dealer or mechanic know about any trouble codes that you detected using an on-board diagnostics tool, as well as provide an overview of any troubleshooting measures you carried out before visiting the dealership.
Related Discussions
- Anti-Theft Issues, Help - ChevroletForum.com
- Truck Will Not Start - ChevroletForum.com
- Factory Radio Issue - ChevroletForum.com
- Anti-Theft Light On - ChevroletForum.com