Chevrolet Silverado 2014-Present: Why is My Engine Losing Power?
Is your Chevrolet Silverado 1500 losing power? Here's how to diagnose the issue.
This article applies to the Chevrolet Silverado 1500 (2014-present).
If you've ever noticed your lights flickering, the door locking and unlocking, the gauges moving drastically and the radio fading, it means your truck is struggling to power everything. If you shut the truck down and let it sit for five minutes it'll work just fine, but the problem will eventually come back. Follow the tips below to come up with a more permanent solution.

Materials Needed
- Multimeter
- Phillips head screwdriver
Step 1 – Check the battery cables
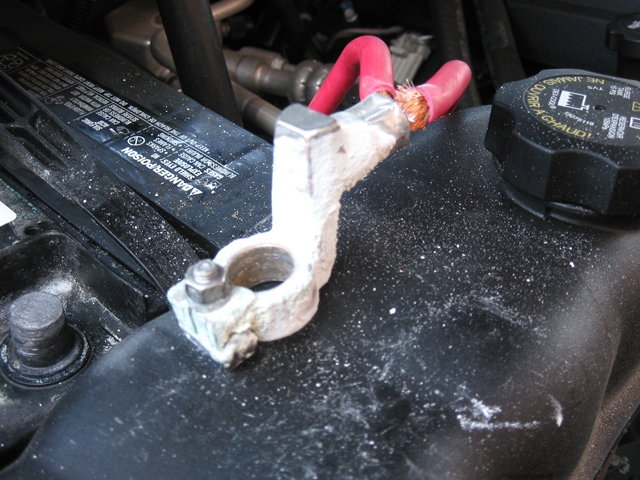
Sometimes the cable terminals connected to the battery can get corroded or the cable itself can be severed. If this is the case, then you'll need to cut off the corroded terminal and solder on a new one or replace the entire length of cable.
Step 2 – Check the ground cables
The ground cables connecting your battery to the chassis are sometimes susceptible to rust. Usually, you'll find the ring terminal at the end of the ground cable somewhere in the engine compartment or in the undercarriage of the truck. Like the battery terminals, you'll need to cut and replace any corroded ring terminals, then make sure they're tightened securely to the truck chassis.

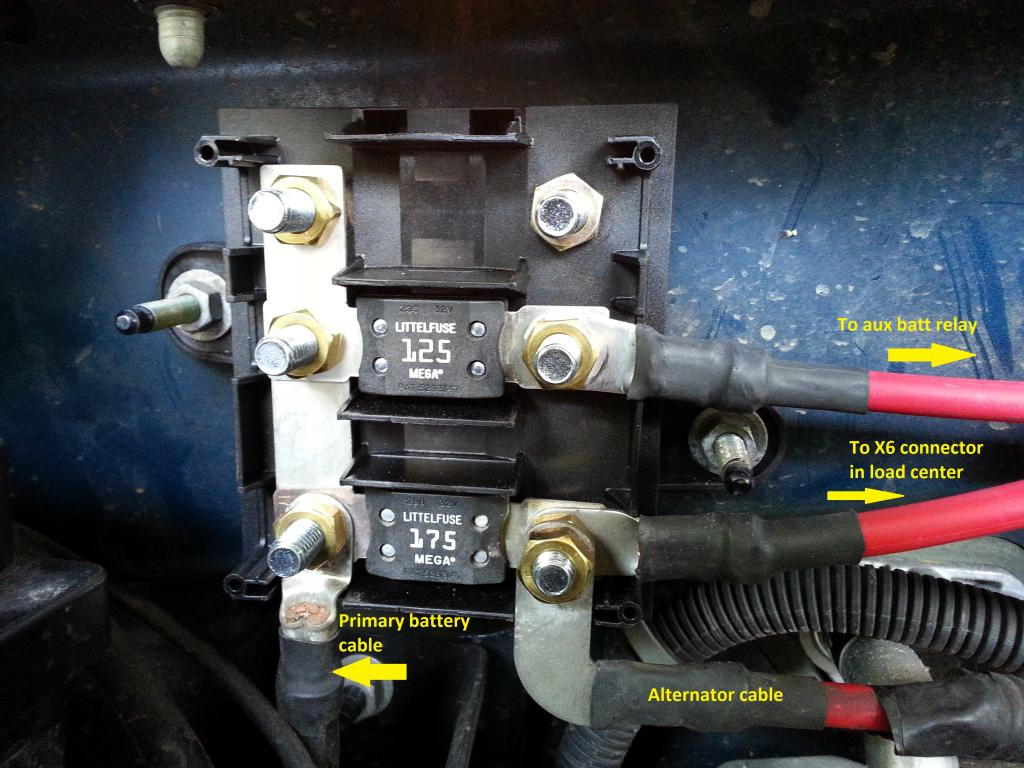
Step 3 – Check the fuse box
Look for the 175-amp mega fuse in your engine compartment. Make sure that it's firmly seated, and that the fuse is still good. If the mega fuse isn't the problem, then check the connections going to the fuse box. You can also try removing and reinserting the fuse box. Sometimes, one of the connections is loose and needs to be re-seated.
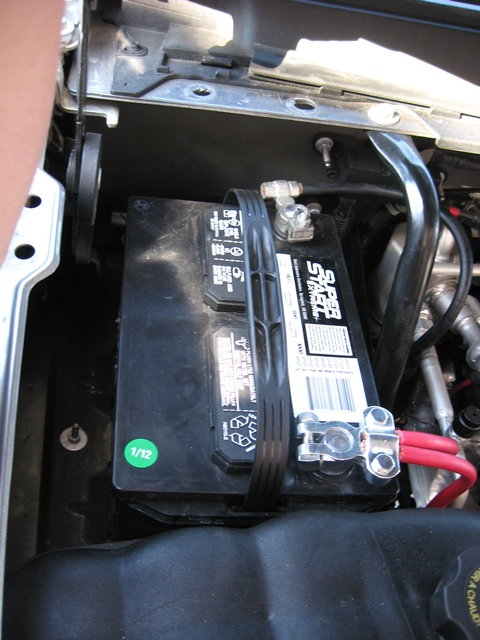
Step 4 – Replace the battery
Sometimes, these issues are caused by a battery going bad. Check it first to make sure it's not holding the appropriate charge. To remove it, unbolt the bracket holding the battery to the truck. Once this is removed, you can pull up on the handles of the battery case to lift it out. Make sure your new battery is the same size as your old battery. Insert it to the truck and bolt down the bracket. Reconnect the positive terminal first then the negative terminal.
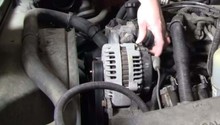
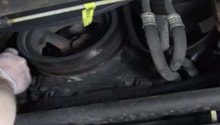
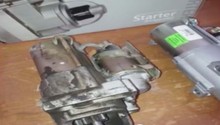
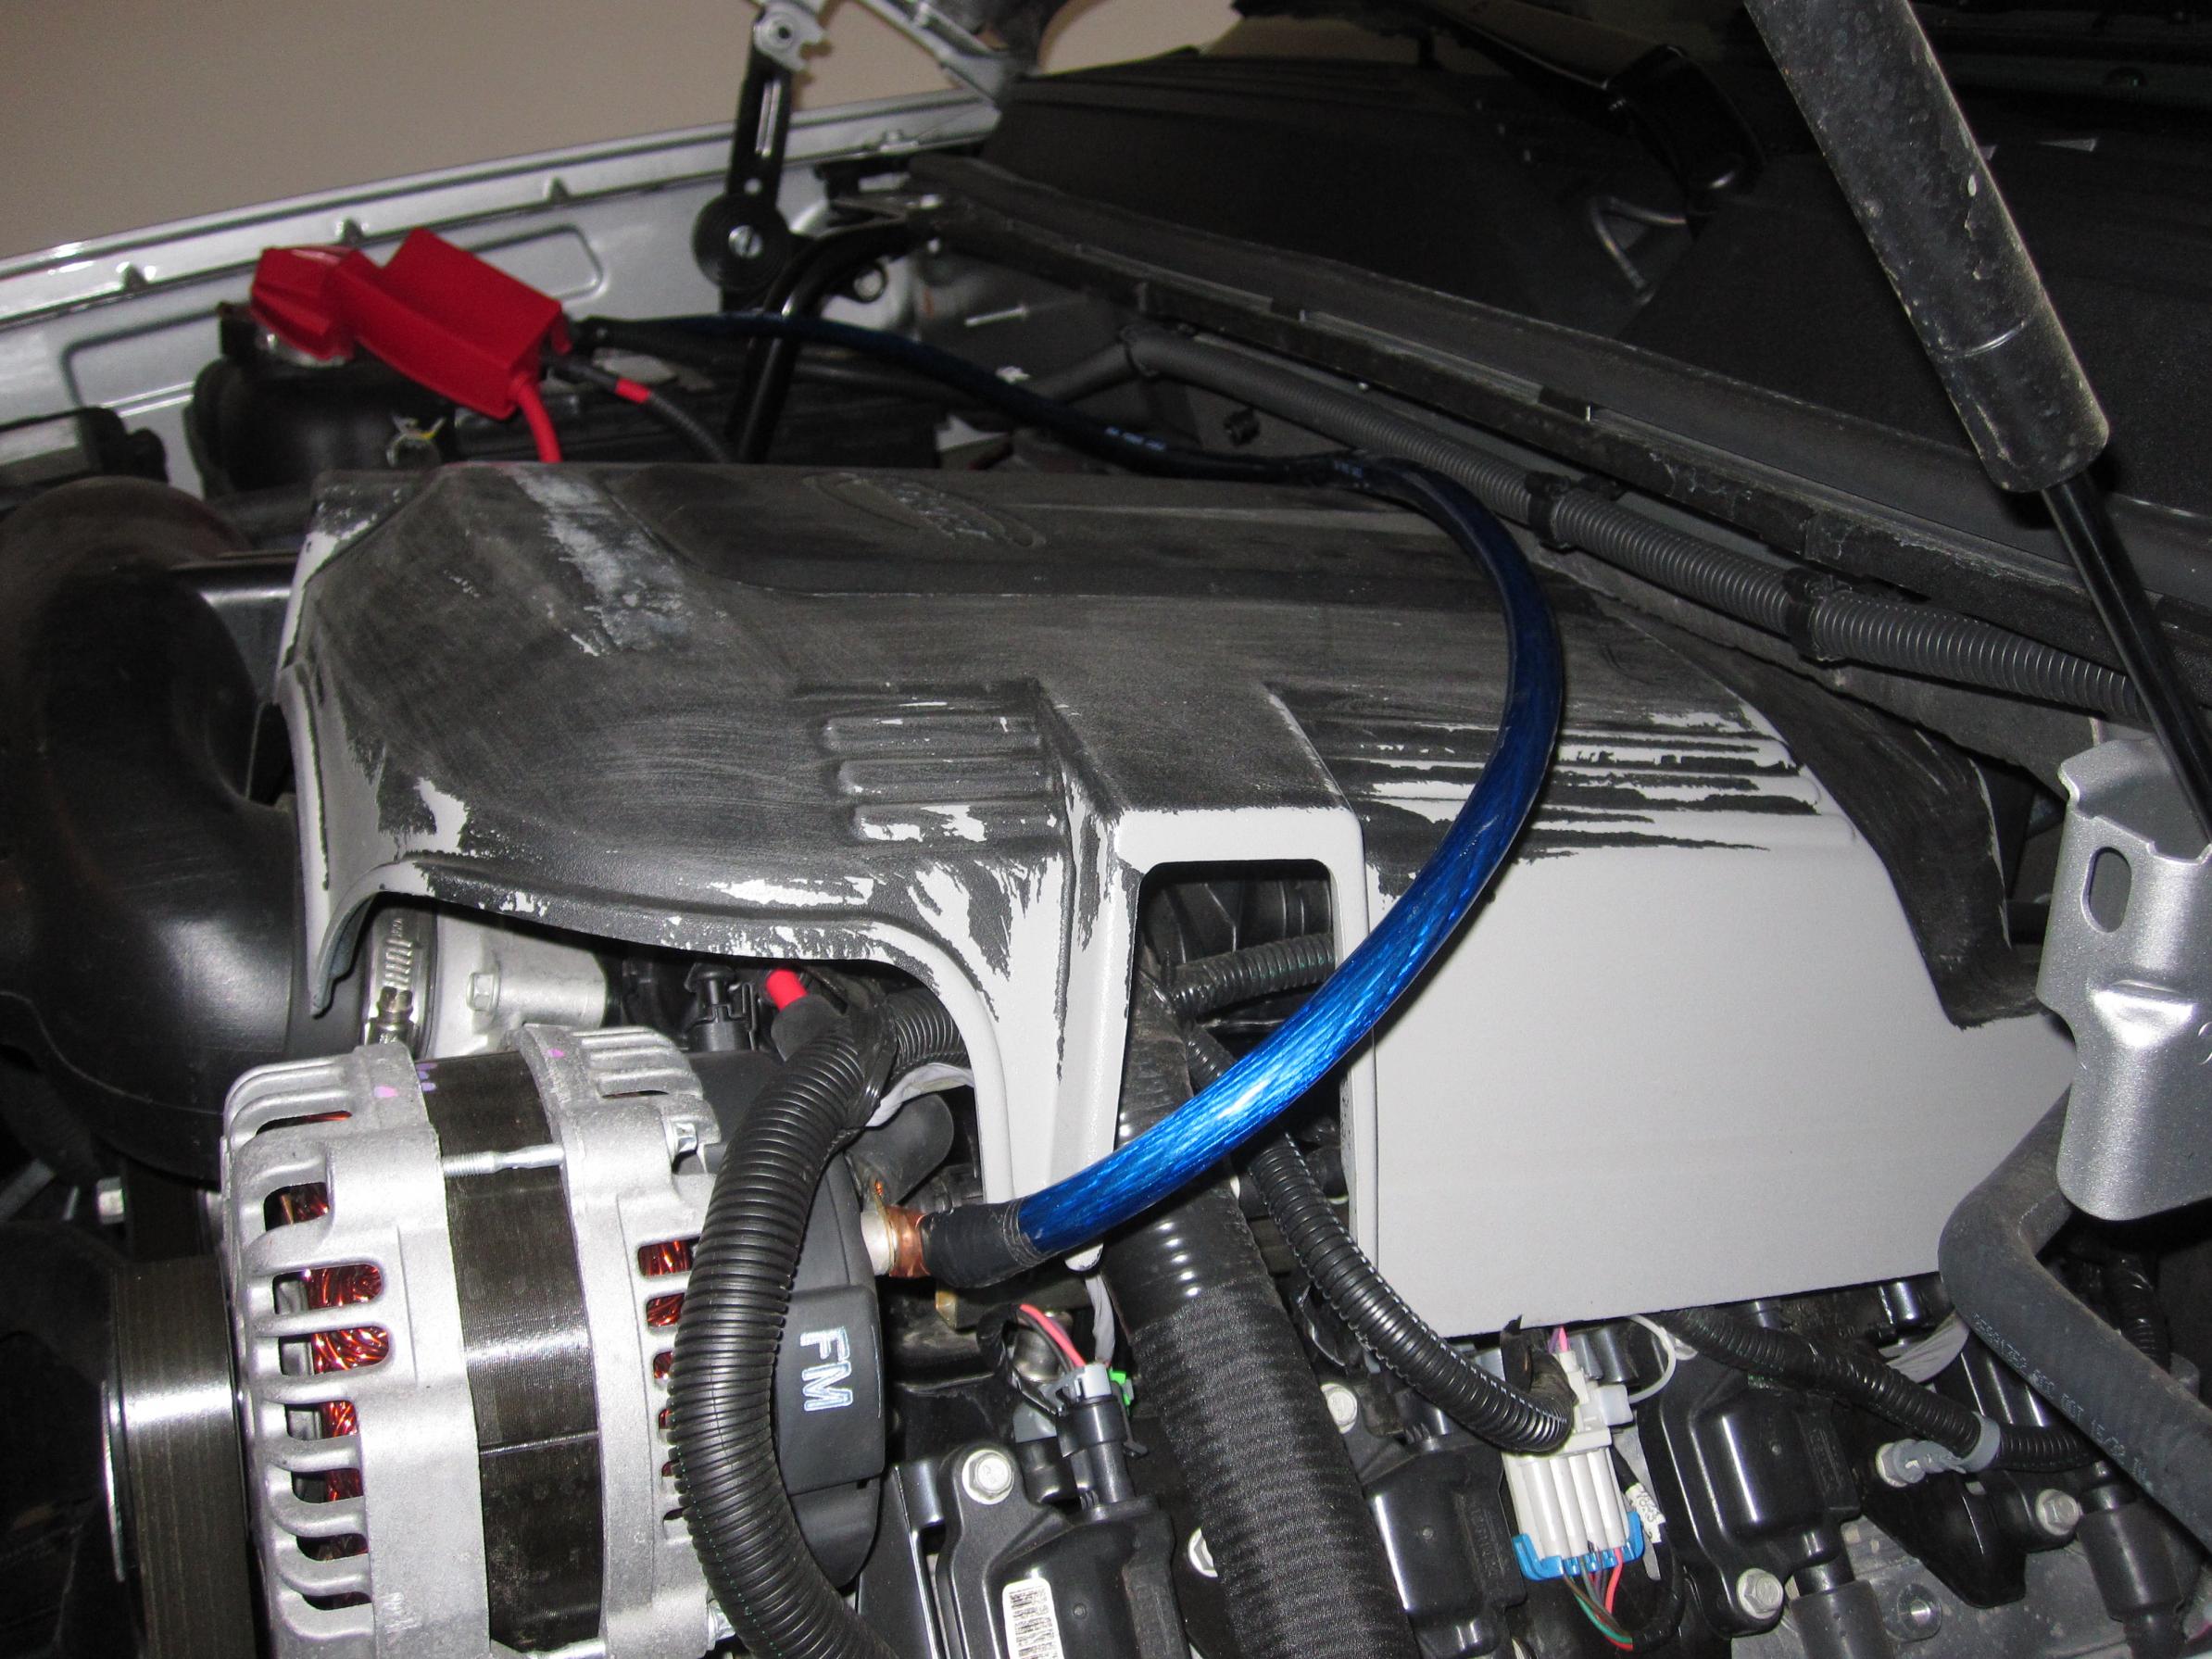
Step 5 – Replace the alternator
In some cases the fault could be with the part responsible for charging the battery: the alternator. To replace it, you'll first need to disconnect the battery. Then you'll need to disconnect the air intake hose. Remove the cover over the alternator and loosen the tension on the serpentine belt by using a socket on the pulleys, then slip the belt off the alternator. Unplug the two electrical cables from the alternator. Remove the mounting bolts and lift the alternator out of the truck.
Make sure your new alternator is the same part number as your old one. Place it where the old alternator sat. Tighten down the mounting bolts. Reinsert the serpentine belt and restore tension to the belt. Reconnect the two electrical cables. Reconnect the air intake hose and put back the cover. Once everything is hooked up, reconnect the battery and start the truck to make sure it functions properly.
Featured Video: Why is My Engine Losing Power?
Related Discussion
- 2008 Silverado 1500 Big Problems - ChevroletForum.com