Chevrolet Silverado 1999-2013: How to Replace Ignition Coils and Spark Plugs
The secret to a running your engine is air, fuel, and spark. If your truck isn't starting smoothly or is running roughly, you may need stronger combustion. Here's how to strengthen your engine.
This article applies to the Chevrolet Silverado (1999-2013).
Your engine needs three things to run: air, fuel, and spark. Air is delivered by means of your intake system and the pumping action of the engine itself. The fuel is delivered by a pressurized injection system, and the spark is delivered by coil packs connected to spark plugs.
It used to be that an engine had a single ignition coil; its job was to convert the battery's low voltage into the high voltage spark required to combine the air and fuel in the engine into useful energy by way of explosion. But in today's modern engines, rather than a single overworked ignition coil and a mess of wires that can degrade, each cylinder gets its own coil connected directly to that cylinder's spark plug. You might still have a short length of wire between your coil and your plug, but it's much better than it used to be. As a result of these new designs, today's coils have more time to recharge between firings, which results in the engines having higher efficiency. But none of that is happening if your coils or plugs have gone south on you. Here's how to replace your ignition coils and spark plugs.
Materials Needed
Socket set and ratcheting handle with extension to clear coil packs
Spark plug socket
Magnetic bowl
Compressed air (nice to have)
Be sure to buy spark plugs with the right gaps for your specific truck. They might be .40 or .60 since V6 and V8 engine models use different ones, and the coils may vary as well.
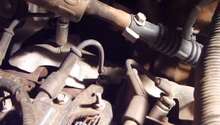
Step 1 – Remove wire from coil
Turn the wire boot 1/2 a turn and pull it out of the coil. Don't pull on the wire itself, use the boot. That's what it's there for.
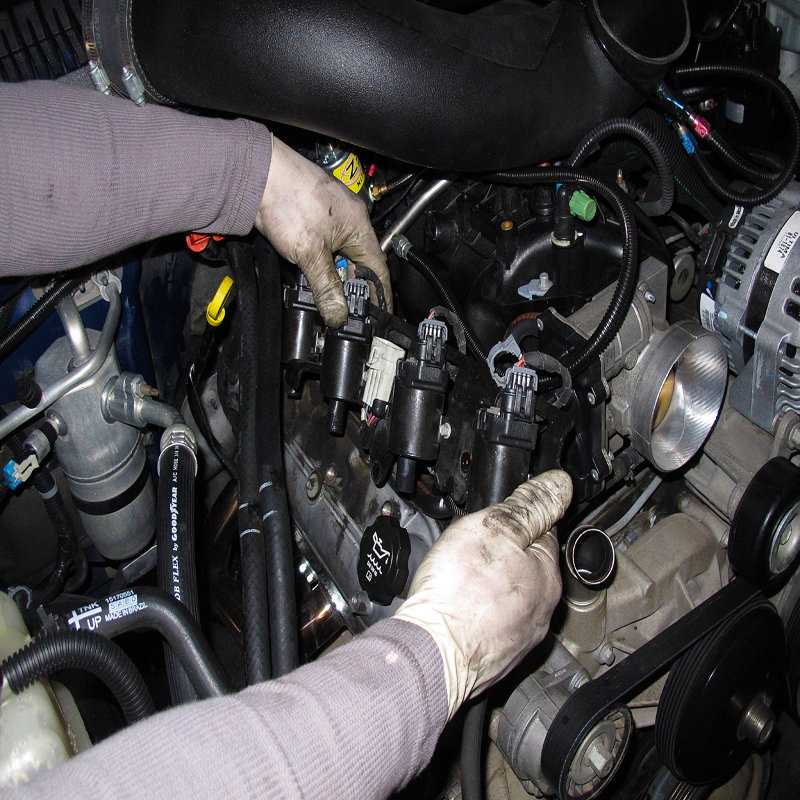
Figure 1. Disconnect spark plug wires along the harness for the coils.
Step 2 – Remove coil
The coil should have two 7mm bolts holding it in on both sides. Place all the bolts and parts somewhere safe so you don't lose them. Once the coil bolts are out, the coil should come right off.
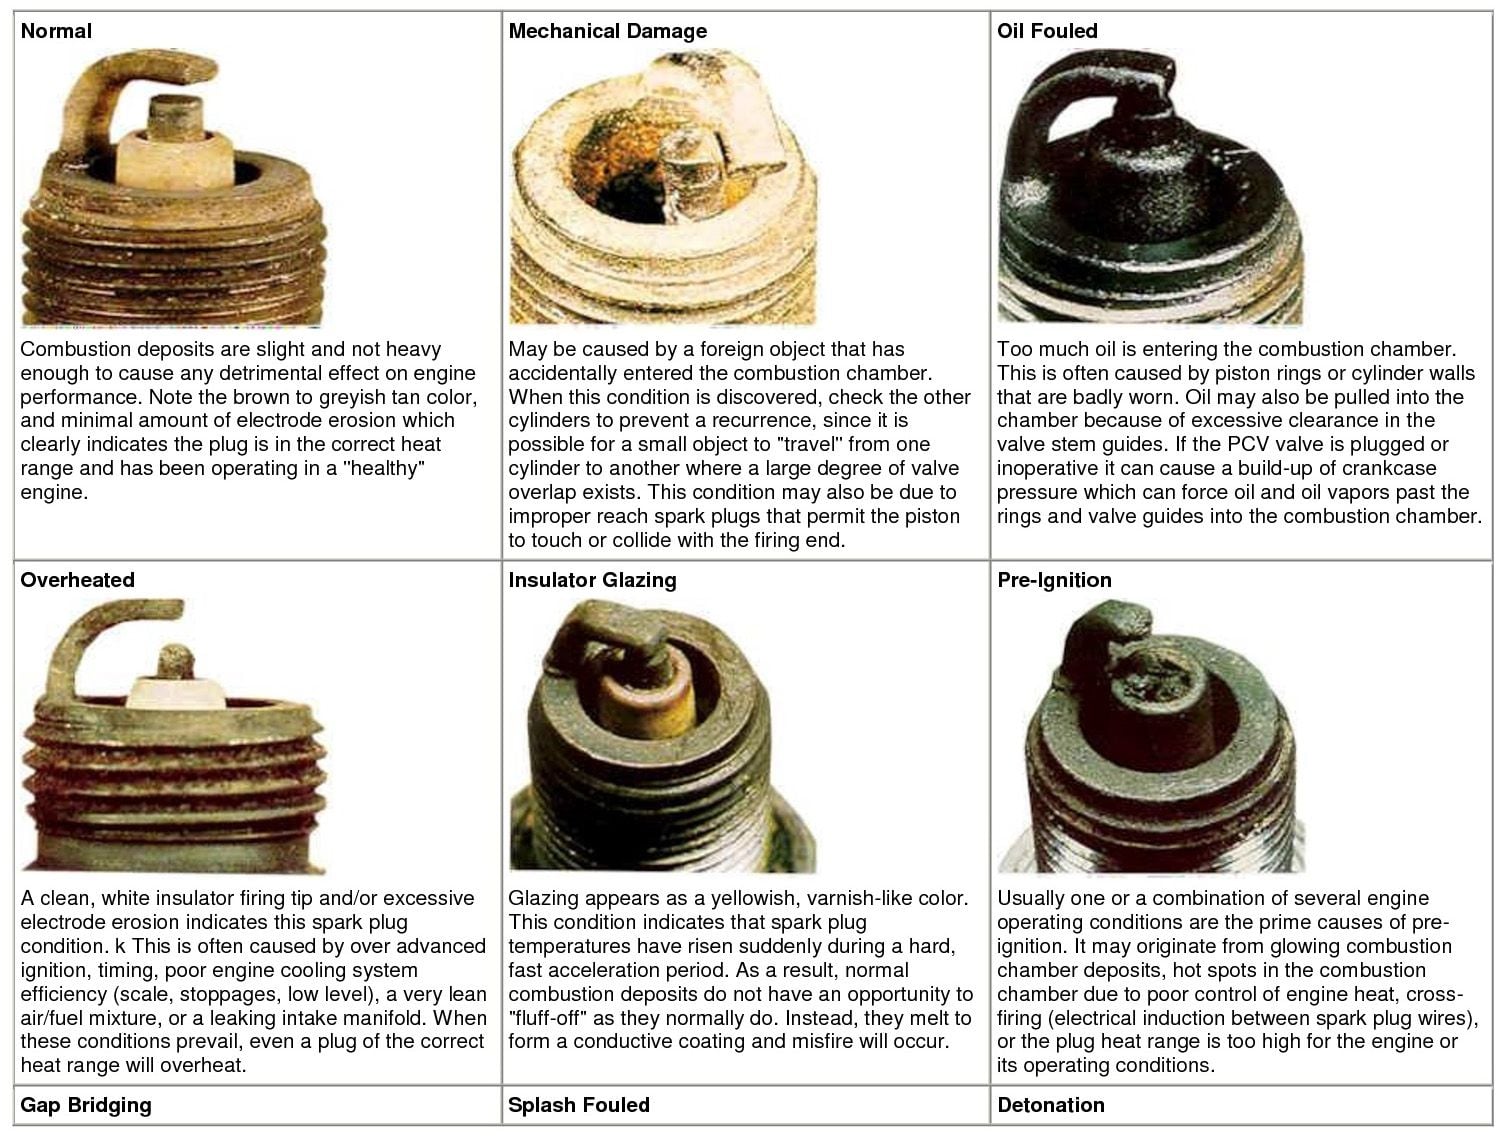
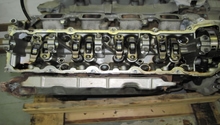
Figure 2. Check the appearance of your plugs against the image to gauge the condition.
Step 3 – Remove spark plugs
Take the spark plug wire out by wiggling it off of the end of the plug, then loosen and remove the spark plug.
Once you have your spark plug out, take a look at the end and compare it to the chart above. You might be able to gain some insight on how well your engine is performing from what you see on the end of it. Do the same for the rest of the spark plugs.
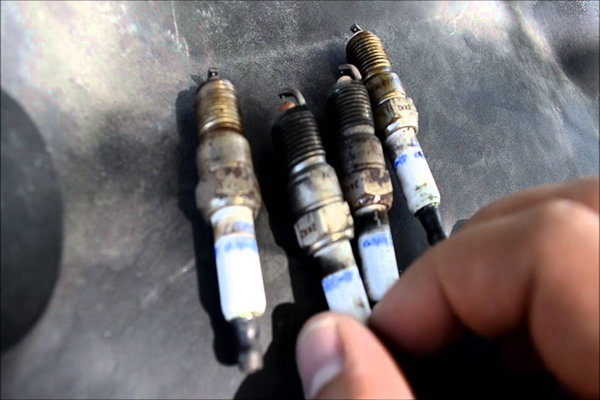
Figure 3. The result of jumping sparks causing some to burn more than others.
Step 4 – Install new spark plugs and coils
Insert your new spark plugs into the holes, and torque them to 11 lb-ft. Then bolt your coil packs back on using your 7mm bolts, then reverse the removal procedure of a 1/2 turn on the plug wire to get it back into the coil.
After installing everything back in place, start the engine and go for a test drive.
Figure 4. Follow the order in the image if you happen to have forgotten.
How to Replace Spark Plugs
Find out how simple it is to replace the spark plugs in your Chevy Silverado.
This article applies to the Chevrolet Silverado K2XX (2014-Present).
Trucks have gotten a lot fancier and ...
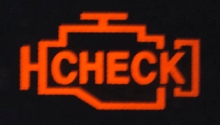
Why is My Check Engine Light?
Joshua Leimkuehler
Is your truck's "check engine" light on? Any number of problems could be to blame, but these four are the most common.
This article applies to the Chevrolet Silverado ...
Why is My Truck Acting Up?
Does your Chevrolet Silverado feel like a different truck? Well, don't settle.
This article applies to the Chevrolet Silverado 1500 (1999-present).
Is your Chevrolet Silverado 1500 ...
Engine Performance Diagnostics
realfixesrealfast
Several important engine performance failures affect the Silverado. These range from basic and easily repairable to the required awareness, knowledge, and prompt ...
Diesel vs. Gas
Trying to decide on gas or diesel? These trucks are expensive so you'll want to make an informed decision about which truck best suits your needs.
This article applies to the Chevy Siverado ...
5.3L and 5.7L Vortec Engine Differences
The Chevy Silverado has one of the strongest tickers in the world: the Vortec engine. But what's the difference between the 5.3L and 5.7L variety? Click here to find ...