Chevrolet Silverado 1999-2006: Why Are My Gauges Malfunctioning?
With the instrument panel in your Chevy Silverado, it's not a question of whether or not the gauges will fail, but more like when they will. However, replacing the entire unit is not the only option you have to fix this annoying problem. Read on and consider a couple other solutions.
This article applies to the Chevrolet Silverado GMT800 (1999-2006).
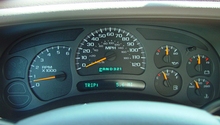
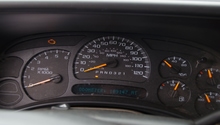
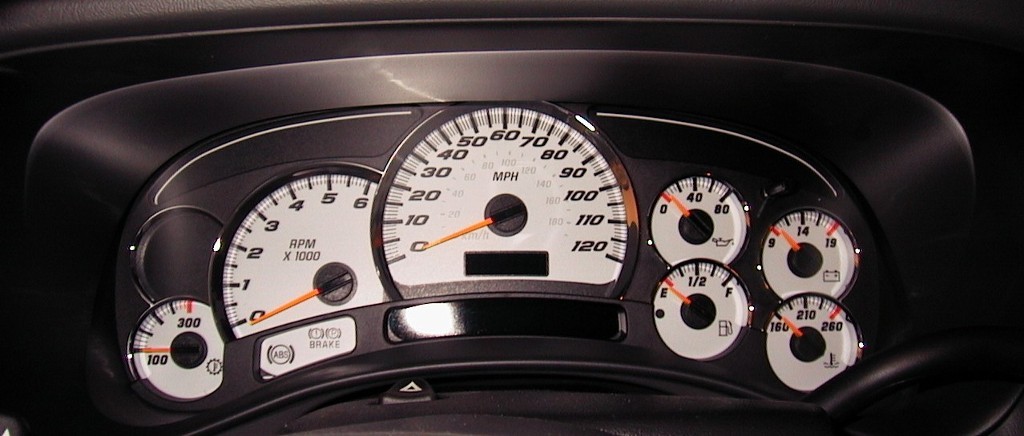
Don't you hate it when as soon as you switch on the ignition, the gauge in your instrument panel thinks your car is moving 88 mph? A buggy gauge cluster is not only annoying, but it's also unsafe. Each one of those gauges provide important information regarding your vehicle's voltage, engine temperature, oil pressure, and more. However, not all is lost when the needles go nuts, and there are a few ways to not only repair your gauge cluster, but also save you hundreds of dollars in the process. This article will explain the common roots of this problem in your Chevy Silverado, and what you can do to repair them.

Materials Needed
- Soldering iron
- Flux
- Socket set
- Trim pry tool
- Screwdriver
Step 1 – Check the solder points
The solder points may be cracked.
The instrumental panel is a larger circuit board attached to each meter and gauge. First-generation Silverados are notorious for dealing with choppy solder points. And to check the solder points, the instrument panel will first have to be removed.
- Remove the dash panel trim.
- Loosen the mounting screws, and remove the gauge cluster.
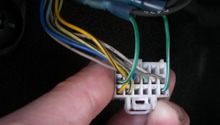
- Disconnect the plug on the backside of the cluster.
- Pry off the cluster's rear cover.
Once the cover is removed, visually inspect the circuit board of the instrument cluster and solder any worn or cracked solder points.

Pro Tip
Be careful when you solder the contacts on the circuit board. If the solder torch burns the wrong area, the entire instrument panel may become damaged.
Step 2 – Check the stepper motors
The stepper motors may be worn out.
The stepper motors are responsible for turning all of the gauge needles. Each one is soldered onto the instrumental panel circuit board. To replace the stepper motor, the instrument panel will have to be removed.
- Release the tabs on the front and back of the gauge cluster.
- Mark the needle placement on each gauge.
- Remove the needle from each.
- Flip the circuit board over, and remove the soldered point from each stepper motor pin.
- Replace the stepper motors.
- Solder the stepper motors in place, replace the needles, and install the front as well as the rear instrument panel covers.
- Re-install the gauge cluster back into the dashboard.

Step 3 – Replace the entire gauge cluster
The instrumental panel may be burnt.
If the circuit panel has been dealing with a bad connection or experienced a major short, the entire cluster may be severely damaged. When this happens, even cleaning or re-soldering the contact points will not get the panel back to working condition. It will no longer be able to properly send the correct signals to each gauge or meter, and the only option left is to completely replace the unit. Although this is the easiest option, it is also the most expensive.
- Remove the dashboard trim.
- Loosen the cluster mounting bolts, and pull back the instrumental panel.
- Disconnect the cluster plug.
- Install the new unit.
(Related Article: How to Repair Instrument Cluster - ChevroletForum.com)
Featured Video: How to Repair Instrument Cluster
Related Discussions
- 2007 Instrument Cluster Repair - ChevroletForum.com
- Gauges Are Going Nuts! - ChevroletForum.com
- recall on instrument clusters - ChevroletForum.com