Chevrolet Silverado 1999-2006: How to Use OBD Scan Tool, Reset Service Engine Soon and Change Engine Oil Light
The OBD-II port is your access into the vehicle's computer system. Depending on your scan tool, this diagnostic port will allow you to check diagnostic codes, view freeze frame data, and possibly watch live data from vehicle sensors. More commonly is the need to reset the engine service light and change engine oil light, both of which can be done easily.
This article applies to the Chevrolet Silverado GMT800 (1999-2006).
The vehicle's computer systems are constantly watching the inputs it receives from sensors spread throughout the powertrain and body. When these sensors record unexpected information, a fault code is set for that system/component and a check engine light will display. In some instances, a fault code may cause the check engine light to flash, indicating a more major engine problem.
With access to a scan tool, you are able to connect to the computer and retrieve the diagnostic code(s) that are presently stored. These codes may range from "P" codes meaning powertrain to "B" codes for body. Once you retrieve the code, you have the needed information to research and potentially solve the problem. You can now also decide to erase the code, which at times is the recommended fix. Be careful when doing so, as the computer stores data known as "freeze frame data" that allows the scan tool user to view the operating conditions at the time the code was set.
The Silverado GMT800 has a unique system for determining the condition of engine oil. It uses a series of sensors to determine the length of time the oil has been used, and changes in oil temperature. Once conditions have been met, the computer sets the change engine oil light. General Motors has made the reset of this light very user friendly with no tools required.

Materials Needed
- Factory level or aftermarket scan tool.
This first set of steps will guide you through the use of a common aftermarket scan tool.
Step 1 – Plug the scan tool into the OBD-II port
The OBD-II ("On-Board Data, 2nd generation") port is located at the bottom of the knee bolster, near the parking brake release. Simply plug the scan tool connector into the OBD-II port. Turn your truck's ignition to the "on" (not start) position.
Depending on which scan tool you purchased, the opening menu will look different. Look for the selection "view trouble codes." The scan tool will load for a moment, and then display a list of currently stored trouble codes. Record the code number and if desired, go back to the main menu. You will find the option to "erase trouble codes" in the trouble codes section.
Some scan tools have the ability to record live data, making the diagnostic process simpler. The scan tool should have a "view/record live data" selection in the main menu.
OBD-II codes were designed as a standard for every make and model to follow. For example, the trouble code P0171 indicates several things:
- The first character is a "P," which indicates the code is related to the powertrain. There are also "B" codes for body, "C" codes for chassis, and "U" for errors found on CAN bus systems.
- The second character is the digit 0. This digit will always be a zero or a one. The zero represents the code as being generic or the same for all manufacturers. The one represents a manufacturer specific code.
- The third character is a 1, and it relates to the sub system involved with the code. There are 10 possible numbers ranging from 0-9.
- The fourth and fifth characters are used to determine the particular problem found in the third characters sub system.
If you noticed the service engine soon light flashing, it's best to not continue driving the vehicle as a major misfire is present and damage to the engine or catalytic converter will result.
Featured Video: How to Use an OBD-II Scan Tool
Step 2 – Clear the codes to reset check engine soon light
This is dependent on the specific tool used, but the process should be largely the same.
- Plug your scan tool into the OBD-II port of your car.
- Put your key in the ignition of the vehicle, and switch it to the "on" position, but do not start the vehicle.
- Turn on your scan tool, check the "retrieve code" option, and pull the error codes.
- Select the option to clear the stored codes.
- Cycle the keys off and then back on, starting the car to ensure that the check engine light has been removed.
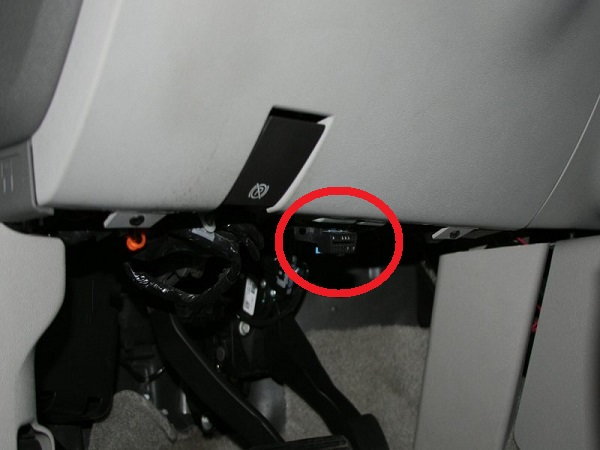
Figure 1. The OBD-II port is located to the right of the parking brake release handle on this vehicle. 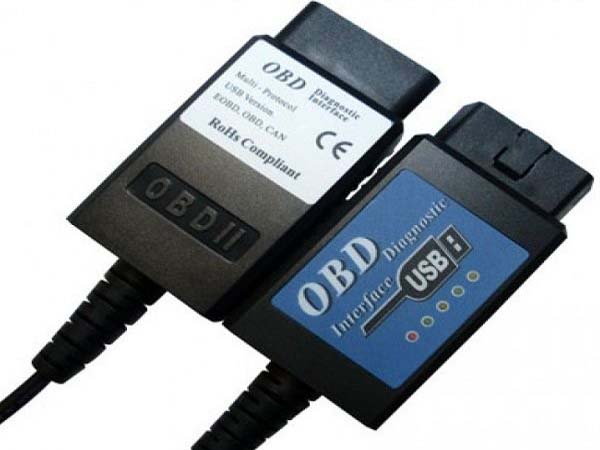
Figure 2. This style of scanner allows you to connect your laptop to the OBD-II system. 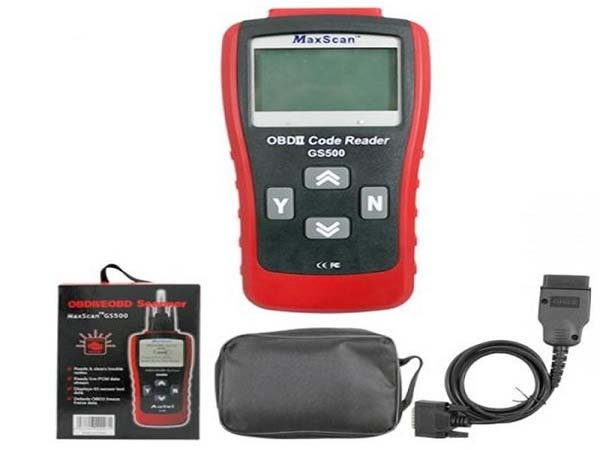
Figure 3. An OBD-II scan tool. 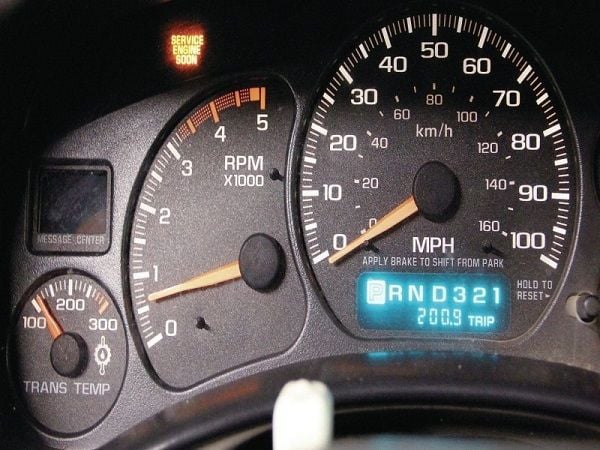
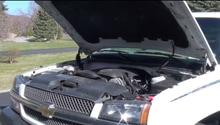
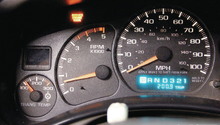
Figure 4. The service engine soon light is illuminated.
Step 3 – Reset the change engine oil light
GM developed a simple procedure to reset the engine oil light. It is comprised of only two steps:
- Turn the key to the "RUN" position with the engine off.
- Fully press and release the accelerator pedal three times within five seconds.
If the change engine oil light flashes for five seconds, the system has been reset. Make sure to perform this procedure after every oil change.
Featured Video: How to Reset the Change Oil Light
Related Discussion
- Service Engine Soon Light - ChevroletForum.com