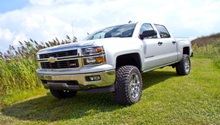
Chevrolet Silverado 1999-2006: How to Replace Tie Rods
Tie rods are a small but major component in keeping your Silverado headed in the right direction. Follow the steps below to replace your aging or damaged tie rods and prevent potential accidents from occurring.
This article applies to the Chevrolet Silverado GMT800 (1999-2006).
When turning your truck's steering wheel, rotational force is transmitted through the steering column, steering shaft, and pinion gear, which then slide the steering rack left and right. Tie rods are connected to the steering rack and act as a knuckle or pivot to move the control arms, suspension, wheels, and tires sideways, allowing your truck to move left and right. Therefore, if a tie rod were to be damaged or worn out, not only will handling be poorly calibrated, but driving will become more dangerous. If the tie rods in your Silverado are wearing thin or damaged, read this DIY on replacing them yourself.

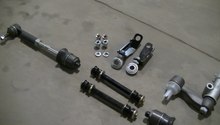
Materials Needed
- Hydraulic floor jack and jack stands
- 22mm socket
- Breaker bar
- Torque wrench
- Crescent wrench
- Tie rod end removal tool
- Tire iron
- Hammer
Step 1 – Lift the truck
- Use a tire iron to loosen the lug nuts on the two front tires while they are still on the ground.
- Place a floor jack underneath the appropriate jacking point on the front end. Then lift up the truck.
- Place jack stands underneath the appropriate jacking points on the truck's frame.
- Set the truck down onto the jack stands.
- Then, remove the lug nuts and the wheels.
(Related Article: How to Jack Up Your Truck - ChevroletForum.com)
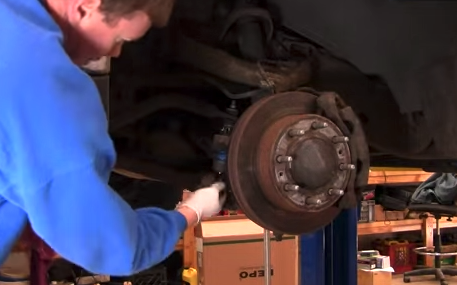
Step 2 – Remove the old tie rods
- Use a breaker bar with a 22mm socket to remove the bolt on the upper tie rod.
- Place a tie rod removal tool in between the tie rod and ball joint ends.
- Use a hammer to drive the tool in further, and separate the outer end of the tie rod.
- Use a Crescent wrench to loosen the lock nut on the inner end of the tie rod.
- Remove the tie rod and set it aside.
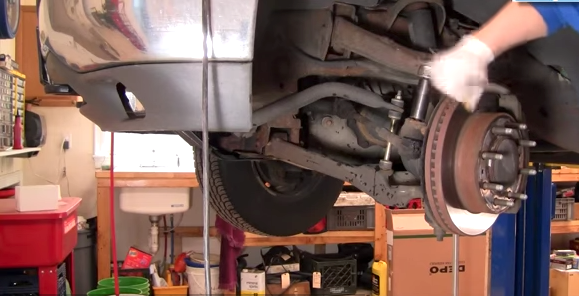
Figure 1. Loosen and remove the tie rod bolt. 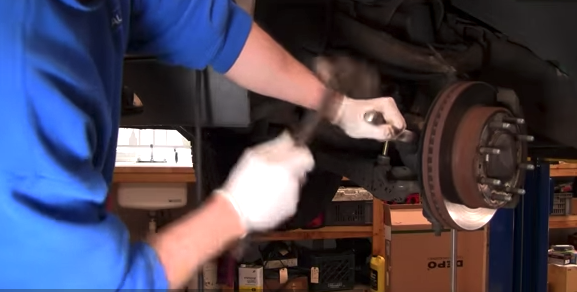
Figure 2. Wedge the tie rod to remove it. 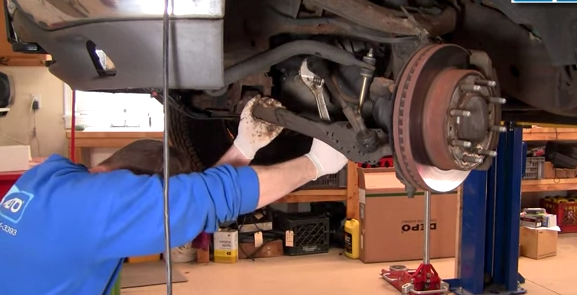
Figure 3. Loosen and remove the inner tie rod.
Step 3 – Adjust the new tie rod
- Lay down the old and new tie rods side by side.
- Use the Crescent wrench to adjust the new tie rod until its length matches the old tie rod.

Pro Tip
Always perform an alignment on your Silverado after repairing or replacing steering as well as suspension components.
Step 4 – Install the new tie rod
Install the new tie rod in reverse order to the process of removal.
- Install the inner end of the tie rod and fasten the locking nut.
- Connect the outer tie rod end to the ball joint, and secure them with the tie rod bolt.
- Torque all bolts to their proper specs.
- Re-install the wheel, and tighten the lug nuts.
- Then re-tighten the lug nuts after lowering the truck.
Featured Video: How to Replace Tie Rods in Silverado
Related Discussion
- Broken Tie Rod in Silverado - ChevroletForum.com