Chevrolet Silverado 1999-2006: How to Replace Front Axle CV Joint
Has one of your half shafts or constant velocity (CV) axle joints stopped being part of the team? Then you have to replace that puppy. After all, there's no sense in having a three wheel drive truck, is there?
This article applies to the Chevrolet Silverado 1500 GMT800 (1999-2006).
You bought a 4x4 Chevy Silverado, and not a dang 3x4 truck that won't let you use the engine's power to move all four wheels when you need them. But if one of your front axle CV joints is banged up, you could be hearing all types of disagreeable noises in addition to being in plenty of other undesirable conditions. In this article are the steps to replacing a CV axle assembly, which means everything driveline related, from the front differential to the hub nut.
In some vehicles, or possibly in an alternate universe or the past, you can replace just the CV joint because the half shaft would be just a big bar of metal and still be good, probably. But nowadays, it's hard to even find someone who will sell you the joint by itself, so you might as well replace the whole CV axle assembly. Keep reading as this article will show you how to get it done.

Materials Needed
- 15 and 36mm socket
- Ratchet and 2" extension
- 9/16" box-end wrench and socket
- Breaker bar or impact gun
- Hydraulic jack and jack stands
- Hammer
- Large flat head screwdriver
- Penetrating lube
- Torque wrench
- Pry bar (optional)
Pro Tip
You might be tempted to run out and buy yourself a 36mm socket, but don't do that. Instead, check with your local auto parts store (e.g. Auto Zone, Advance Auto) to see if you can rent or borrow the socket. They should rent it to you for a small deposit.
Step 1 – Jack up your truck and remove the hub nut
- Before starting, park your truck on level pavement, set the emergency brake, and chock the rear tires to prevent the truck from rolling backwards.
- Remove the hub cap and break the wheel's lug nuts loose.
- Then, remove the center dust cap and break the 36mm hub nut loose. Don’t remove any of the nuts just yet.
- Using a floor jack, raise the front of the vehicle and place jack stands under the frame rails just behind the lower control arm mounts.
- Lower the truck onto the jack stands, making sure the stands are not tilting in any direction.
- With the vehicle in the air, remove the lug nuts and take the front tire and wheel off.
- Then remove the center hub nut.
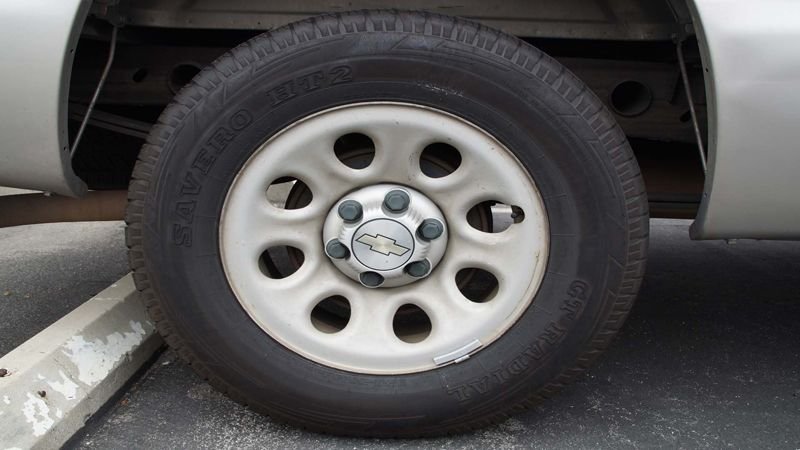
Figure 2. Break the lug nuts loose. 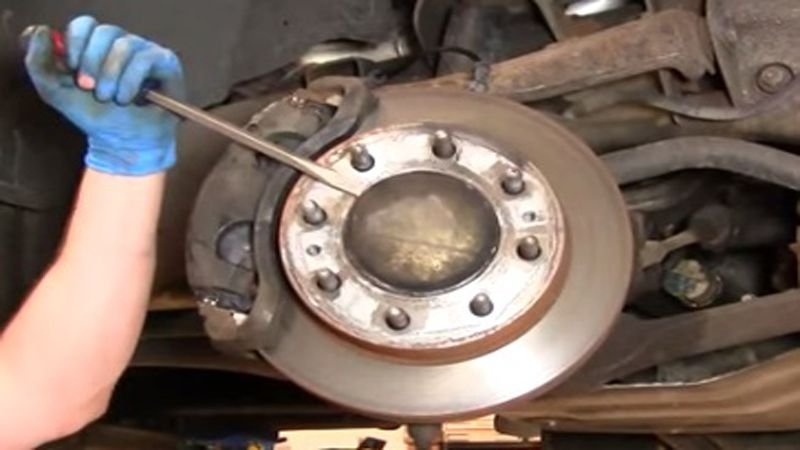
Figure 3. Pry off the center dust cap. 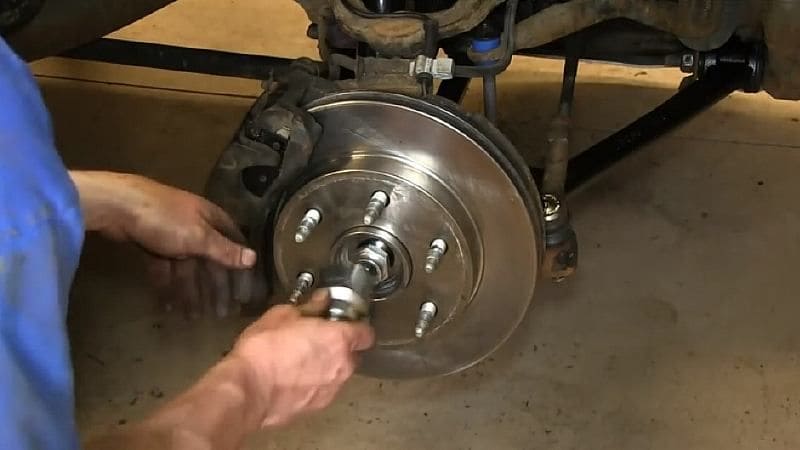
Figure 4. Remove the center hub nut.
(Related Article: How to Jack Up Your Truck - ChevroletForum.com)
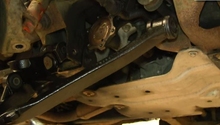
Step 2 – Unbolt the axle flange at the differential
- With the hub nut removed, use a hammer to tap the spindle on the center of the wheel hub assembly. Continue tapping until you see that the spindle moves inboard. You are hammering the spindle to break the splines of the shaft loose from the hub.
- There are six 15mm bolts on the axle flange at the differential. Since your truck is jacked up, when applying rotational force to the heads of the bolts, the wheel will be able to spin freely on its axis. So to remove the bolts, position a flat head screwdriver in between three wheel studs to hold the axle in place.
- Hold the screwdriver steady and use a 15mm socket with ratchet and 2" extension to remove the six axle flange bolts.
- After the bolts have been removed, pull the CV axle shaft down at the differential and let it hang.

Step 3 – Remove the sway bar end link
- Hold the nut on the top of the sway bar end link with a 9/16" box-end wrench.
- Then use a socket and ratchet to remove the bolt from the bottom of the sway bar link as you hold the nut steady.
- Remove the top bushing, and push the end of the sway bar up to free as well as remove the sway bar end link. Be careful because the sway bar is under some tension, even when the suspension is relaxed.
- Lastly, pull the end of the CV axle joint out from the wheel hub assembly.

Pro Tip
Take a picture of the nut on top of the sway bar end link as a reference for when you re-install it.
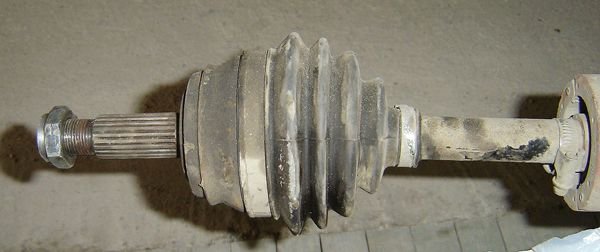
Step 4 – Install the new CV axle joint
- With the new CV axle joint, insert the splined end into the wheel hub.
- Position the inner CV axle joint and tighten the axle flange bolts by hand. Then torque the bolts down to 60 ft./lbs.
- Re-install the hub nut and torque it to 155 ft./lbs.
- Re-install the sway bar end link and torque the bolt to 31.8 to 44.8 ft./lbs.
- Reattach the dust cap.
- Mount the wheels and hand-tighten the lug nuts.
- Lastly, lower the truck and tighten the lug nuts in a crossing-pattern to 100 ft./lbs.
Featured Video: How to Replace Front Axle CV Joint
Related Discussion
- CV Halfshaft Replacement - ChevroletForum.com