Chevrolet Silverado 1999-2006: How to Replace Blend Door and Actuator
A stuck blend door actuator can have you melting in the heat or freezing in the cold. Replacing those faulty units is unfortunately a tedious process, requiring removal of the entire dash, as explained here.
This article applies to the Chevrolet Silverado 1500 (1996-2006).
The heater blend doors act as a gateway to the vehicle's ventilation system. When heat is built up inside of the heater core, the actuator door shifts to allow the hot air through the system, and when the climate control is turned to cool, the door flaps in the other direction closing off the heater core. Unfortunately, the blend doors on the Chevy Silverados contain plastic gears that tend to strip easily. This causes the climate control to stay stuck on one specific temperature mode. There are two blend doors, one located on the driver side and another on the passenger side. Due to the extensive procedure involved in its replacement, these instructions focus on the passenger side blend door actuator. For those interested in replacing the driver side actuator, refer to the following instructions:
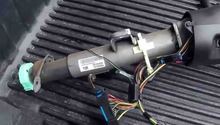
The driver-side blend door is accessed by removing the IP instrumental panel. Once the panel is off, simply loosen the actuator mounting screws and disconnect it from the HVAC system. Then replace the unit.

Materials Needed
- Metric socket set
- 3/8" ratchet
- Coolant
- Pliers
- Drain pan
- Screwdriver
- Shop rags
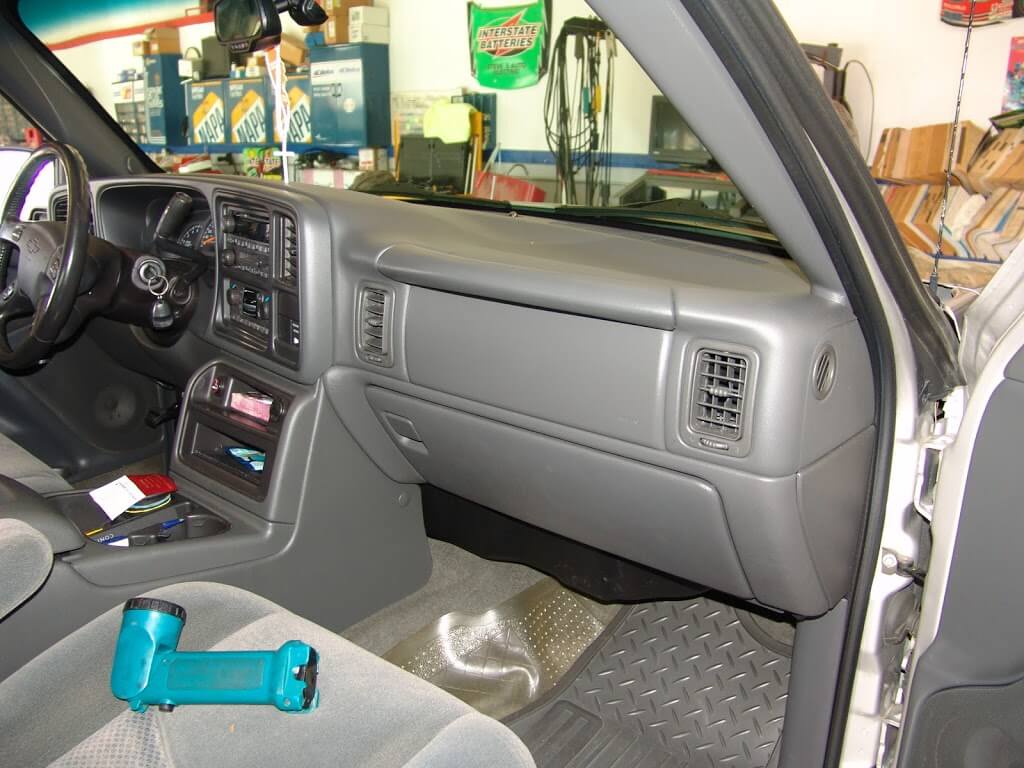
Step 1 – Remove the dashboard cover
While you are loosening and removing the mounting hardware, make sure to take your time to note every screw or bolt that comes off of the dashboard.
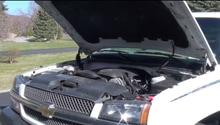
- First things first, open the hood the disconnect the negative battery cable.
- Pry the air vents off of the dashboard.
- Lift the side and remove the dashboard panels.
- Remove the two Phillips screws located under the dashboard side panels.
- Remove the screws from behind the air vents.
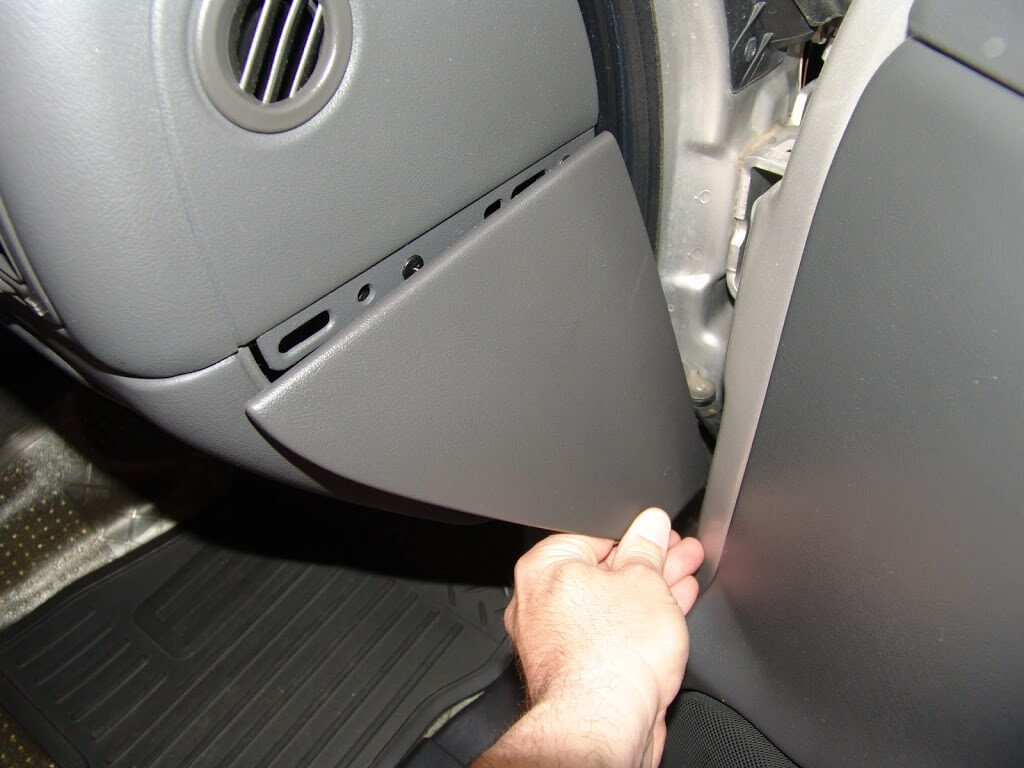
Figure 1. Remove the side panels. 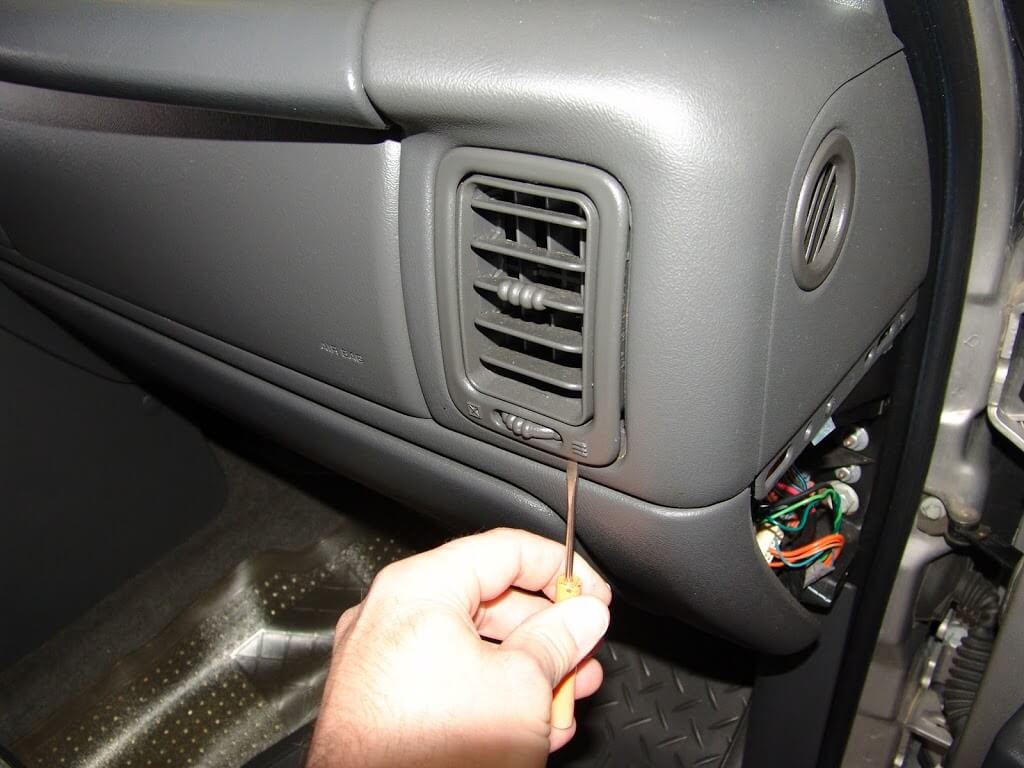
Figure 2. Gently pry off each air vent. 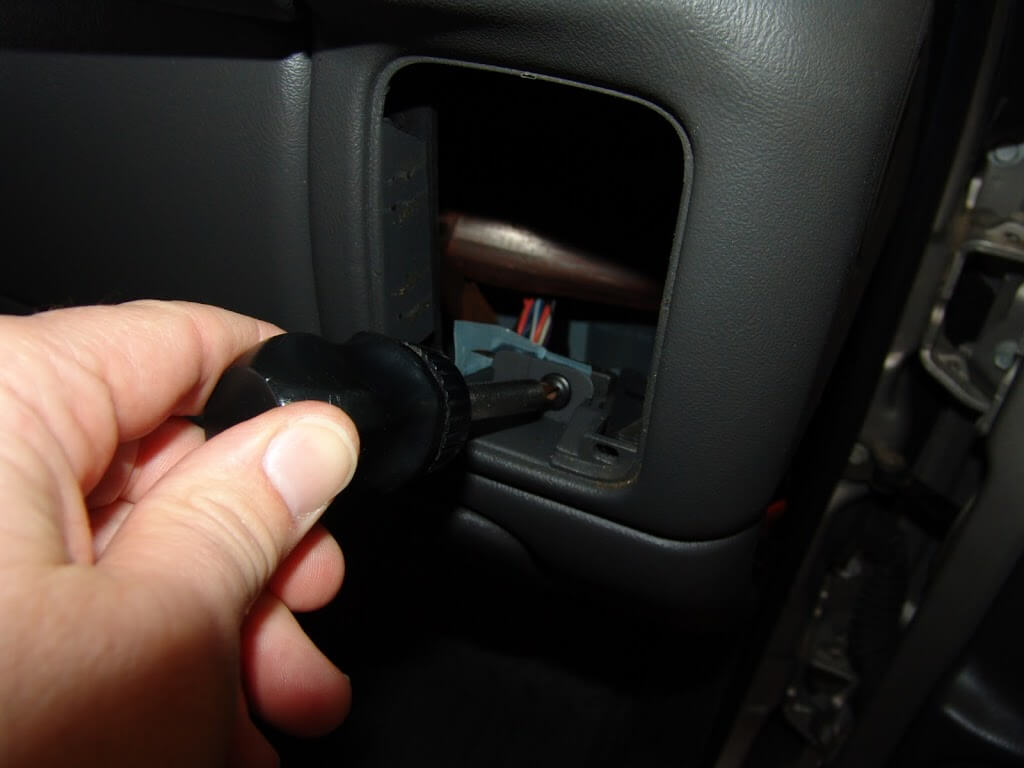
Figure 3. Loosen the screws from behind the air vents.
- Push on the release tabs found on the top side of the air vents and remove the handle assembly.
- Remove the A pillar panel and disconnect the tweeter wiring.
- Grab the face panel of the dashboard and begin to pry it towards the cabin, then remove it.
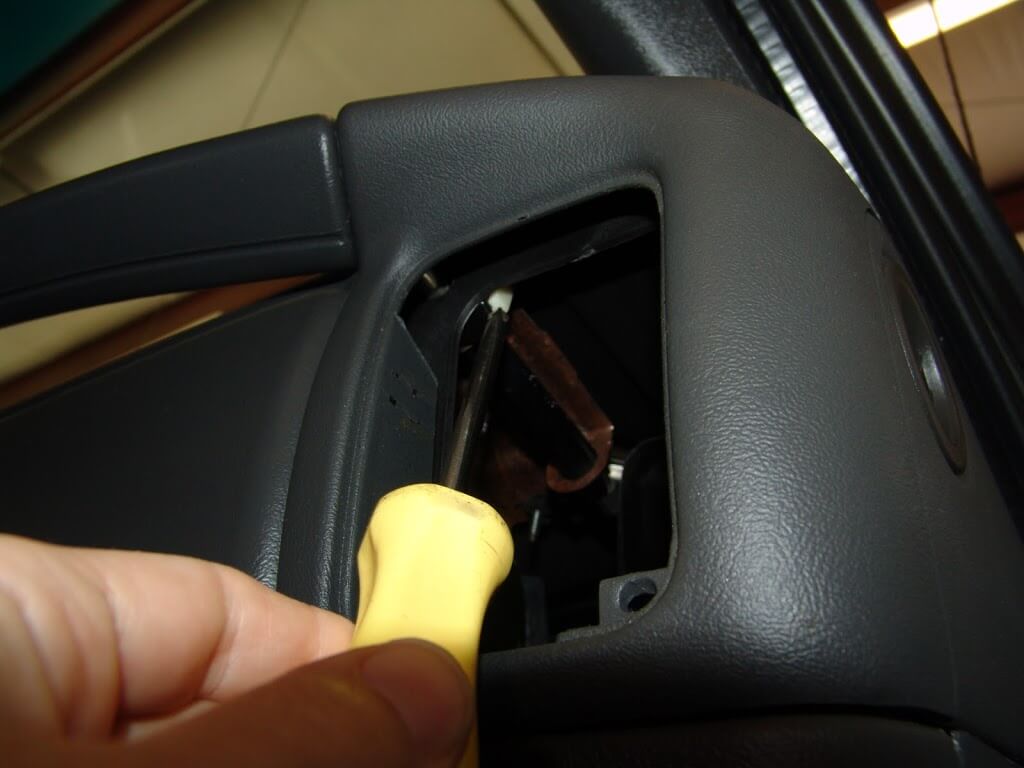
Figure 4. Release the dash handle tabs. 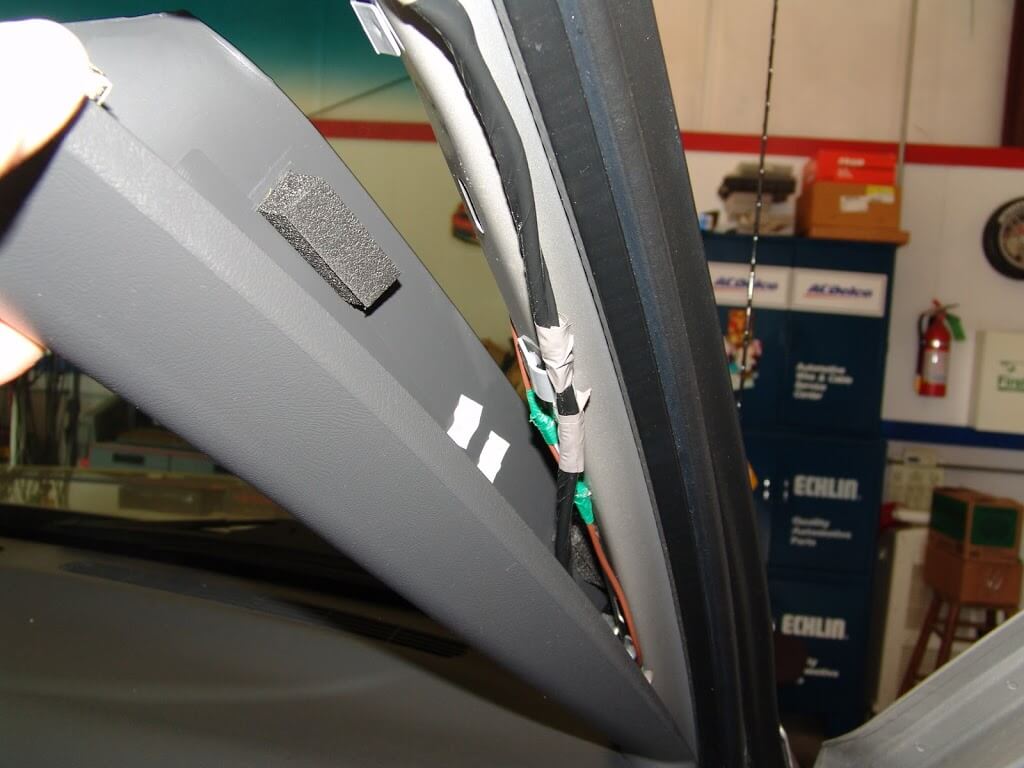
Figure 5. Remove the A pillar trim. 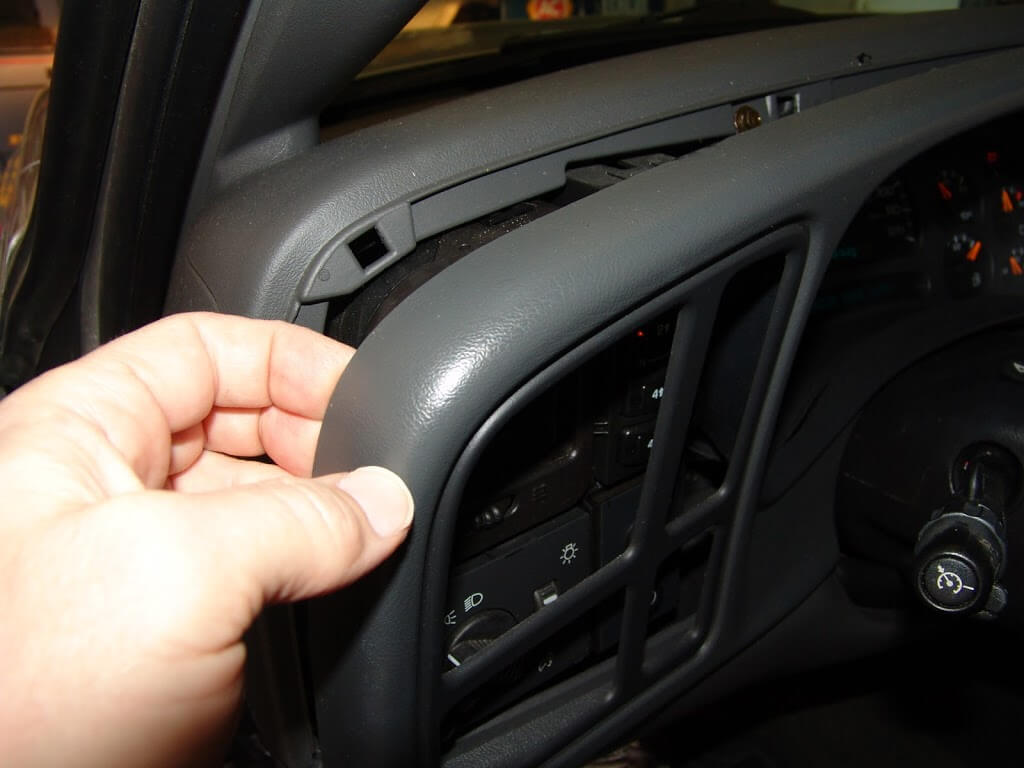
Figure 6. Pry off dashboard cover.
Step 2 – Remove the upper dash mounting bolts
There are several 7mm mounting bolts that attach the center console to the interior cabin.
- Loosen and remove all of the 7mm mounting bolts.
- Gently lift the dashboard up and disconnect the ambient light sensor.
- Remove the dashboard cover.
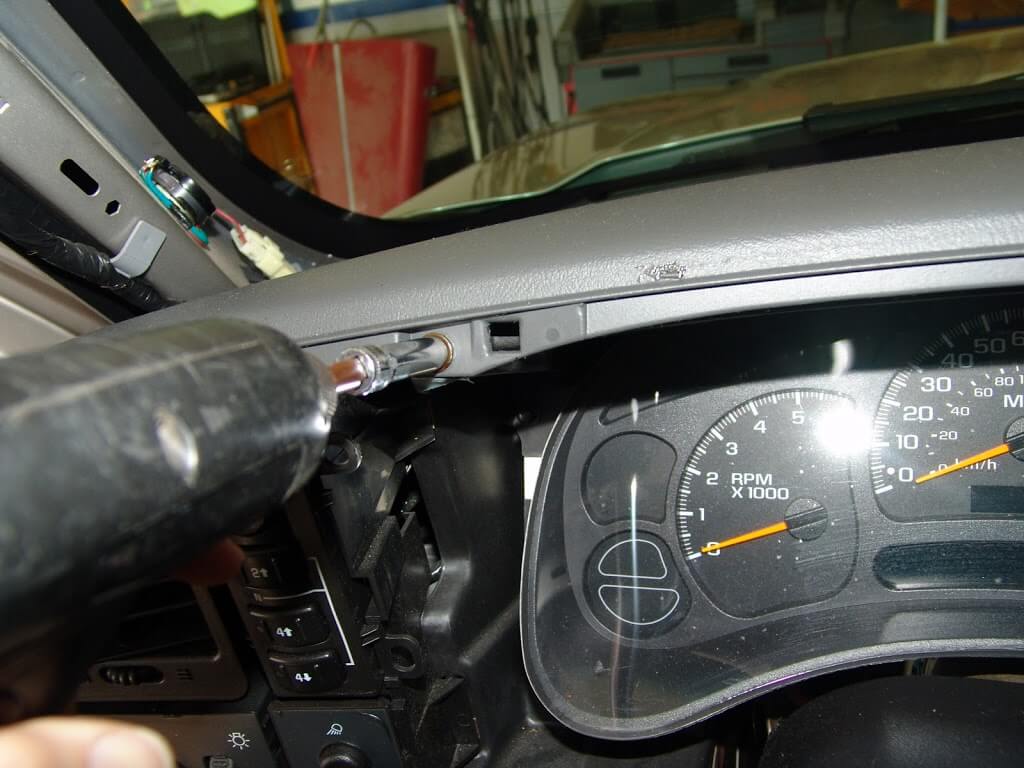
Figure 7. Loosen the 7mm bolts located across the dashboard. 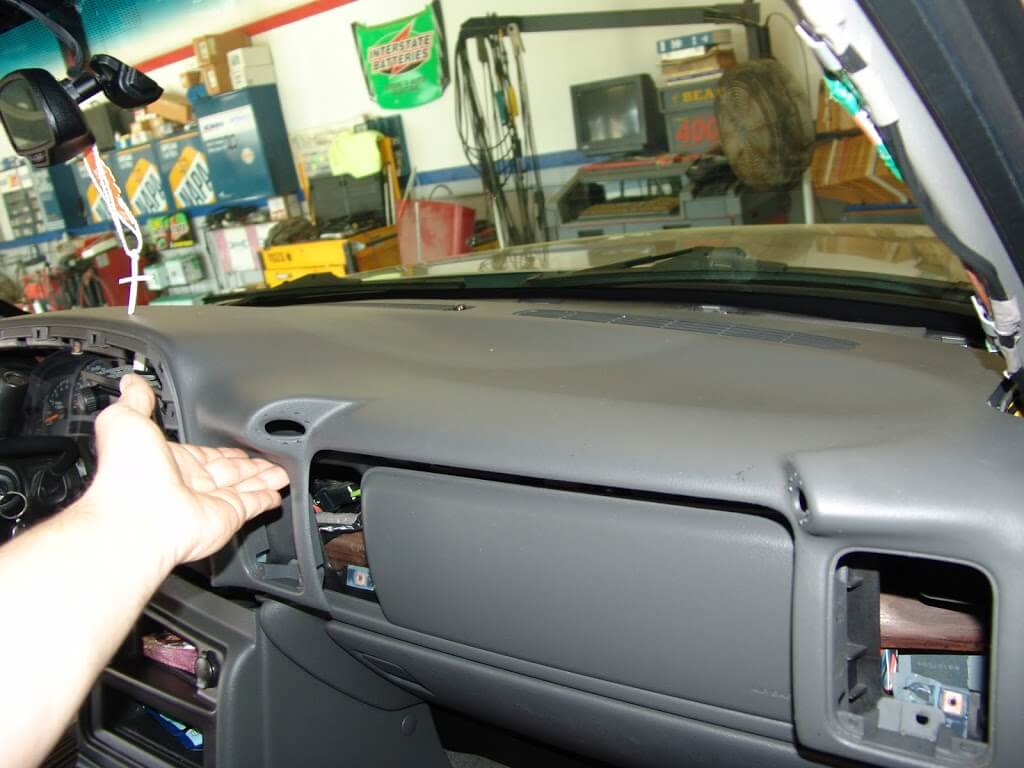
Figure 8. Gently Lift the upper dash cover up, but do not remove it. 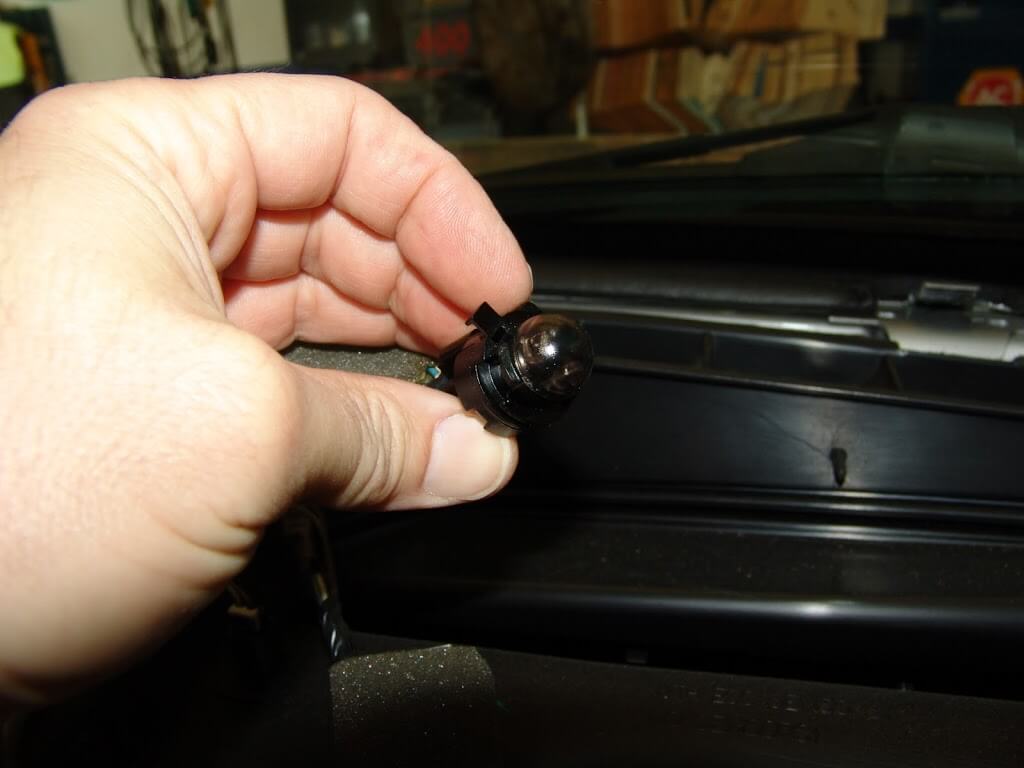
Figure 9. Twist the ambient light bulb off. 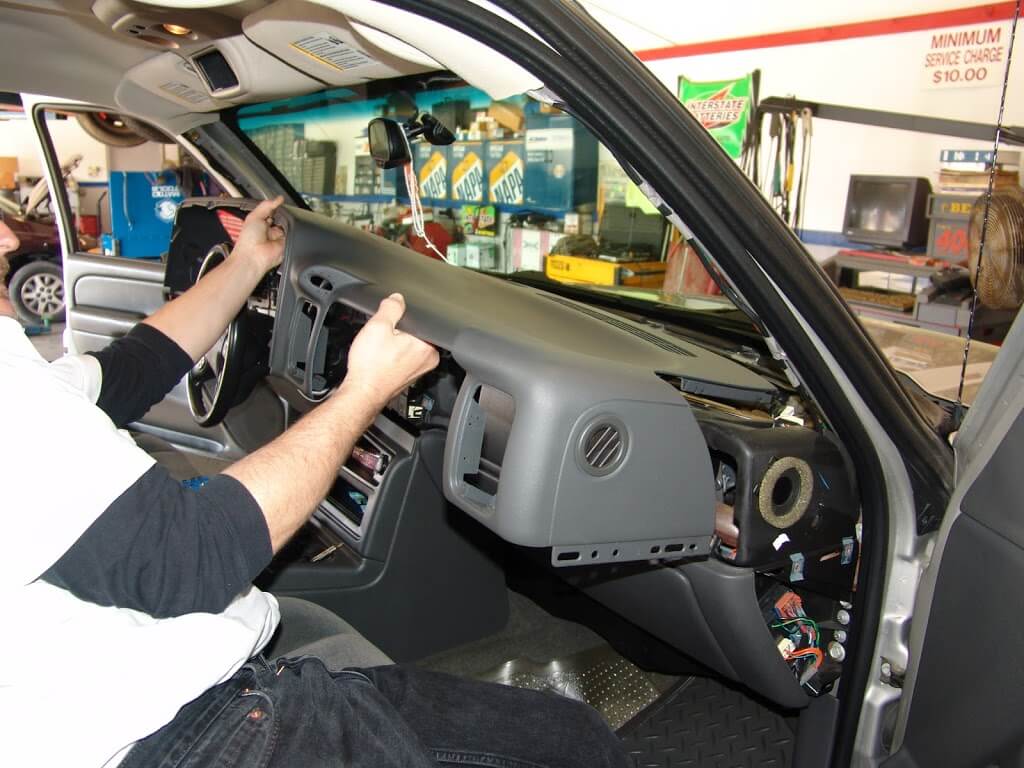
Figure 10. Remove the upper dashboard cover.
Step 3 – Remove the vent register
- Remove the 7mm vent register bolts.
- Remove the vent register.
- Remove the passenger side air bag switch.

Figure 11. Loosen and remove the 7mm vent register bolts. 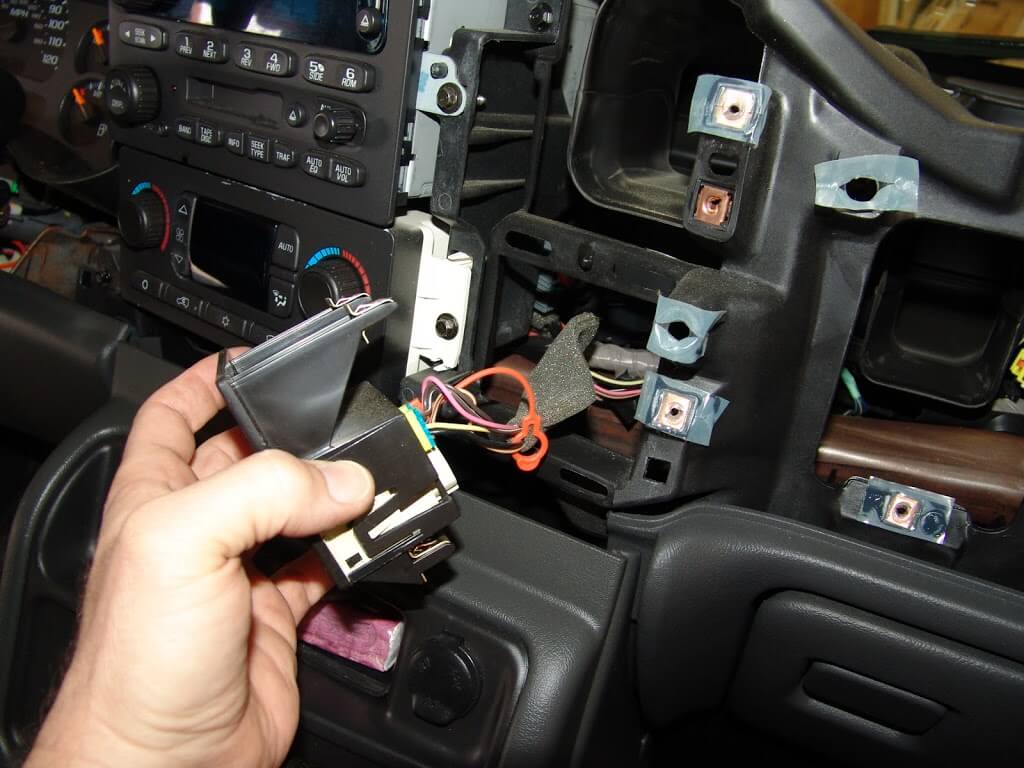
Figure 12. Remove the passenger side airbag switch.
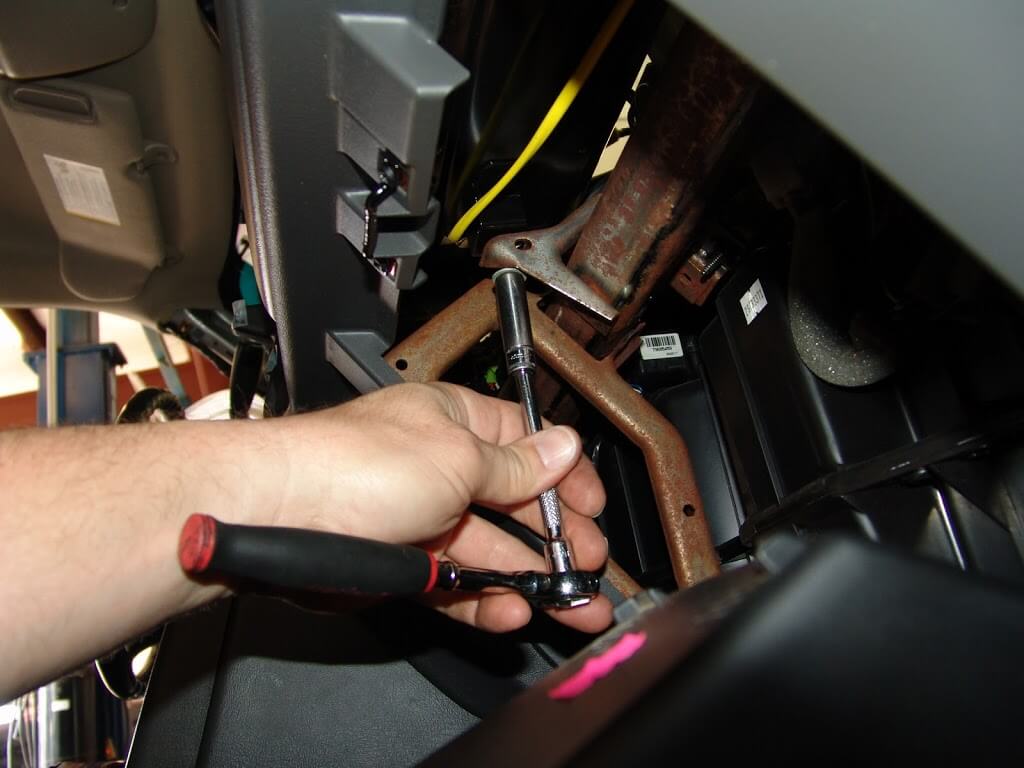
Step 4 – Remove the dashboard brackets
There are several brackets holding the dashboard in place. Here it is best to use a drill and remove each 7mm bracket bolt.
- Cut the wiring clips from the passenger side brackets.
- Loosen and remove the 7mm bolts from the passenger and driver side brackets.
- Use a ratchet to remove the 10 mm bolts on the passenger side bracket.
- Remove the 10 mm bolts from the driver side dashboard bracket.
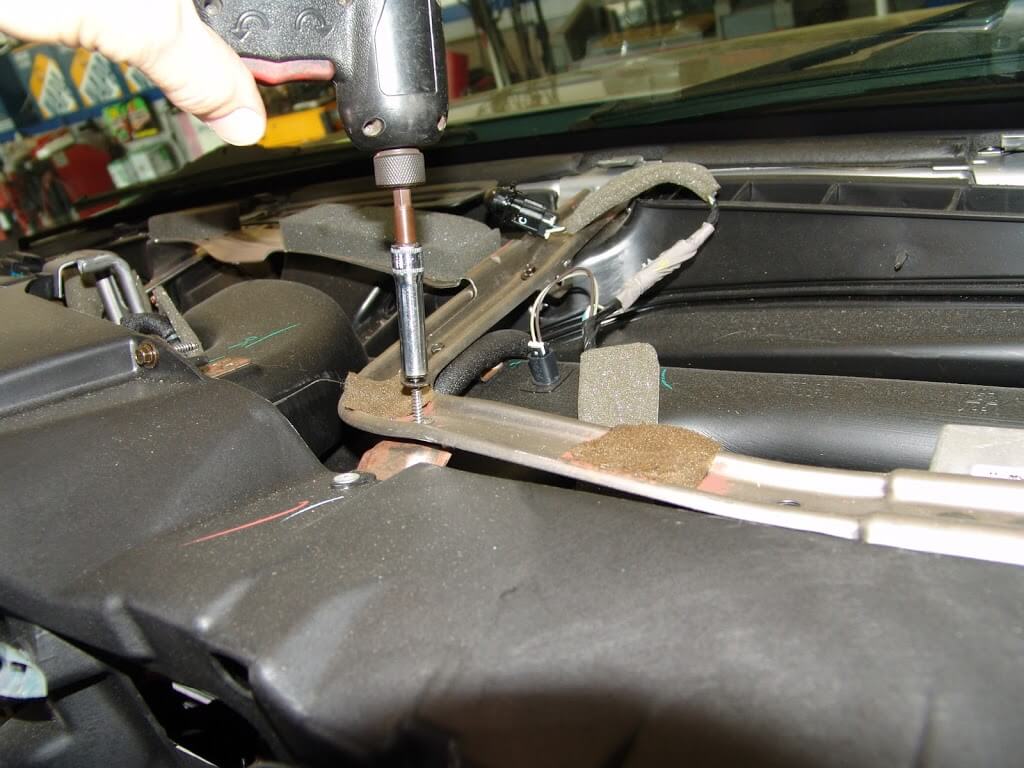
Figure 13. Remove the 7mm dashboard bracket bolts. 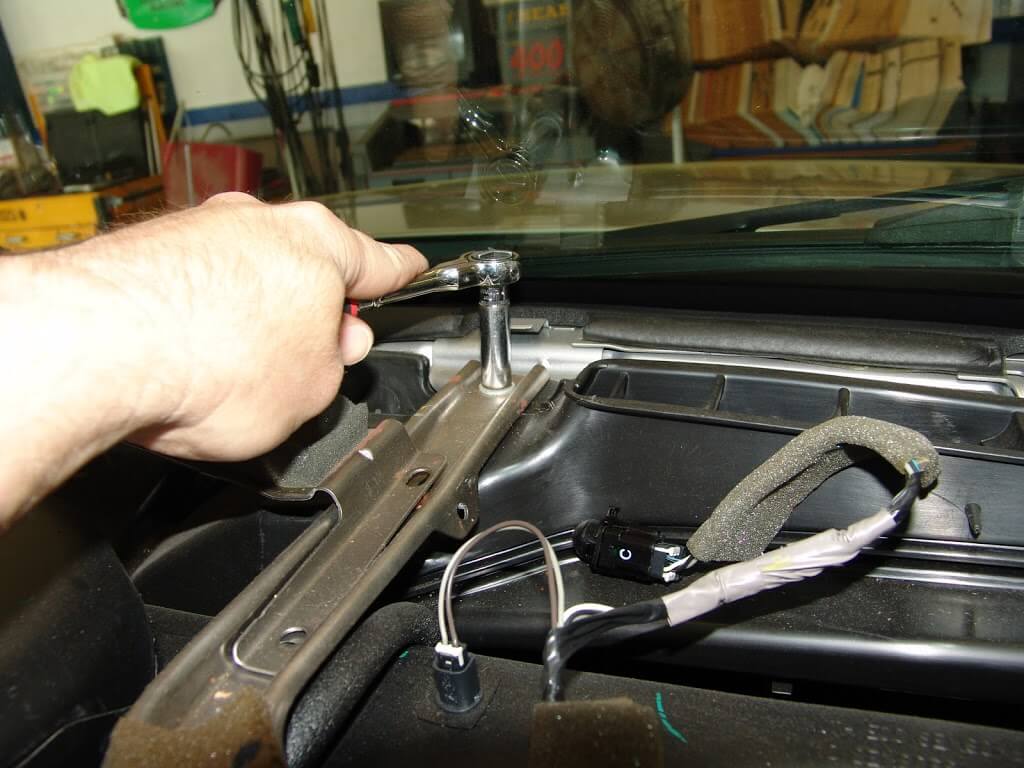
Figure 14. Remove the 10mm dashboard bracket bolts.
Step 5 – Remove the passenger side airbag
The actuator is located behind the airbag assembly, so it has to come out. This is extremely dangerous, and the air bag need to be handle delicately to avoid any accidental deployments. If you haven't already, take the time to make sure the vehicle's battery is not connected.
- Disable the airbag.
- Remove the upper and lower 10mm airbag bracket bolts.
- Disconnect the positive assurance clip and remove the airbag assembly.
Step 6 – Replace the actuator
After removing the passenger side airbag, you will have enough room to reach the actuator flaps. This part is simple; just reach inside the loosen the two 5.5mm mounting screws. Disconnect the actuator and pull it out.
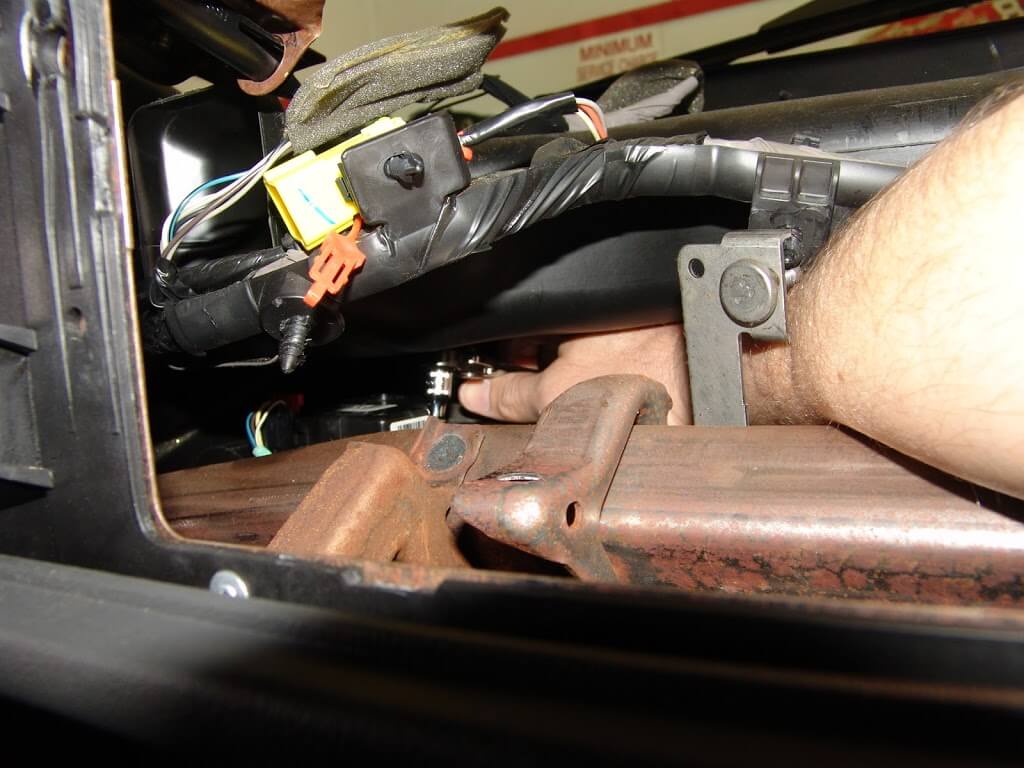
Figure 16. Loosen the actuator screws. 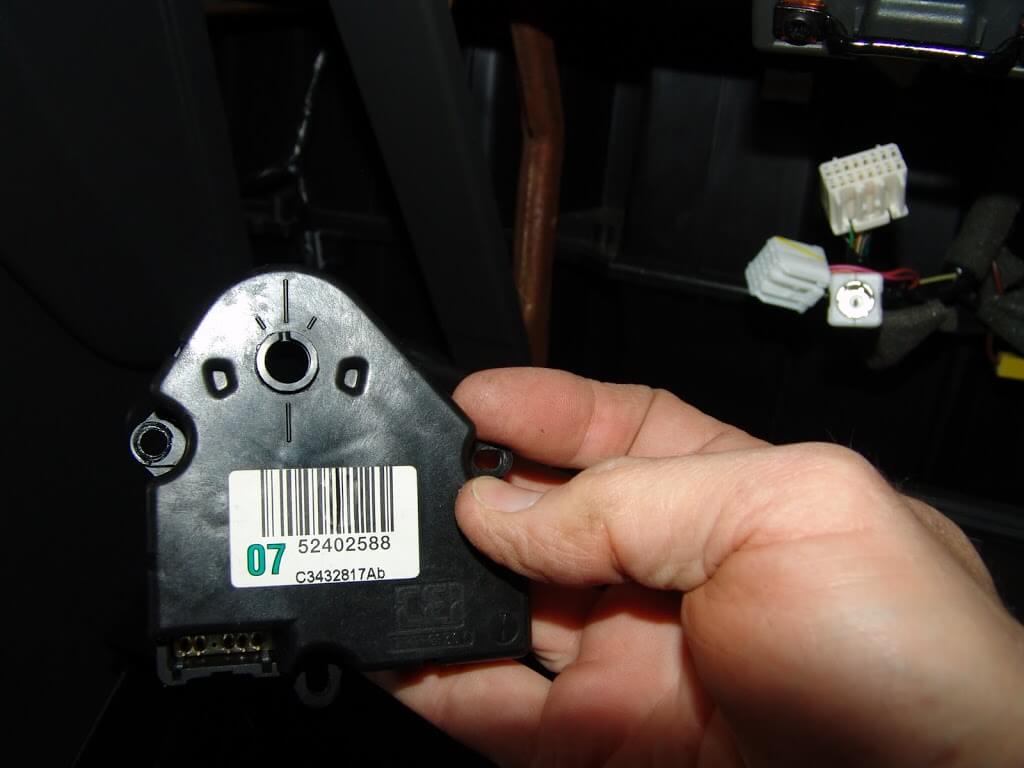
Figure 17. Remove the blend door actuator.
Step 7 – Re-install the dashboard
The deed is done, now all you have to do is re-install everything that was removed. Be sure to use the right screws for each bracket, as the air bag requires its specific sized bolts in order to correctly mount back up.
- Install the 7mm dashboard bracket bolts.
- Use a ratchet to install the 10mm bracket bolts.
- Install the passenger side airbag.
- Re-install the vent register.
- Connect the passenger side airbag switch.
- Mount the upper dashboard cover in place.
- Tighten the mounting screws.
- Re-install each air vent.
- Install the side dashboard covers.
Related Discussions and Sites
- 04 C\K - Temperature Valve Actuator Replacement - Chevroletforum.com
- How Does Blend Actuator work - Chevroletforum.com
- 2004 Chevrolet Silverado, Changing The Passenger Side Blend Door Actuator, B0424 - Sparkys-answers.com
- 2004 Chevrolet Silverado, Dash Cover Removal - Sparkys-answers.com