Chevrolet Silverado 2007-Present: How to Install and Equalize Trailer Hitch
Are you ready to hit the road with a trailer in tow? Before you do, check out our guide to installing and equalizing your trailer hitch to the Chevy Silverado.
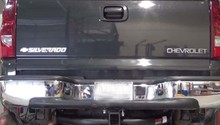
This article applies to the Chevrolet Silverado 1500 (2007-present).
Many truck owners don't pay a ton of attention to their trailer hitch, simply assuming that once installed, it's good to go. However, there are several problems inherent with a normal hitch, as well as some limitations. As the weight of your load increases, the trailer's tongue weight is transferred to the rear axle, forcing the back end of your truck down and the front end up. This causes diminished steering, traction, and stopping power, and can also make the trailer sway. A sway control hitch helps to reduce these problems by applying leverage to either side of the vehicle with spring bars, which transfers the weight of the load to all four wheels. Keep reading to learn the proper way to install a sway control hitch.

Materials Needed
- Tape measure
- Socket or wrench set
- Wheel chocks
- Torque wrench
Step 1 – Prepare for installation
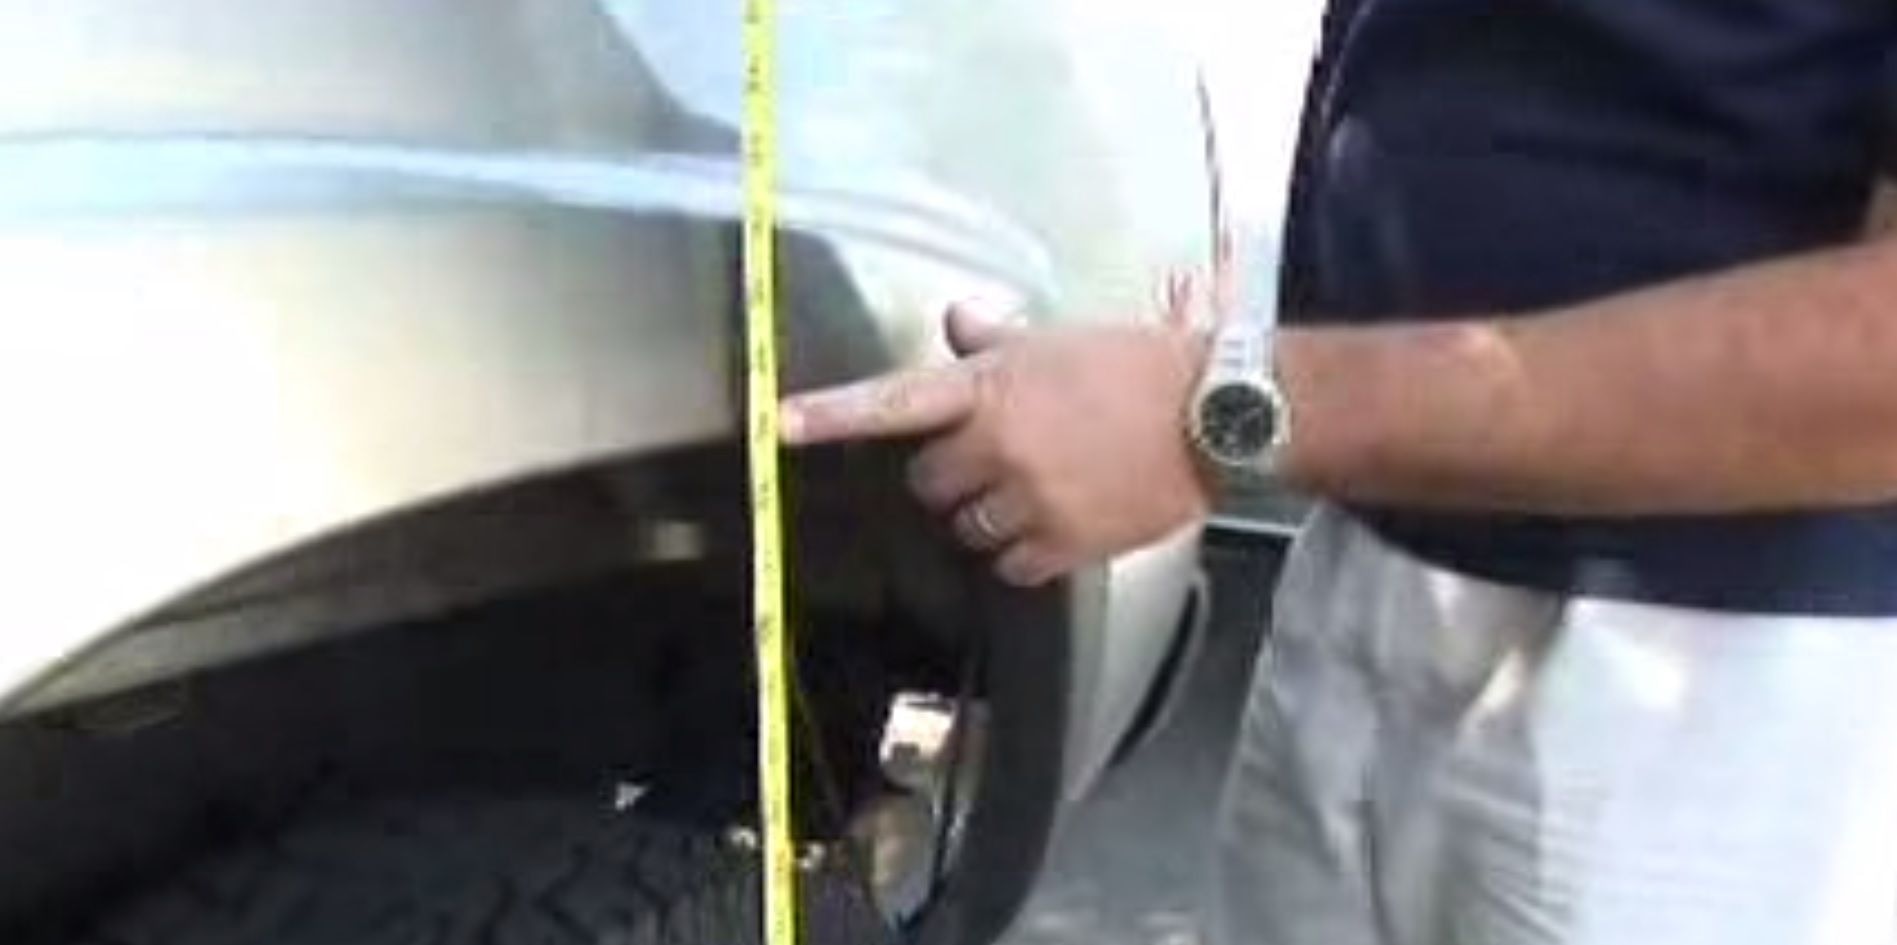
Park your truck and trailer on a level surface and chock the wheels of the trailer. Take initial tow vehicle measurements from the lip of each wheel well to the ground to use as a baseline.

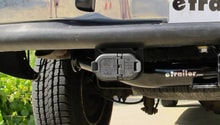
Step 2 – Install hitch head
First, temporarily attach the forged hitch head to the adjustable shank inserted into the receiver. Using a torque wrench, tighten the ball to its recommended specs. Level the trailer and measure to the inside top of the coupling from the ground. Adjust for suspension and tongue weight as directed in the installation instructions. Place washers on the spacer rivet and insert the rivet into the hitch head. Place the hitch head so the top of the ball is closest to the adjusted measurement. Tighten the angle set screw and hardware, and make sure the hitch pin is secure.

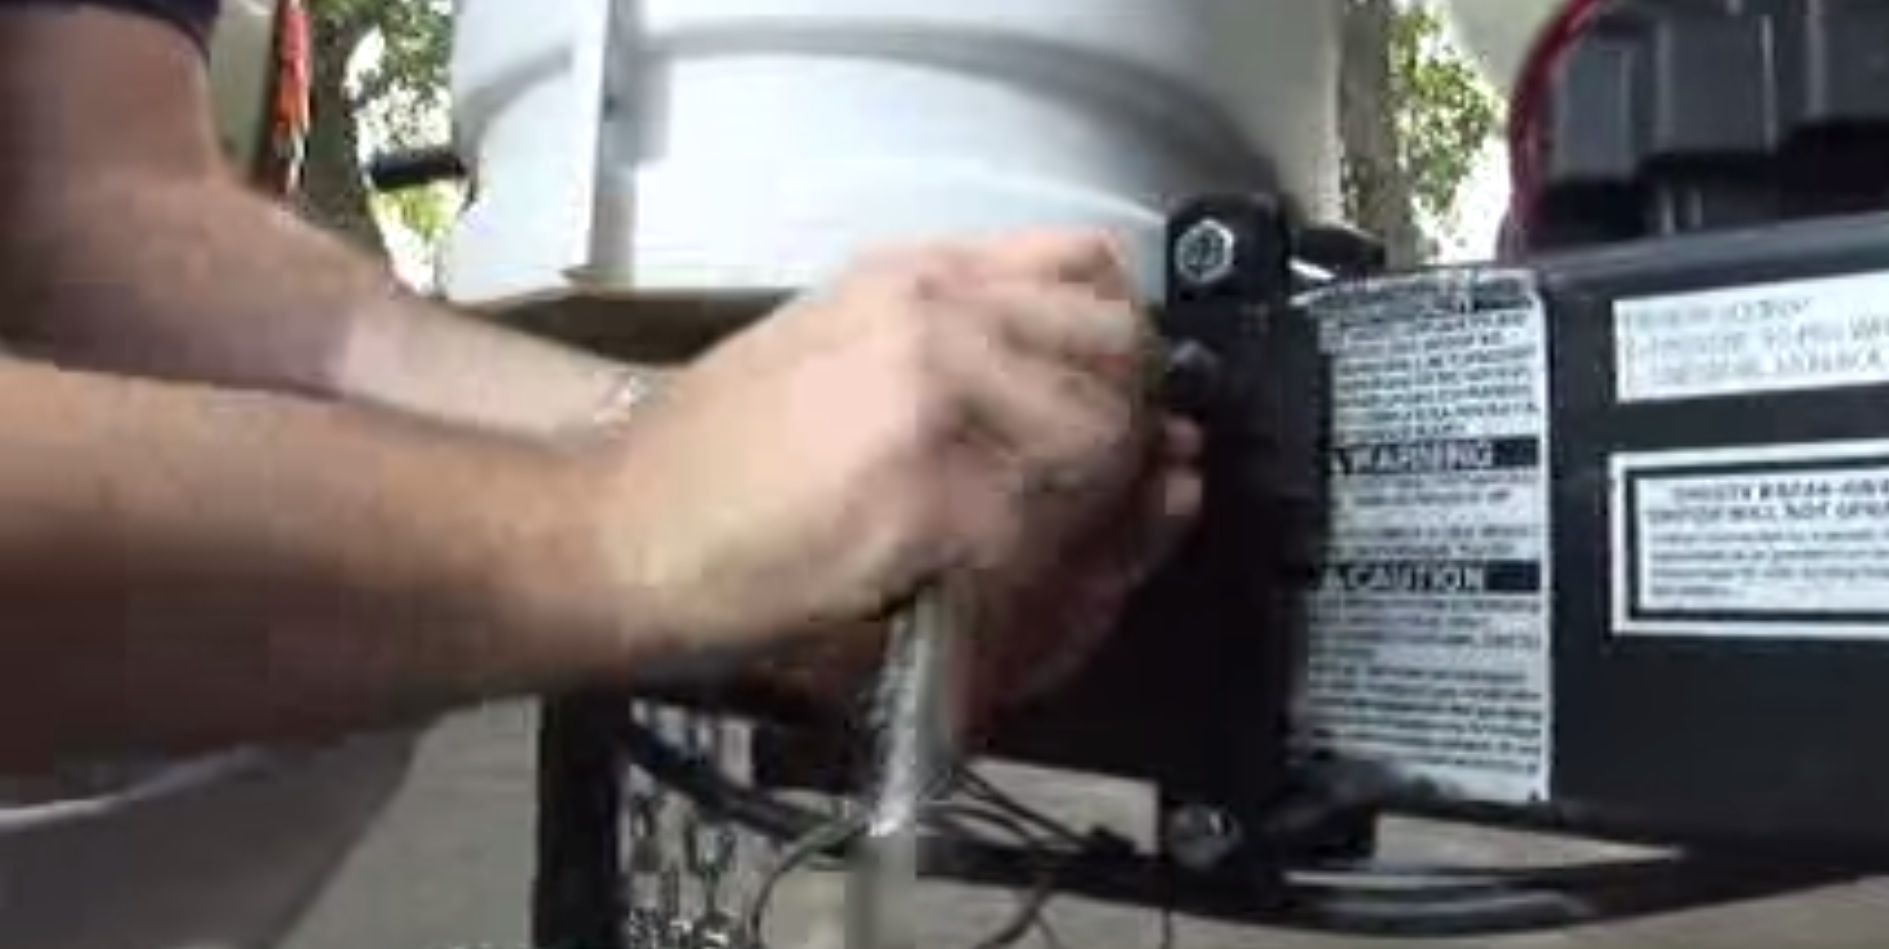
Step 3 – Install sway control brackets
Bolt on the link plates 32" from the hitch ball and tighten them evenly, making sure they rest flat against the trailer rails. Insert the set screw and the L-bracket to the fifth hole from the top.
Step 4 – Make final adjustments
Couple the trailer and place the bars on the L-brackets. Retighten the angle set screw and take a second set of measurements. Subtract the new numbers from the first numbers, which will represent the amount of compression. Ideally, the front axle compression should equal the rear axle compression. If necessary, adjust the hitch to get them as close as possible. To transfer more weight, raise the L-brackets, or add a washer to the spacer rivet.
Related Site and Videos
- Equalizer Sway Hitch Control Trailer Hitch Installation - YouTube.com
- Equalizer Hitch Owner's Manual - EqualizerHitch.com
- Trailer Hitch Installation - YouTube.com