Chevrolet Silverado 1999-2006: How to Replace Transfer Case Oil
As in any truck with constantly grinding, high-friction components, the transfer case should also be maintained to run smoothly. So if you haven't already, change the transfer case oil in your Silverado before it's long overdue.
This article applies to the 4WD Chevrolet Silverado GMT800 (1999-2006).
The transfer case in your Silverado defines its four-wheel-drive (4WD) system. To transfer power from the transmission to all four wheels, the chain-driven transfer case must rotate the propeller shafts that are connected to the front and rear axles. In addition to driving the two axles separately, the transfer case allows the vehicle to lock the front and rear differentials. In cases where 4WD is necessary, such as rock crawling or extreme off-road conditions, synchronizing and delivering an equal amount of power to the front and rear wheels allows the vehicle to create more friction with a slippery or uneven road. As with the transmission and front & rear differentials, transfer case oil should be changed every 45,000 or 50,000 so miles. Follow the few simple steps below to keep your transfer case healthy and prevent the entire drivetrain from wearing or even failing completely.
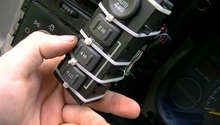
Materials Needed
- Auto-Trak II transfer case fluid (2 liters)
- Hydraulic floor jack and jack stands
- 18 mm socket and ratchet
- Shop rags
Pro Tip
If you're unsure of which type transfer case fluid to use, take your truck's VIN to an auto parts store and obtain the correct fluid specifications.
Step 1 - Jack up your truck
Position a floor jack underneath the correct jacking point of your truck. The front jacking point is located at the center of the front frame crossmember and the rear jacking point is located at the center of the rear differential housing. Place jack stands underneath the four jacking points between the front and rear wheels to support the truck.

(Related Article: How to Jack Up Your Truck - Chevroletforum.com)
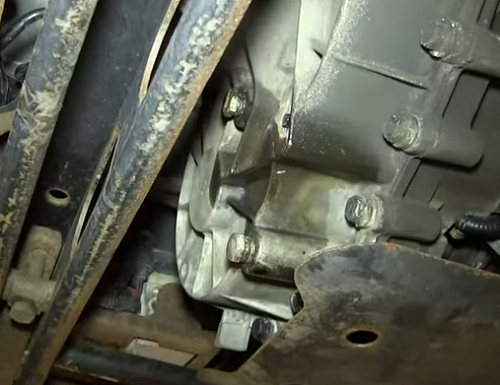
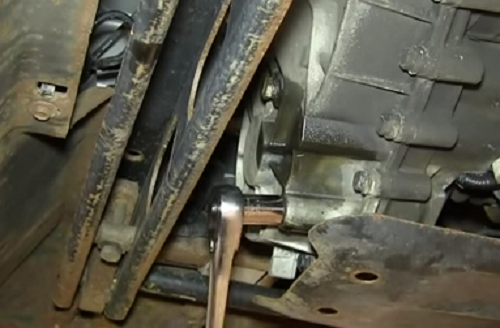
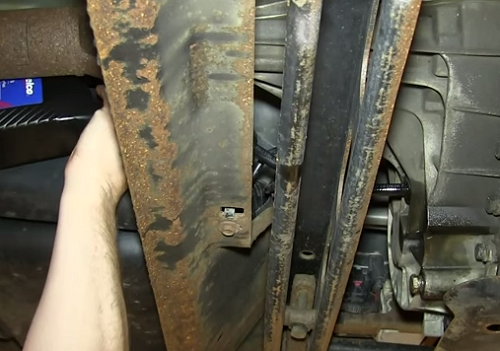
Step 2 - Drain the transfer case
The transfer case is located directly behind the transmission, and on the front side of the transfer case there are two 18 mm bolts lined up vertically. The top bolt is the fill plug and the bottom bolt is the drain plug. First place an oil catch pan underneath the transfer case and make sure the oil will not spill onto the floor. Loosen the 18 mm drain plug using a socket and ratchet and then quickly remove it by hand to drain the oil. Loosen and remove the fill plug as well to allow the oil to drain quicker.
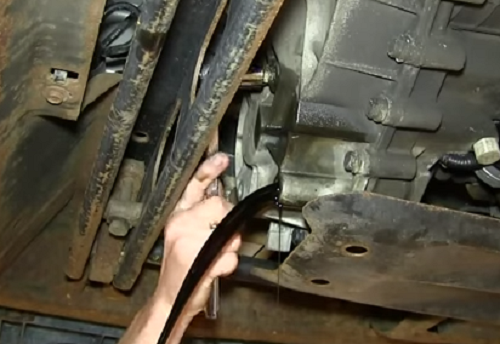
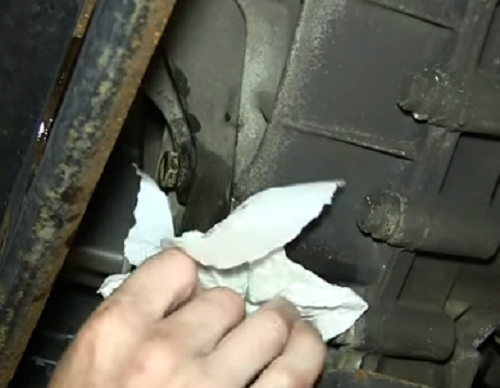
Step 3 - Fill the transfer case
Reinsert the drain plug and tighten it to a snug fit. Insert a small hose that's connected to a funnel into the fill plug. Then pour oil into the transfer case and stop once the oil overflows. Reinsert the 18 mm fill plug and tighten it to a snug fit. Lastly, wipe down the bolts to keep the transfer case clean and then lower the truck.

Featured Video: How To Replace Transfer Case Oil
Related Discussions and Video
- Silverado Transfer Case Fluid Type - ChevroletForum.com
- 2001 Chevy Transfer Case Trouble - ChevroletForum.com
- Video: Chevy and GMC Transfer Case Problem - YouTube.com