Chevrolet Silverado 1999-2006: How to Install MagnaFlow Exhaust
Replace your Silverado's OEM exhaust with a new system from MagnaFlow to get that really mean growl out of your truck. This article will guide you through the process.
This article applies to the Chevrolet Silverado GMT800 (1999-2006).
So you want to make your Silverado sound like a lean, mean muscle car? You have many options to achieve the sound you want, and by far the most popular options are MagnaFlow, FLO-PRO, Flowmaster, and Borla products. With the great value and quality of a MagnaFlow exhaust, you will achieve a nice, loud, and low rumbling growl, which is reminiscent of the muscle cars of the days gone by. Installing a MagnaFlow exhaust isn't difficult at all, but you might have a little bit of resistance trying to get the old system out. These parts are exposed to the worst of the elements, which get super heated as well as cooled over and over again. For this DIY, you'll need a can of spray lubricant, patience, and good old fashioned elbow grease to keep that money in your pocket rather than having a pro do it for you. Just take your time, and you'll enjoy your new sound that much more knowing you created it on your own.

Materials Needed
- Ratchet and socket set
- Hydraulic floor jack
- Jack stands
- Spray lubricant
- Hand power saw
- Grease marker
For best results, spray the exhaust connections with lubricant the night before you plan on doing this installation.
Step 1 – Jack up the truck
Raise as well as support your truck with a hydraulic floor jack and jack stands. You can refer to your owner's manual for the manufacturer-approved jacking locations. Use the highest position setting on the floor jacks, or better yet, use a lift if you have access to one.

Pro Tip
Never work under your truck without support from the floor jack alone.
(Related Article: How to Jack up Your Truck - ChevroletForum.com)
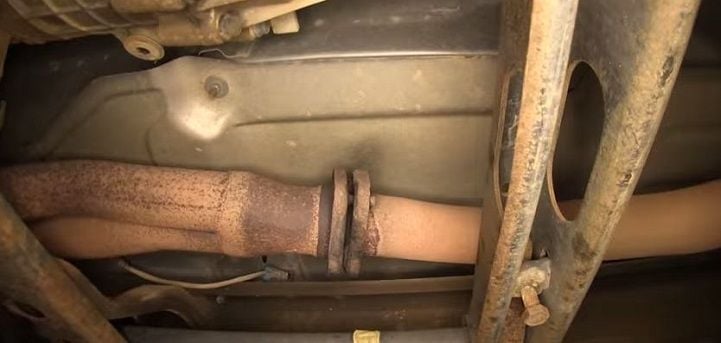
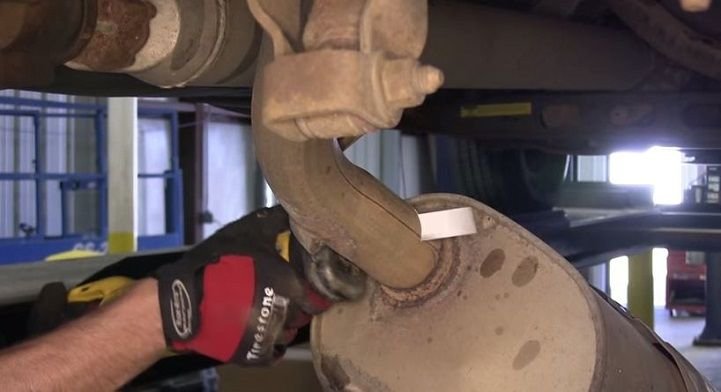
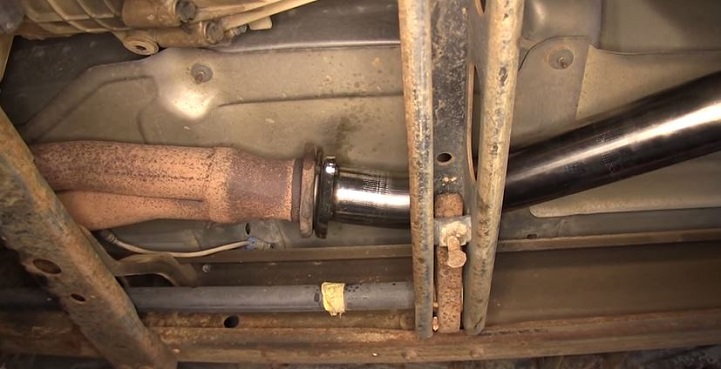
Step 2 – Remove exhaust behind the catalytic converter
- There are two bolts that hold the exhaust at the flange just behind the catalytic converter. If you haven't sprayed these nuts with lubricant yet, do so first and allow the lubricant to sit.
- Remove the bolts with a long handled ratchet. These will likely be rusty and tough to remove.
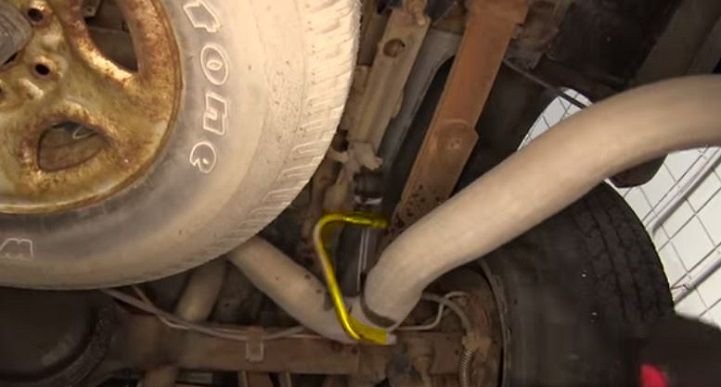
Step 3 – Remove metal hangers from the rubber isolators
- Spray a moderate amount of lubricant around the rubber vibration isolators and the metal hangers. The lubricant will not only help with removal, but will help with keeping the isolators in good condition.
- Then pull the three hangars out of the rubber isolators using a pry bar or pliers.
Step 4 – Remove the exhaust
With the metal hangers removed from the isolators, the entire exhaust unit from the catalytic converter to the rear end should be hanging.
- To make pulling out the exhaust easier, cut just in front of the muffler with a power saw.
- Then pull out the remaining exhaust pipes.
Step 5 – Install the cat-back pipe
- Install the new exhaust pipe at the exhaust flange. Make sure to match up the connections for proper fitment.
- Replace the bolts and tighten them down to a snug fit.
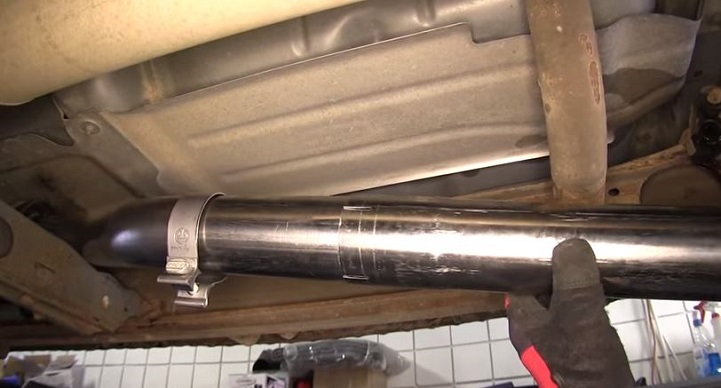
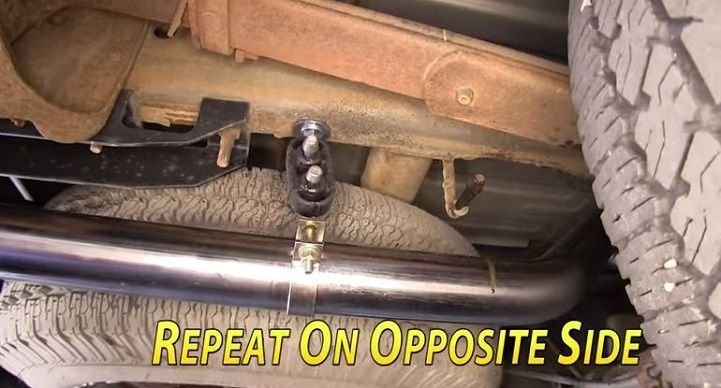
Step 6 – Install the mid-pipe
- Before sliding the mid-pipe over the cat-back pipe, put a 3" hose clamp over the rear end of the cat-back pipe.
- Slide the mid-pipe over the end of the cat-back pipe.
- Then attach another 3" hose clamp onto the end of the mid-pipe.
Step 7 – Install muffler over end of the mid-pipe
- Slide the new muffler over the end of the mid-pipe. It would be a good idea to get some support for the exhaust.
- If the truck is on a lift, have another person hold the muffler and support the mid-pipe.
- If the truck is on jack stands, use a hydraulic floor jack and a block of wood to support the muffler.
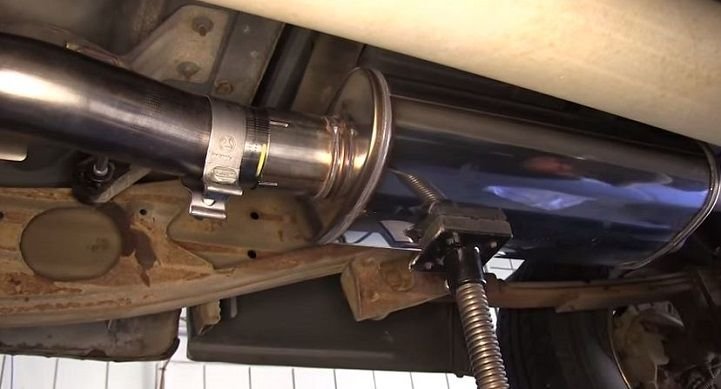
Step 8 – Install the tailpipes
- The back end of the muffler has two openings for the dual tailpipes. Slide a hose clamp on each of these two ports before sliding on the tailpipes.
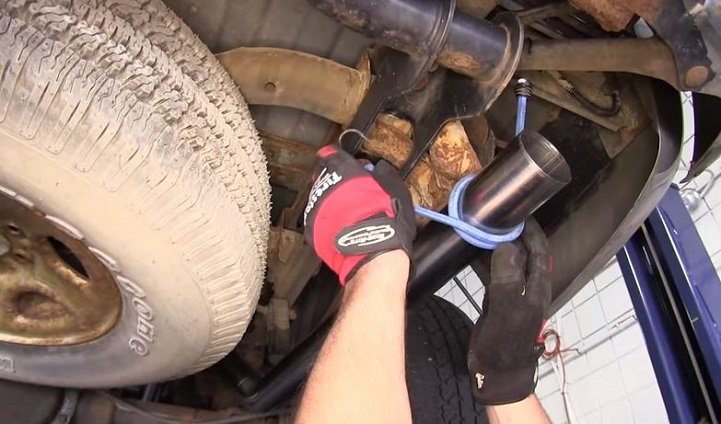
- There will be four pieces of the tailpipe in total, two per side (tips will come later). Slide on the driver's side tailpipes first, and then the passenger's side tailpipes. These pipes will come out from the muffler, then up and over the rear axle.
- Add the metal hanger into the rubber isolators, as well as more clamps on the end of this section of the tailpipe.
- Install the mid-section of the tailpipes, and make sure to support the pipes as you are doing so. You can use a bungee cord to support the pipes on the chassis.
Step 9 – Install the new hangers and tips
- Assemble the hangers that came with the exhaust kit.
- Mount the isolators to the chassis about halfway down the middle section of the rear tailpipe. You can now remove the bungee cord.
- Slide another hose clamp over the end of the middle section of tailpipe, and then slip on the exhaust tips to the last section of the tailpipe.
- Once the tips are in place, measure the length and position of the entire exhaust system. Mark the ends of each pipe with a grease marker to act as a guide when the ends of the pipes slip.
- Tighten the flange bolts and hose clamps to a snug fit.
- Lastly, lower your truck and test out the new muffler.
Featured Video: MagnaFlow Exhaust System Installation
Related Discussion
- Witch (Sic) is the Best Muffler For My Truck - ChevroletForum.com